VPN > Settings
896
SonicOS 5.8.1 Administrator Guide
• To manage the local SonicWALL through the VPN tunnel, select HTTP, HTTPS, or
both from Management via this SA. Select HTTP, HTTPS, or both in the User login
via this SA to allow users to login using the SA.
• Enter the Default LAN Gateway if you have more than one gateway and you want
this one always to be used first.
• Select an interface or zone from the VPN Policy bound to menu. A Zone WAN is
the preferred selection if you are using WAN Load Balancing and you wish to allow
the VPN to use either WAN interface.
• Under IKEv2 Settings (visible only if you selected IKEv2 for Exchange on the
Proposals tab), The Do not send trigger packet during IKE SA negotiation
checkbox is cleared by default and should only be selected when required for
interoperability.
The term Trigger Packet refers to the use of initial Traffic Selector payloads populated
with the IP addresses from the packet that caused SA negotiation to begin. It is
recommended practice to include Trigger Packets to assist the IKEv2 Responder in
selecting the correct protected IP address ranges from its Security Policy Database.
Not all implementations support this feature, so it may be appropriate to disable the
inclusion of Trigger Packets to some IKE peers.
Step 15 Click OK.
Configuring a VPN Policy using Manual Key
To manually configure a VPN policy between two SonicWALL appliances using Manual Key,
follow the steps below:
Configuring the Local SonicWALL Security Appliance
Step 1 Click Add on the VPN > Settings page. The VPN Policy window is displayed.
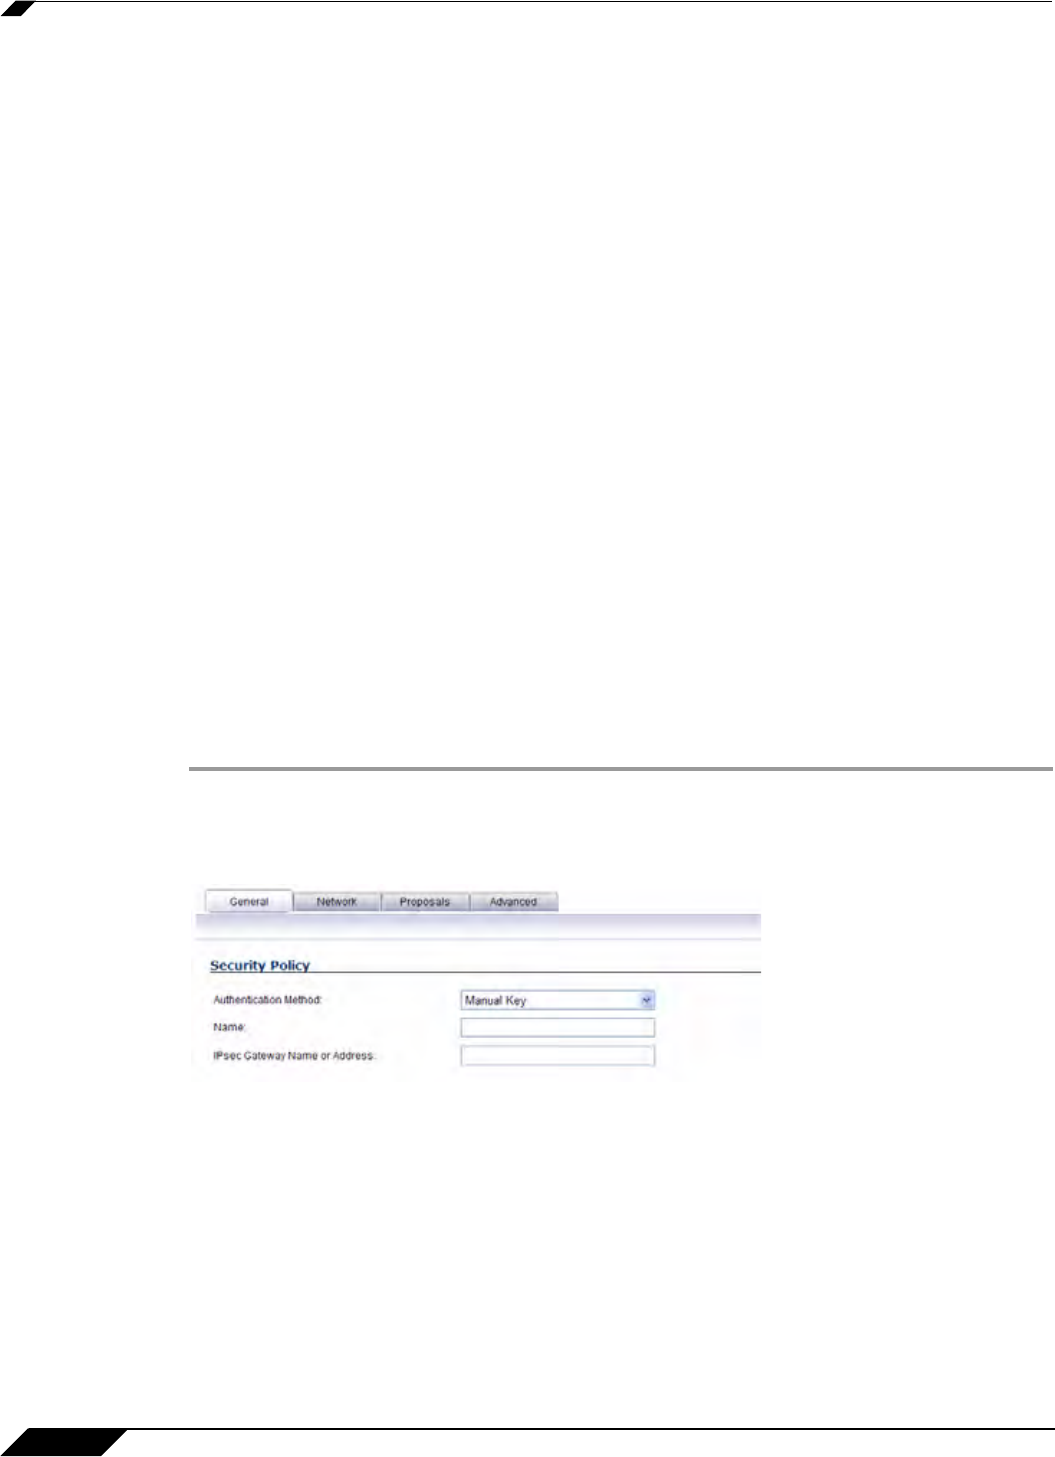
Step 2 In the General tab of the VPN Policy window, select Manual Key from the IPsec Keying Mode
menu. The VPN Policy window displays the manual key options.
Step 3 Enter a name for the policy in the Name field.
Step 4 Enter the host name or IP address of the remote connection in the IPsec Gateway Name or
Address field.


