Wireless > Virtual Access Point
497
SonicOS 5.8.1 Administrator Guide
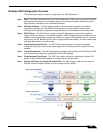
Wireless VAP Configuration Overview
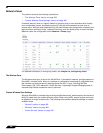
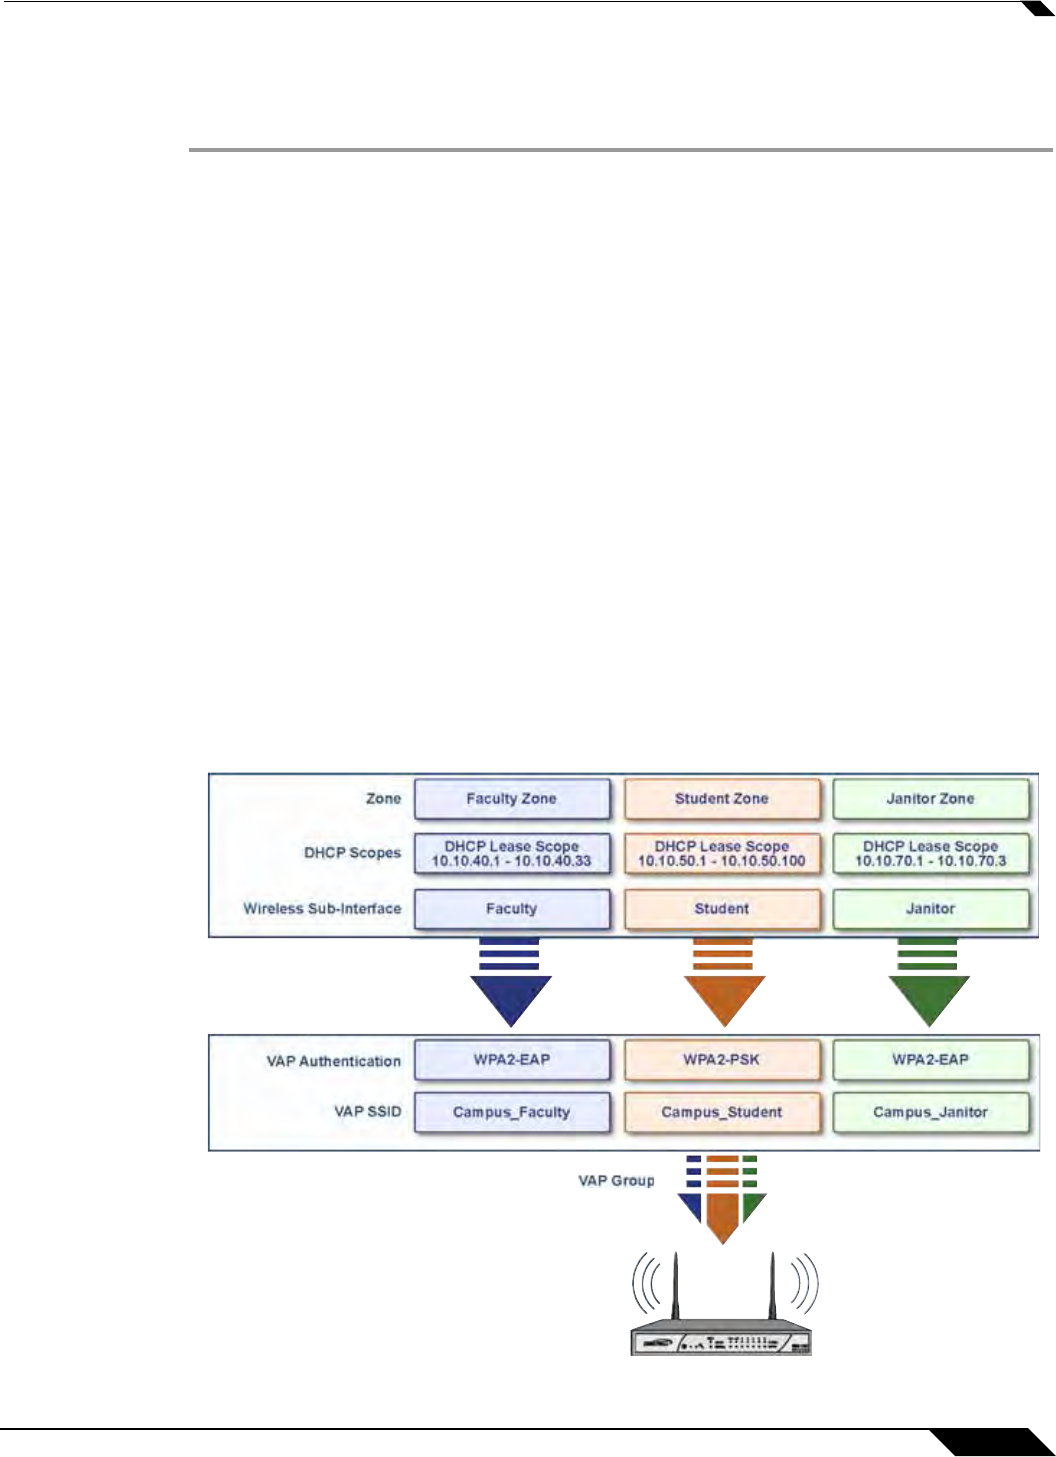
The following are required areas of configuration for VAP deployment:
Step 1 Zone - The zone is the backbone of your VAP configuration. Each zone you create will have its
own security and access control settings and you can create and apply multiple zones to a
single physical interface by way of Wireless Subnets.
Step 2 Wireless Interface - The W0 interface (and its WLAN subnets) represent the physical
connections between your SonicWALL UTM appliance and the internal wireless radio.
Individual zone settings are applied to these interfaces and forwarded to the wireless radio.
Step 3 DHCP Server - The DHCP server assigns leased IP addresses to users within specified
ranges, known as “Scopes”. The default ranges for DHCP scopes are often excessive for the
needs of most wireless deployments, for instance, a scope of 200 addresses for an interface
that will only use 30. Because of this, DHCP ranges must be set carefully in order to ensure the
available lease scope is not exhausted.
Step 4 Virtual Access Point Profile - The VAP Profile feature allows for creation of wireless
configuration profiles which can be easily applied to new wireless Virtual Access Points as
needed.
Step 5 Virtual Access Point - The VAP Objects feature allows for setup of general VAP settings. SSID
and wireless subnet name are configured through VAP Settings.
Step 6 Virtual Access Point Group - The VAP Group feature allows for grouping of multiple VAP
objects to be simultaneously applied to a sinlge internal wireless radio.
Step 7 Assign VAP Group to Internal Wireless Radio- The VAP Group is applied to the internal
wireless radio and made available to users through multiple SSIDs.
Zone
DHCP Scopes
Wireless Sub-Interface
VAP Authentication
VAP Configuration
Network Configuration
VAP SSID


