Security Services > Content Filter
1199
SonicOS 5.8.1 Administrator Guide
Creating a Custom CFS Category
This section details creating a custom CFS category entry. CFS allows the administrator not
only to create custom Policies, but also allows for custom domain name entries to the existing
CFS rating categories. This allows for insertion of custom CFS-managed content into the
existing and very flexible category structure.
To create a new CFS custom category:
• Enable CFS Custom Categories — page 1199
• Add a New CFS Custom Category Entry — page 1199
Enable CFS Custom Categories
Step 1 Navigate to the Security Services > Content Filter page in the SonicOS management
interface.
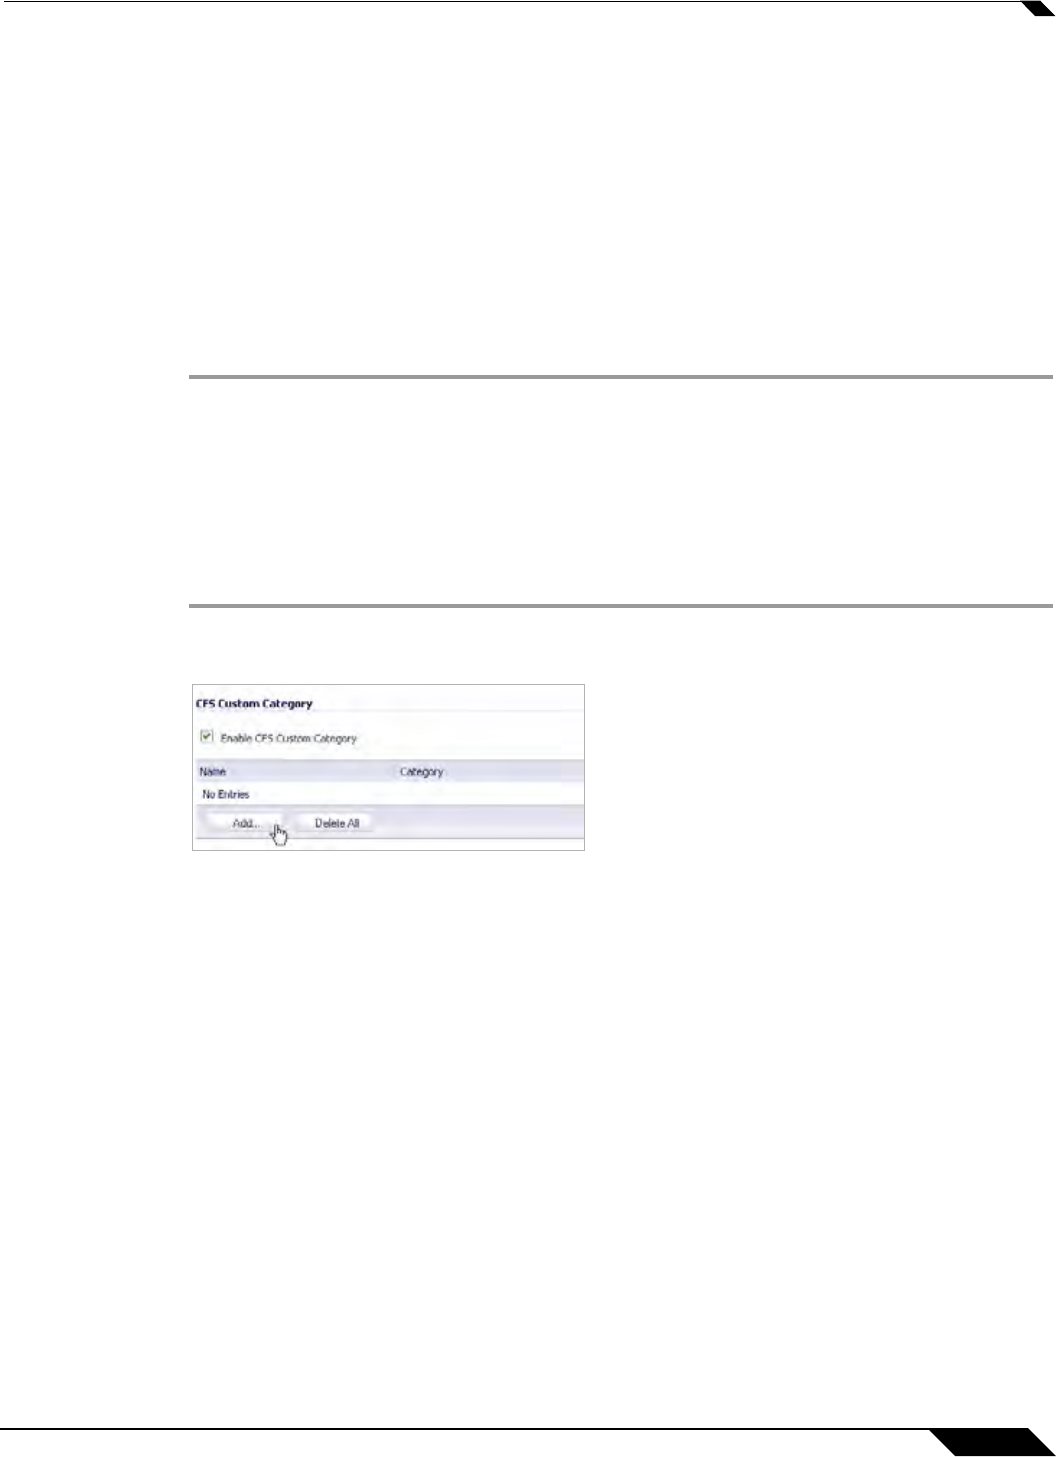
Step 2 Scroll down and click the CFS Custom Category section and select the Enable CFS Custom
Category checkbox.
Step 3 Click the Accept button to save your changes and enable the Custom Category feature.
Add a New CFS Custom Category Entry
Step 1 Again in the Security Services > Content Filter page, scroll down to the CFS Custom
Category section and click the Add... button.
Step 2 Enter a descriptive Name for the custom entry.
Step 3 Choose the pre-defined Category to which this entry will be added.
Step 4 Enter a domain name into the Content field.
