Configuring WAN Acceleration
1339
SonicOS 5.8.1 Administrator Guide
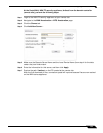
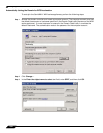
Step 1 Add WXA 4000-GMS hostname as the SPN for host WXA-4000.
setspn -A CIFS/WXA-4000-GMS WXA-4000
Step 2 Add WXA-4000-GMS.utm.soniclab.us hostname as the SPN for host WXA-4000.
setspn -A CIFS/WXA-4000-GMS.utm.soniclab.us WXA-4000
Step 3 Confirm that the hostnames were added correctly.
setspn -L WXA-4000
Step 4 Add WXA 2000-GMS hostname as the SPN for host WXA-2000.
setspn -A CIFS/WXA-2000-GMS WXA-2000
Step 5 Add WXA-2000-GMS.utm.soniclab.us hostname as the SPN for WXA-2000.
setspn -A CIFS/WXA-2000-GMS.utm.soniclab.us WXA-2000
Step 6 Confirm that the hostnames were added correctly.
setspn -L WXA-2000
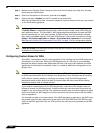
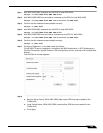
Step 7 Configure FileServer1 on the data center as follows:
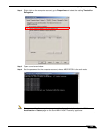
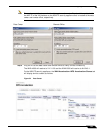
On the NSA/TZ security appliance, navigate to
the WAN Acceleration > WFS Acceleration >
Click the Shares tab, expand Shares in the Configuration column, and then click the Add New
Shares....
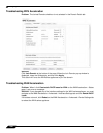
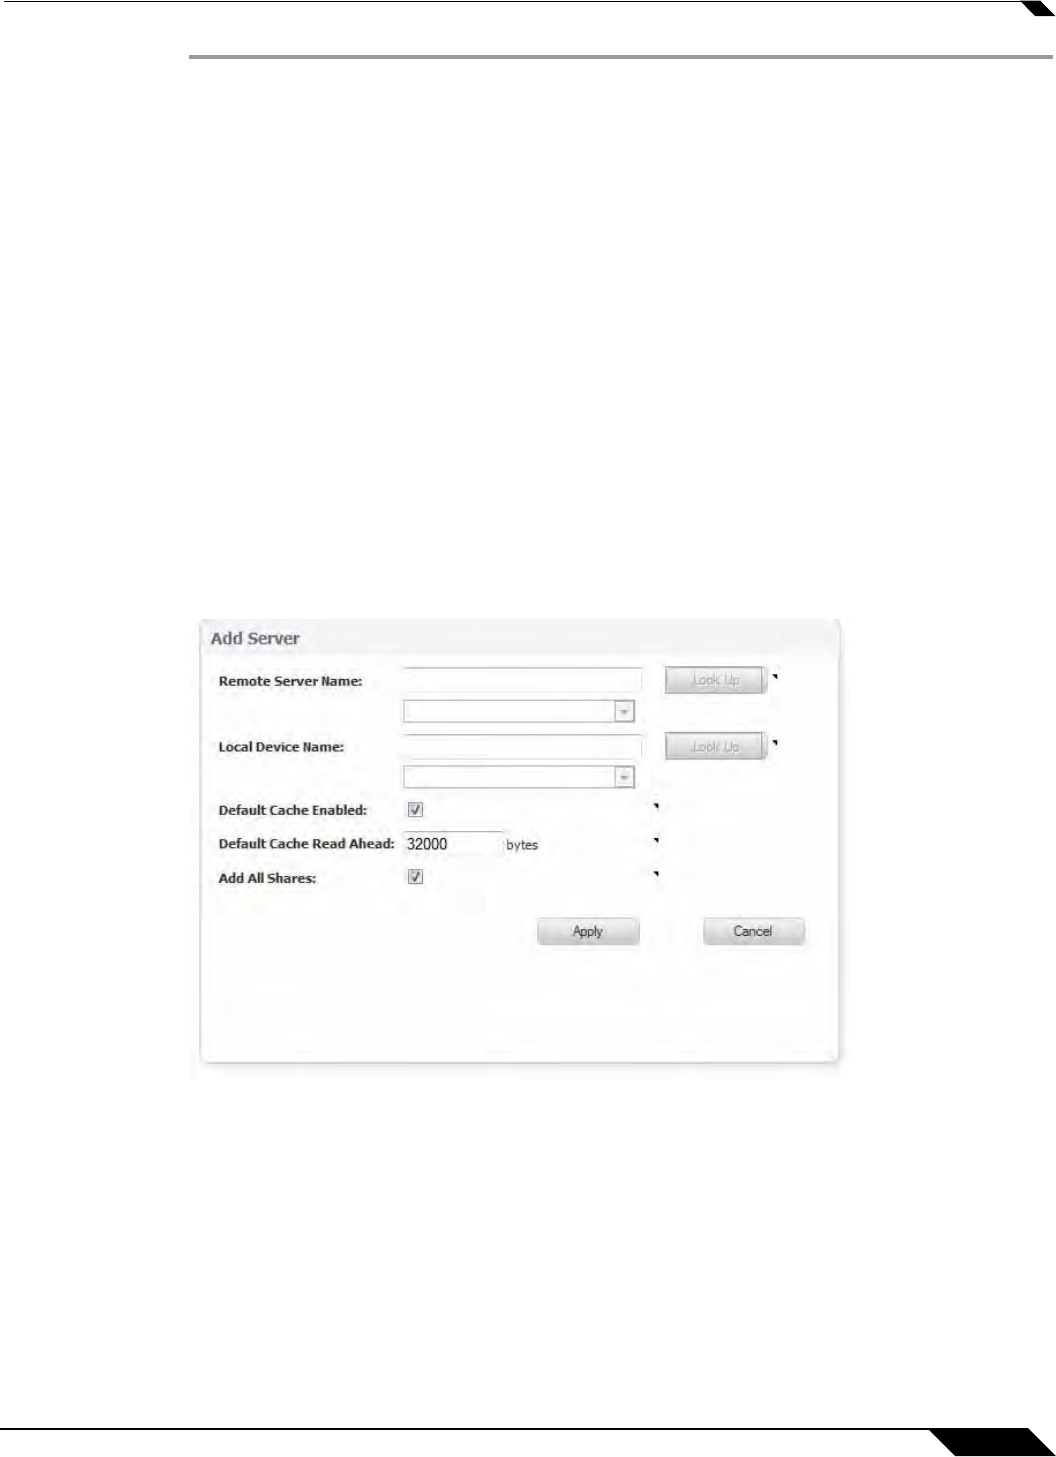
The Add Server window appears.
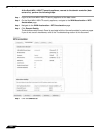
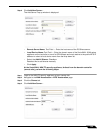
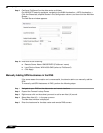
Step 8 Enter and do the following:
a. Remote Server Name: WXA-4000-GMS (data center SPN that was created for the
FileServer2)
b. Local Device Name: WXA-2000-GMS (remote office SPN that was created for the
FileServer2)
c. Click Apply.


