Security Services > Content Filter
1208
SonicOS 5.8.1 Administrator Guide
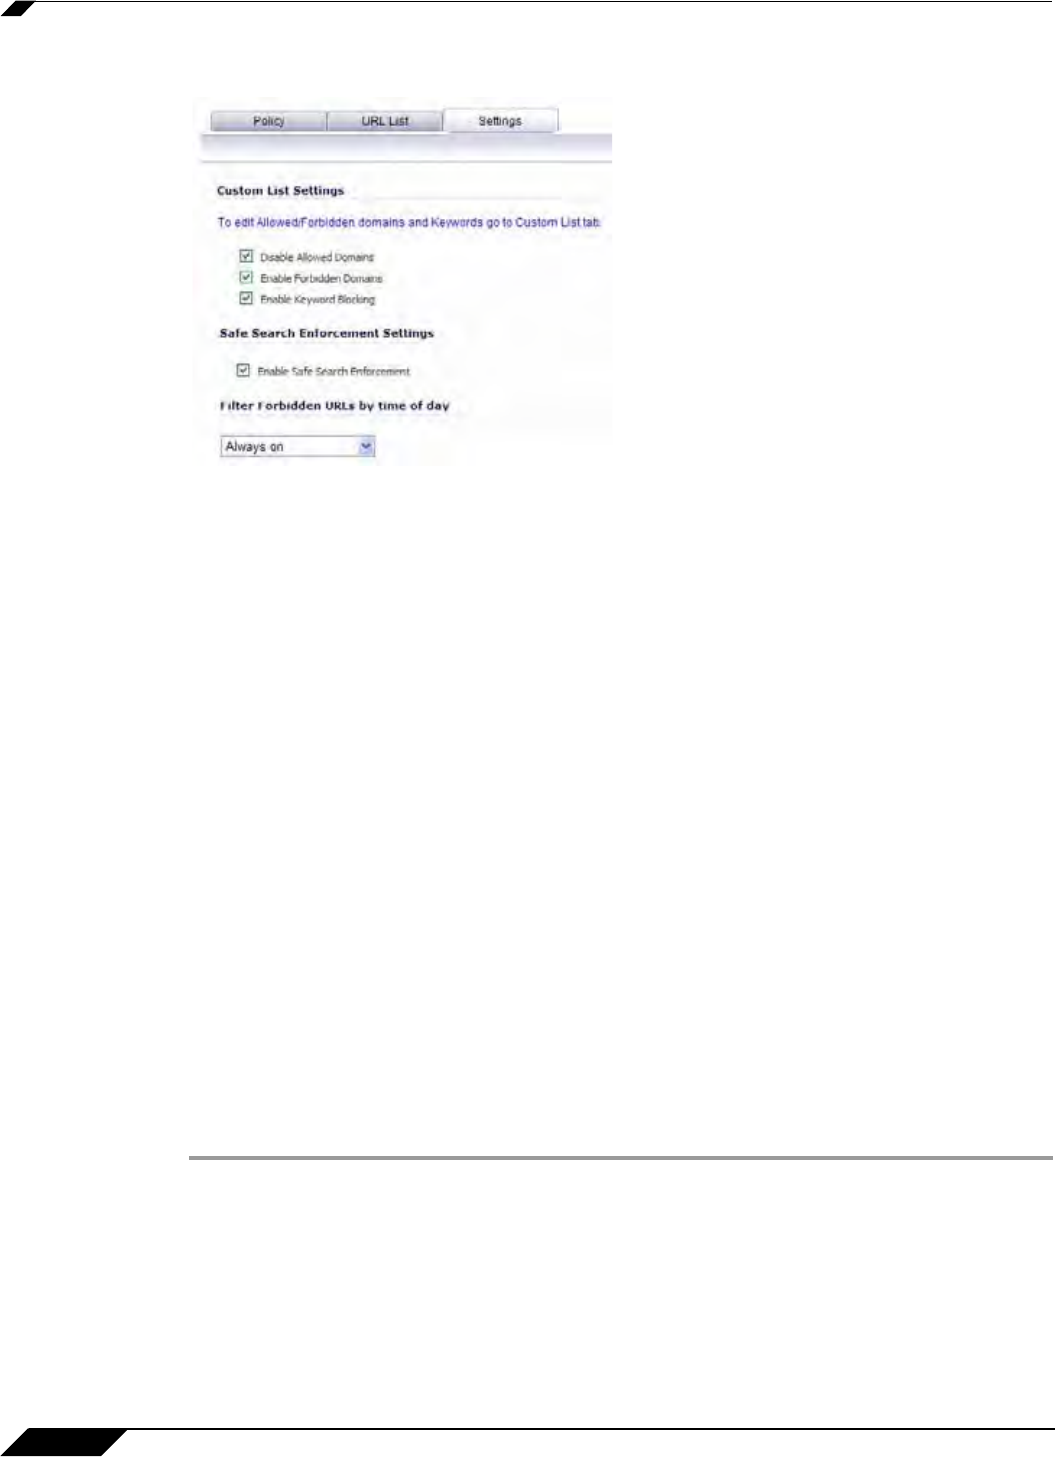
Step 5 Click the Settings tab.
Step 6 Under Custom List Settings, select any of the following settings:
–
Disable Allowed Domains - select this setting to disable the allowed domains that are
listed on the Custom List tab in the SonicWALL Filter Properties window.
–
Enable Forbidden Domains - select this setting to enable forbidden domains that are
listed on the Custom List tab in the SonicWALL Filter Properties window.
–
Enable Keyword Blocking - select this setting to enable keyword blocking for the
URLs that are listed in the Keyword Blocking section on the Custom List tab in the
SonicWALL Filter Properties window.
Step 7 Under Safe Search Enforcement Settings, select Enable Safe Search Enforcement to
enable the safe browsing options for certain search engines like Google and Yahoo.
Step 8 To configure the schedule for Content Filtering enforcement, select one of the following from
the drop-down list under Filter Forbidden URLs by time of day:
–
Always on - When selected, Content Filtering is enforced at all times.
–
From/To - When selected, Content Filtering is enforced during the time and days
specified. Enter the time period in 24-hour format, and select the starting and ending
day of the week that Content Filtering is enforced. The choices also include work hours
and weekend hours.
Step 9 Click OK.
Configuring the Default CFS Policy
The Default policy is displayed in the Policies table.
To configure the Default policy to be the most restrictive:
Step 1 Click the Edit icon in the Configure column. The Edit CFS Policy window is displayed.
Step 2 Click the URL List tab.
Step 3 Select the checkboxes for any additional categories that you want to filter. To select all CFS
Premium categories, select the Select All Categories checkbox.
Step 4 If you want to remove CFS blocking of specific categories, clear the checkbox for the category.
Move your pointer over the up or down arrow buttons to navigate the categories list.
Step 5 Click OK.
