User Management
1075
SonicOS 5.8.1 Administrator Guide
Adding a SonicWALL Network Security Appliance to SonicWALL TSA Settings
Perform the following steps to add a SonicWALL appliance to the SonicWALL TSA:
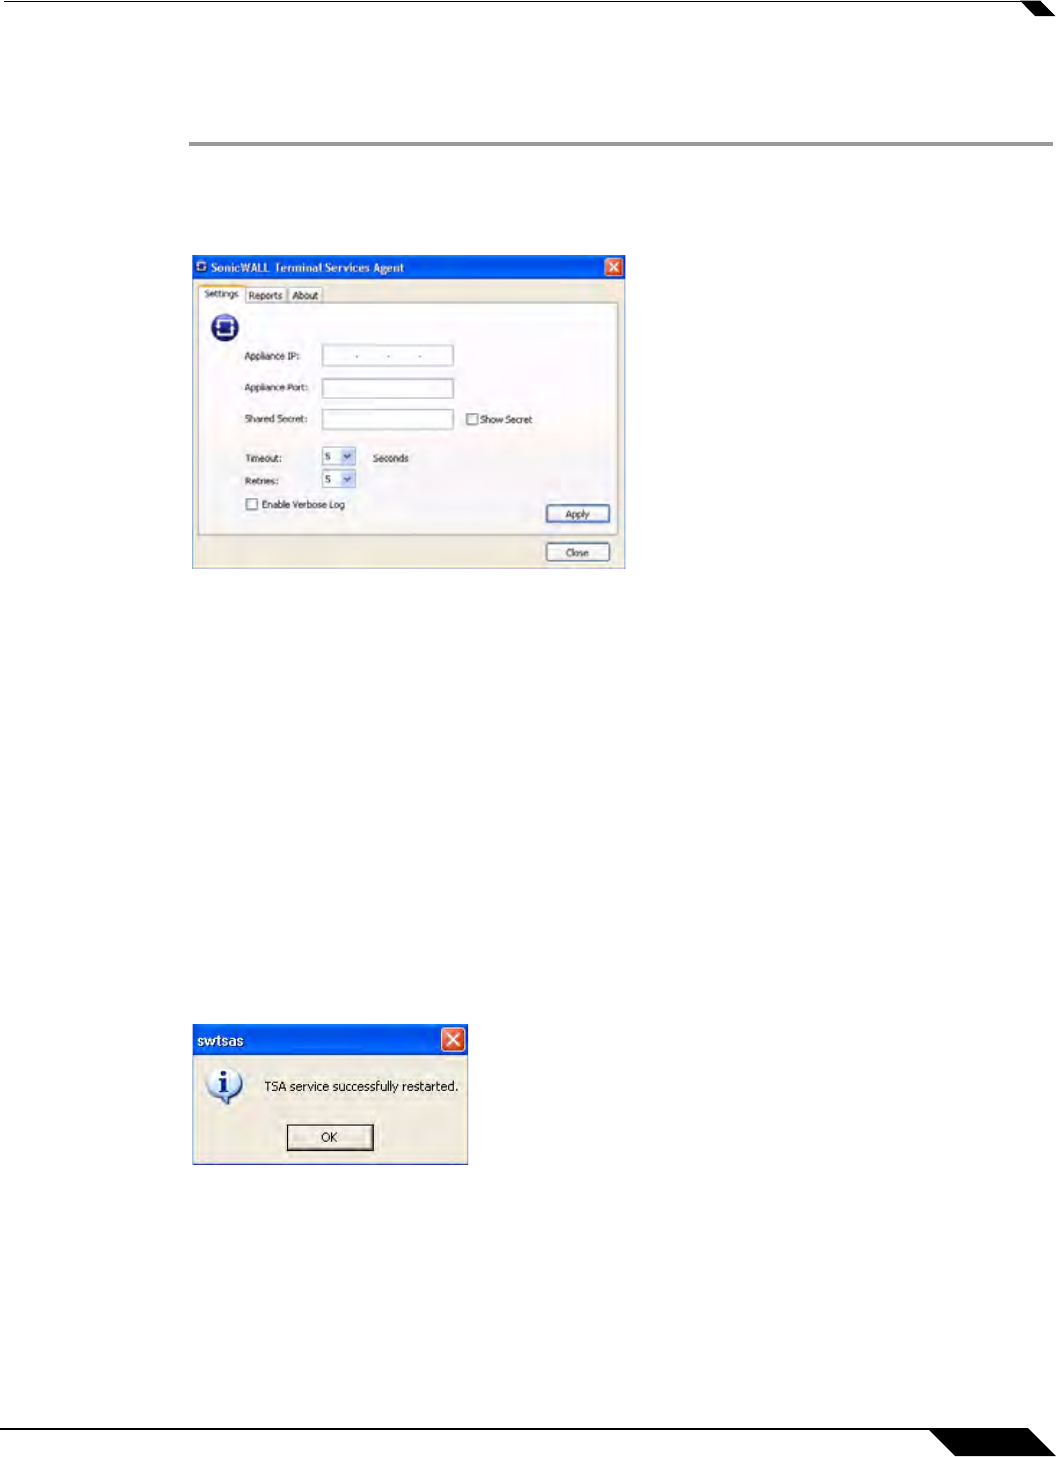
Step 1 Double-click the SonicWALL TSA desktop icon.
Step 2 The SonicWALL Terminal Services Agent window displays. On the Settings tab, type the IP
address of the SonicWALL appliance into the Appliance IP field.
Step 3 Type the communication port into the Appliance Port field. The default port is 2259, but a
custom port can be used instead. This port must be open on the Windows Server system.
Step 4 Type the encryption key into the Shared Secret field. Select the Show Secret checkbox to view
the characters and verify correctness. The same shared secret must be configured on the
SonicWALL appliance.
Step 5 In the Timeout drop-down list, select the number of seconds that the agent will wait for a reply
from the appliance before retrying the notification. The range is 5 to 10 seconds, and the default
is 5 seconds.
Step 6 In the Retries drop-down list, select the number of times the agent will retry sending a
notification to the appliance when it does not receive a reply. The range is 3 to 10 retries, and
the default is 5.
Step 7 To enable full details in log messages, select the Enable Verbose Log checkbox. Do this only
to provide extra, detailed information in a trouble shooting report. Avoid leaving this enabled at
other times because it may impact performance.
Step 8 Click Apply. A dialog box indicates that the SonicWALL TSA service has restarted with the new
settings.
Creating a SonicWALL TSA Trouble Shooting Report
You can create a trouble shooting report (TSR) containing all current log messages and
information about the agent, driver, and system settings to examine or to send to SonicWALL
Technical Support for assistance.


