Network > Dynamic DNS
421
SonicOS 5.8.1 Administrator Guide
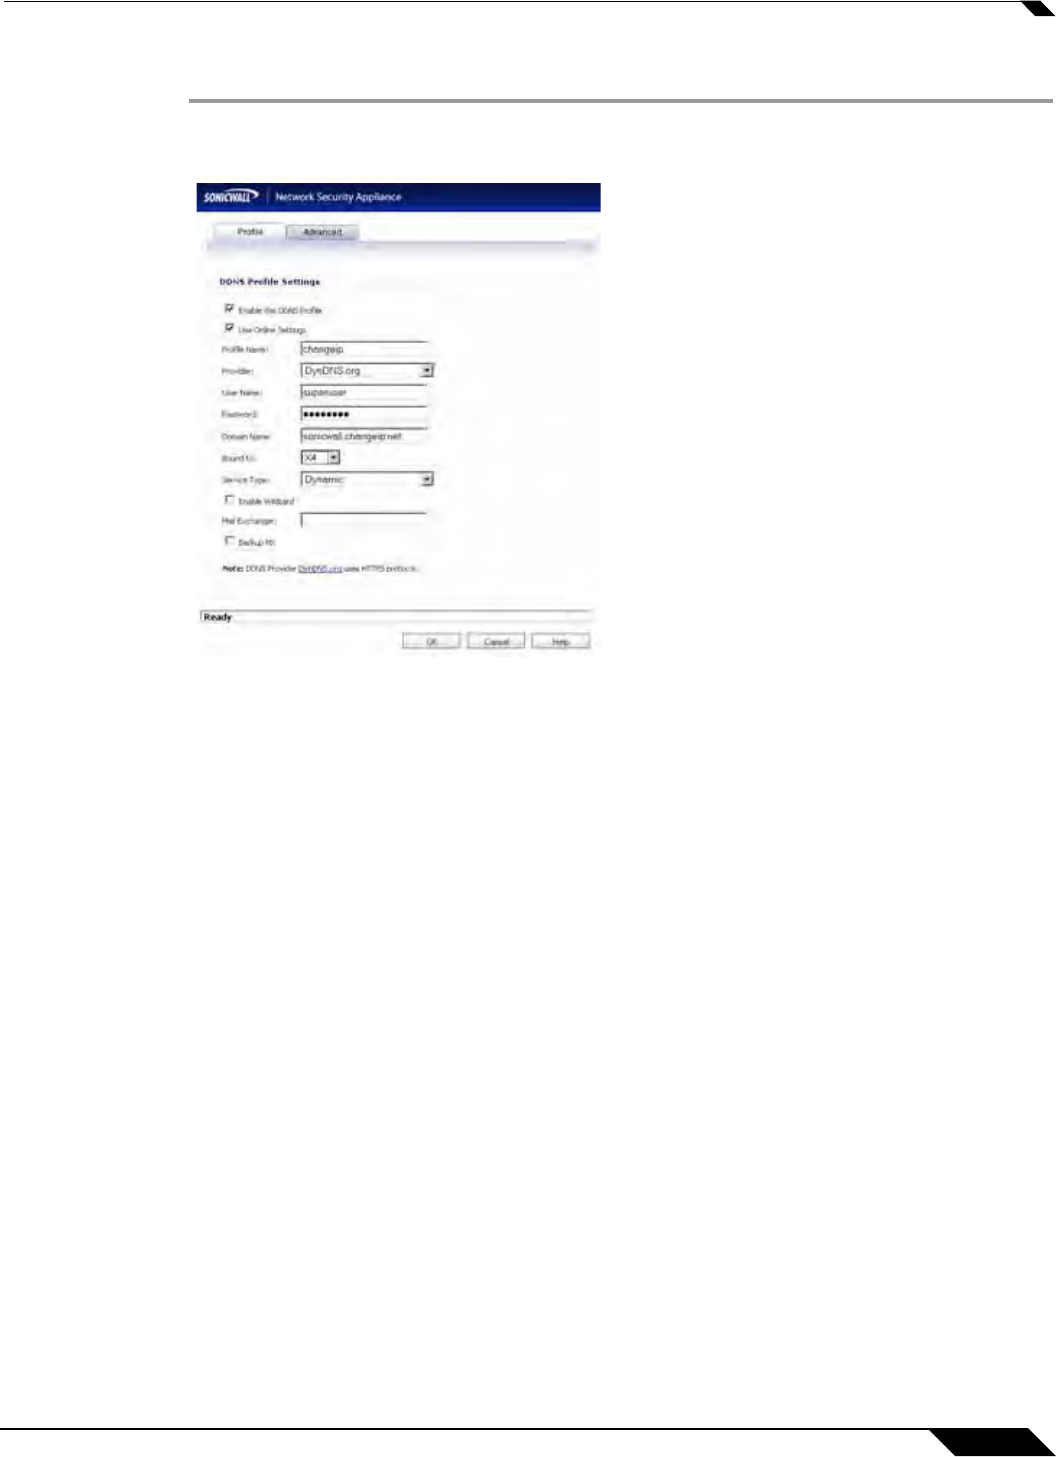
To configure Dynamic DNS on the SonicWALL security appliance, perform these steps:
Step 1 From the Network > Dynamic DNS page, click the Add button. The Add DDNS Profile window
is displayed.
Step 2 If Enable this DDNS Profile is checked, the profile is administratively enabled, and the
SonicWALL security appliance takes the actions defined in the Online Settings section on the
Advanced tab.
Step 3 If Use Online Settings is checked, the profile is administratively online.
Step 4 Enter a name to assign to the DDNS entry in the Profile Name field. This can be any value
used to identify the entry in the Dynamic DNS Settings table.
Step 5 In the Profile page, select the Provider from the drop-down list at the top of the page.
DynDNS.org and changeip.com use HTTPS, while yi.org and no-ip.com use HTTP. This
example uses DynDNS.org. Dyndns.org requires the selection of a service. This example
assumes you have created a dynamic service record with dyndns.org.
Step 6 Enter your dyndns.org username and password in the User Name and Password fields.
Step 7 Enter the fully qualified domain name (FQDN) of the hostname you registered with dyndns.org.
Make sure you provide the same hostname and domain as you configured.
Step 8 Optionally, select a WAN interface in the Bound to pulldown to assign this DDNS profile to that
specific WAN interface. This allows administrators who are configuring multiple-WAN load
balancing to advertise a predictable IP address to the DDNS service. By default, this is set to
ANY, which means the profile is free to use any of the WAN interfaces on the appliance.
Step 9 When using DynDNS.org, select the Service Type from the drop-down list that corresponds to
your type of service through DynDNS.org. The options are:
–
Dynamic - A free Dynamic DNS service.
–
Custom - A managed primary DNS solution that provides a unified primary/secondary
DNS service and a Web-based interface. Supports both dynamic and static IP
addresses.
