4.1 Maintenance of Electron Optical Column
4 - 14
IMPORTANT: Be careful to avoid any damage to the surface of the scintillator in the specimen
chamber or to the backscattered electron detector.
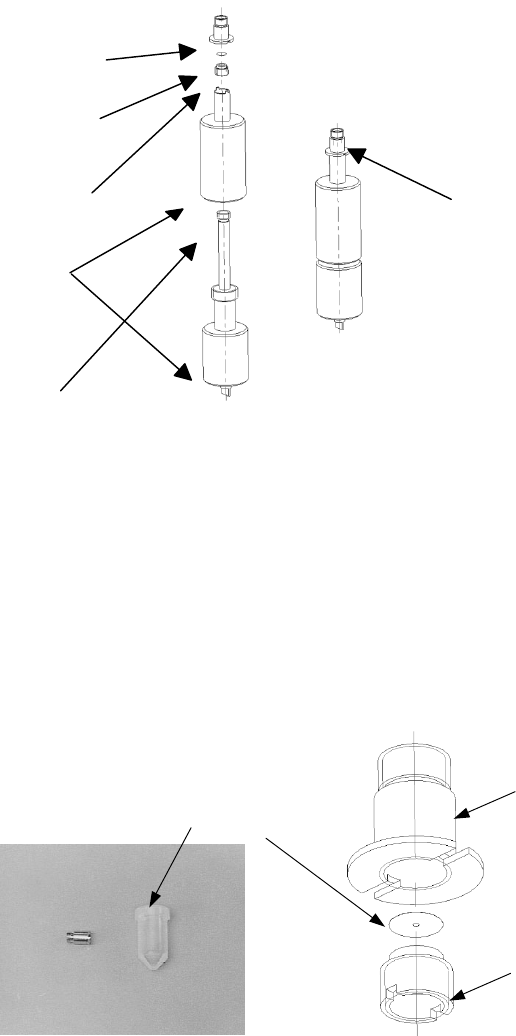
Fig. 4.1-29 Makeup of the Orifice Unit and Aperture Replacement Tool
Ordering a set of orifice unit: Fixed aperture set P/N 52E-6563
Ordering a set of aperture replacement tools: Fixed aperture tools P/N 52E-6560
(5) Set the slotted screw drive attached to the reverse side of the aperture replacement tool on
the ring groove of the orifice unit, turn it counterclockwise, remove the ring, and take out
the aperture.
Fig. 4.1-30 Removing the Orifice Ring
(6) Thoroughly clean the components, with the exception of the aperture, with acetone-dipped
cotton swabs. The acetone should be wiped off completely so as to leave no residue.
Preferably, an ultrasound cleaner should be used. Inspect all parts with optical
microscope to check for residue.
Aperture replacement tool
Orifice holde
r
Orifice: ∅0.35 diameter
Orifice holde
r
M4 male screw
Screw in style
Screw in style prevents
orifice unit from falling off
Orifice holder
52E-6561
Aperture plate (∅0.35 diameter)
50E-1139 (10 plates)
Ring
52E-6562


