3.4.1
3 - 21
When a WD value is selected from the list which is displayed when the ↓ button is
clicked, the current for the objective lens will be set so that the specimen is in focus at
that WD (the actual position of the specimen can be adjusted by manipulating the Z-axis
of the specimen stage).
For X-ray analysis, a WD value of 10 mm should always be used in order to maintain a
fixed X-ray extraction angle in relation to the detector. First, for the focusing position,
that is, WORKING DISTANCE, set the value of WD to 10 mm, and adjust the Z-axis of
the specimen stage so that the specimen is in focus at that distance. In this manner,
the geometry of the analysis point for the X-ray detector and the specimen can be set to
the desired condition even when the specimen has substantial peaks and valleys on its
surface.
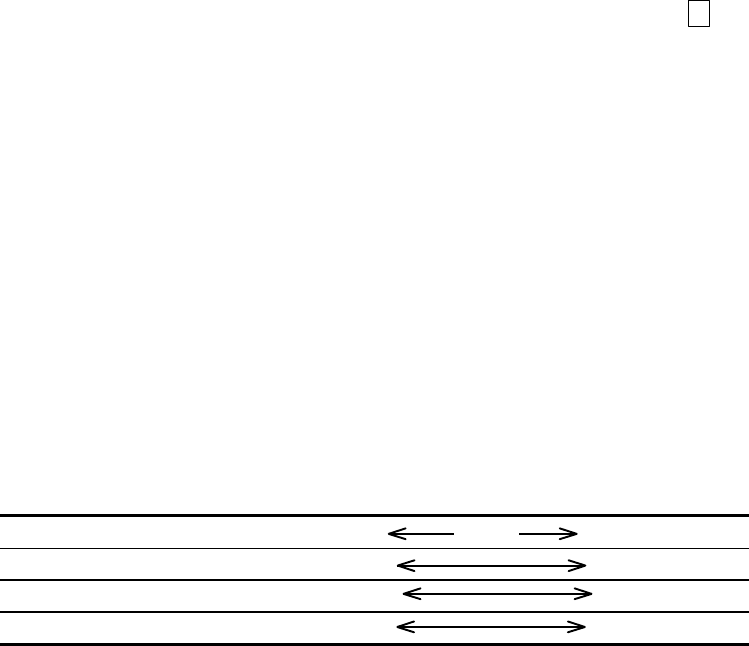
Varying the WD changes the resolution, the focal depth, and tilt restrictions. The table
below shows the relationship between WD, resolution, focal depth, and specimen tilt
angle.
Table 3.4-1 Influence of WD
Short WD Long
Resolution High Low
Focal depth Shallow Deep
Specimen tilt angle Small Large
NOTICE: The longer the WD the greater is the sensitivity of the primary electron beam to
floating magnetic fields. For this reason, in situations where a long WD is used, the
floating magnetic field can produce image errors during high magnification imaging.
(f) Degaussing (DeGauss) operation
The degaussing operation is designed to remove residual magnetic fields from the
objective lens magnetic field. Changing the focus extensively can cause the residual
magnetic field to reduce the precision of the magnification factor and the WD indication
factor. This can be minimized by clicking the Degauss button such as:
• After changing the focus substantially
• Before adjusting the axes for the electron optical system (electromagnetic alignment)
Degaussing is performed automatically when any of the following operations is
performed:
• Applying or modifying the accelerating voltage (changing the accelerating voltage by
more than 3 kV)
• Setting the WD
• Changing the Probe Current mode
HINT: The function key F2 can be used to perform degaussing operations without opening the
SETUP dialog.


