3Ć61
Maintaining the System
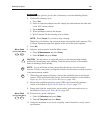
Wear safety glasses, gloves, and a laboratory coat when handling bleach.
4. Perform the cleaning cycle:
a. Press
Yes.
b. Insert an aspiration adapter into the sample port and immerse the other end
in the 10% bleach solution.
c. Press
Analyze.
d. When prompted, remove the adapter.
e. Wait 5 minutes for the cleaning cycle to finish.
NOTE:ĄĂPress Cancel if you want to stop cleaning.
When the cycle finishes, the system performs an extended wash sequence. The
Calibrate System message box appears at the end of the wash sequence.
5. Press
No.
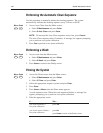
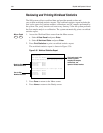
6. Initiate a wash sequence from the Menu screen:
a. Select
2 Maintenance and press Enter.
b. Select 8 Wash and press Enter.
CAUTION: Do not remove or return the sensors to the measurement module
without first discharging static buildup. Touch the inner surface of the module
frame to discharge static buildup.
NOTE: As you install the sensors, ensure that the sensors are in the correct
location. Visually verify that you align the contacts on the sensors with the contacts
in the measurement module.
7. When the wash sequence finishes, remove the test/blank glucose and lactate
sensors (TB4) and reinstall the glucose and lactate biosensors as described in
Replacing the Glucose and Lactate Biosensors, page 3-86.
8. Remove the test/blank reference sensor (TB5) and reinstall the reference
sensor as described in Replacing the Reference Sensor, page 3-71.
9. Empty and clean the waste bottle, waste outlets, and waste outlet cover as
described in Emptying the Waste Bottle, page 3-45.
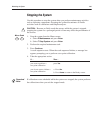
10. Perform a two-point calibration:
a. Select
1 Calibration and press Enter.
b. Select 2 Two-point and press Enter.
11. Analyze a minimum of two levels of quality control material to verify sensor
performance.
WARNING
2
Menu Code
8
(from the Main Menu)
!
860
860
1
Menu Code
2
(from the Main Menu)


