


Model GFC7000E Instruction Manual TROUBLESHOOTING & REPAIR PROCEDURES
04584 Rev A1 210
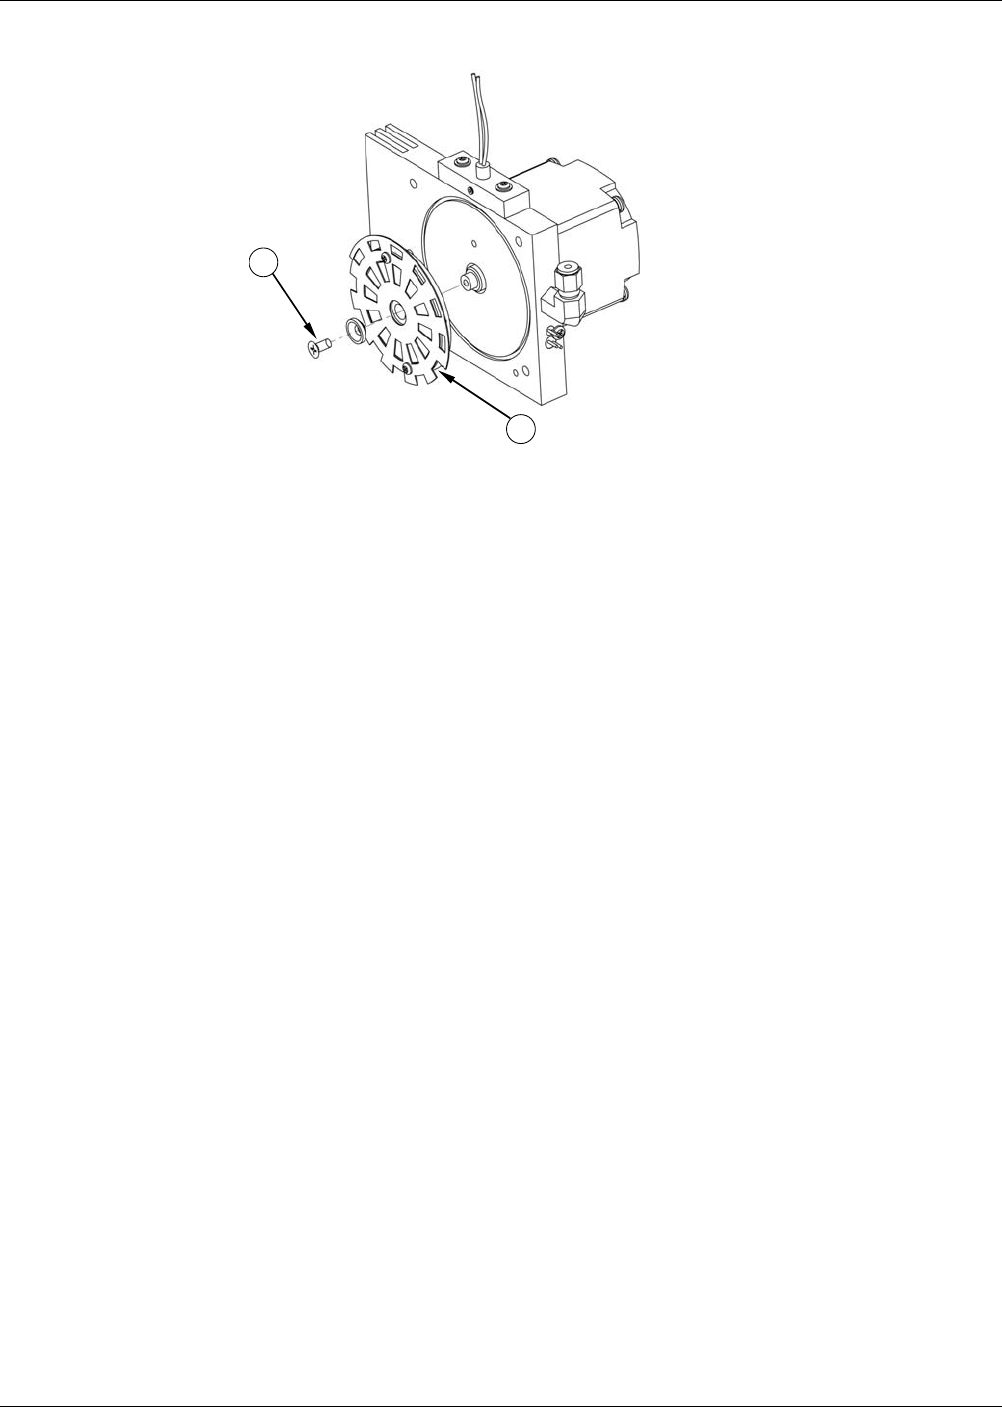
11
12
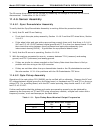
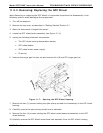
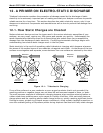
Figure 11-8: Removing the GFC Wheel
11. Remove the ONE (1) screw fastening the GFC wheel/mask assembly to the gfc motor hub.
12. Remove the GFC wheel/mask assembly.
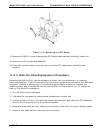
13. Follow the previous steps in reverse order to put the GFC wheel/motor assembly back
together.
11.5.3. Disk-On-Chip Replacement Procedure
Replacing the Disk-on-Chip, may be necessary in certain rare circumstances or to load new
instrument software. This will cause all of the instrument configuration parameters and iDAS data
to be lost. However a backup copy of the operating parameters are stored in a second non-
volatile memory and will be loaded into the new the Disk-on-Chip on power-up. To change the
Disk-on-Chip follow this procedure.
1. Turn off power to the instrument.
2. Fold down the rear panel by loosening the thumbscrews on each side
3. Locate the Disk-on-Chip in the rightmost socket near the right hand side of the CPU assembly.
Remove the IC by gently prying it up from the socket.
4. Reinstall the new Disk-on-Chip, making sure the notch in the end of the chip is facing upward.
5. Close the rear panel and turn on power to the machine.