SECTION 7—BACK ADJUSTMENTS
2G Tarsys®Powered Seating System 96 Part No 1114842
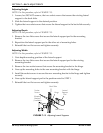
Adjusting Height
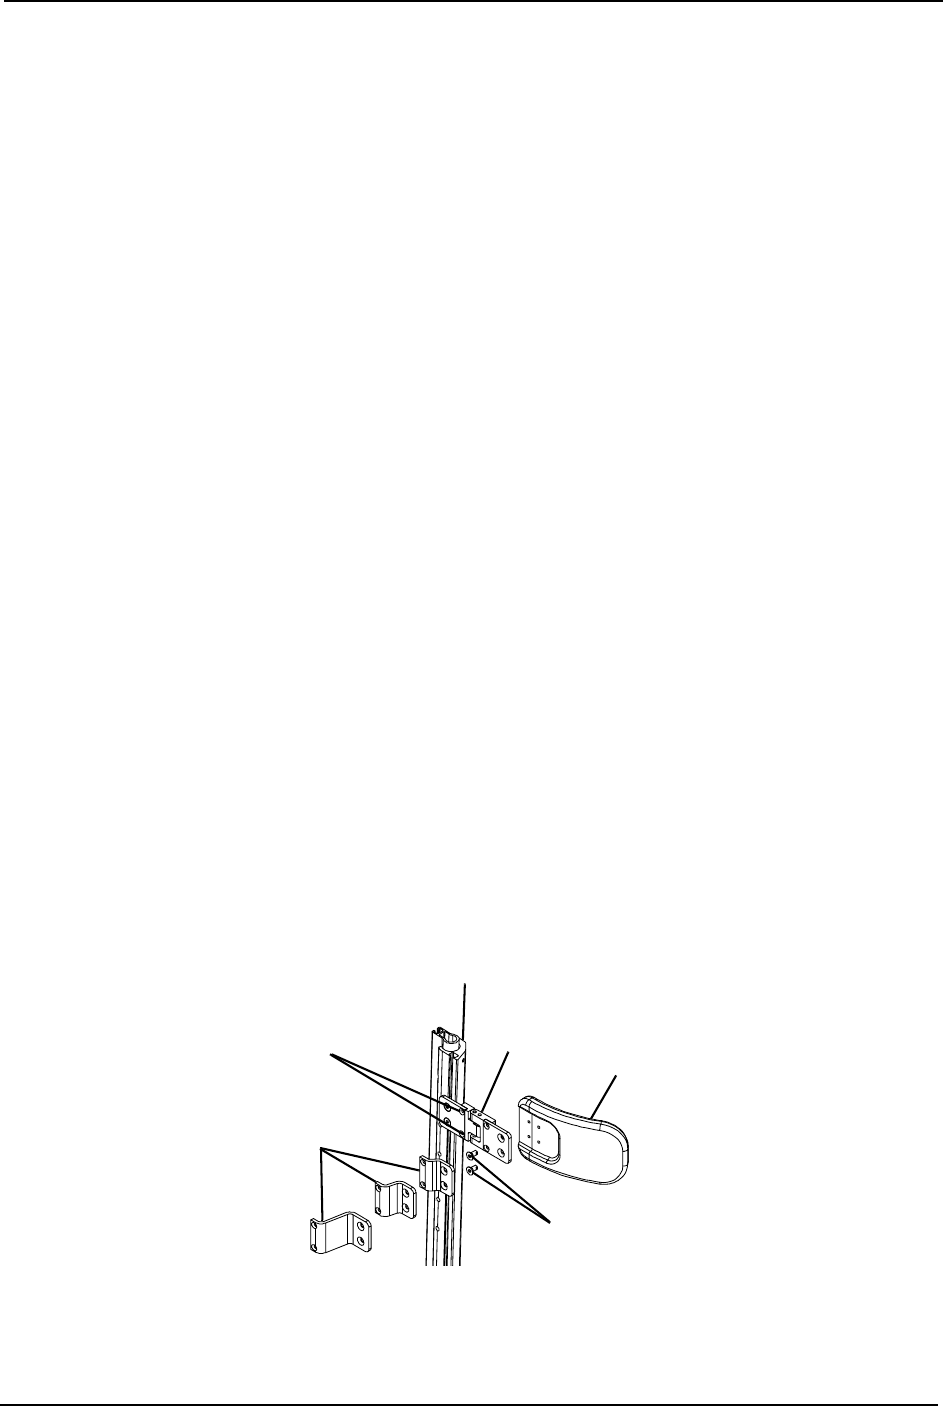
NOTE: For this procedure, refer to FIGURE 7.13.
1. Loosen, but DO NOT remove, the two socket screws that secure the existing lateral
support to the back slide.
2. Slide the lateral support to the desired position.
3. Tighten the two socket screws that secure the lateral support to the back slide securely.
Adjusting Depth
NOTE: For this procedure, refer to FIGURE 7.13.
1. Remove the two flat screws that secure the lateral support pad to the mounting
bracket.
2. Reposition the lateral support pad to the other set of mounting holes.
3. Reinstall the two flat screws and tighten securely.
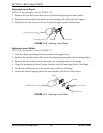
Adjusting Width
NOTE: For this procedure, refer to FIGURE 7.13.
1. Note depth mounting position of the lateral support.
2. Remove the two flat screws that secure the lateral support pad to the existing
mounting bracket.
3. Remove the two socket screws that secure the mounting bracket to the hinge.
4. Line up the mounting holes in the new mounting bracket with the hinge.
5. Install the socket screws to secure the new mounting bracket to the hinge and tighten
securely.
6. Line up the lateral support pad to the position noted in STEP 1.
7. Reinstall the two flat screws and tighten securely.
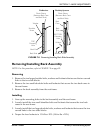
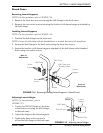
FIGURE 7.13 Adjusting Lateral Supports
Lateral
Support
Pad
Socket
Screws
Mounting
Brackets
(Available)
Back Slide
Flat Screws
Hinge


