


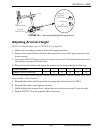
SECTION 9—POWER ELEVATING LEGRESTS
Part No 1114842 109 2G Tarsys®Powered Seating System
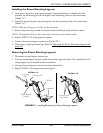
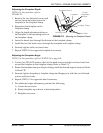
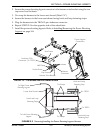
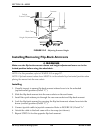
Adjusting the Calf Pad Depth
NOTE: For this procedure, refer to
FIGURE 9.6.
1. Loosen, but DO NOT remove, depth
adjustment bracket mounting screws.
2. Slide calf pad assembly up and out of
the mounting channel.
3. Remove the flat head socket screw and
locking hex nut that secure the calf
bracket to the depth adjustment
bracket.
4. Reposition the calf bracket on the depth
adjustment bracket to desired position.
5. Install the flat head socket screw
through the calf bracket, depth
adjustment bracket and locking
hex nut.
FIGURE 9.6 Adjusting the Calf Pad Depth
6. Tighten locking hex nut until snug. DO NOT overtighten nut or calf pad will not pivot
properly.
7. Align the two T-nuts on depth adjustment bracket assembly with channel on legrest.
8. Slide calf pad assembly to desired height. Tighten the two hex mounting screws
securely.
9. Repeat STEPS 1-6 for opposite side.
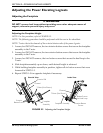
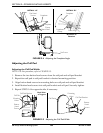
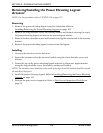
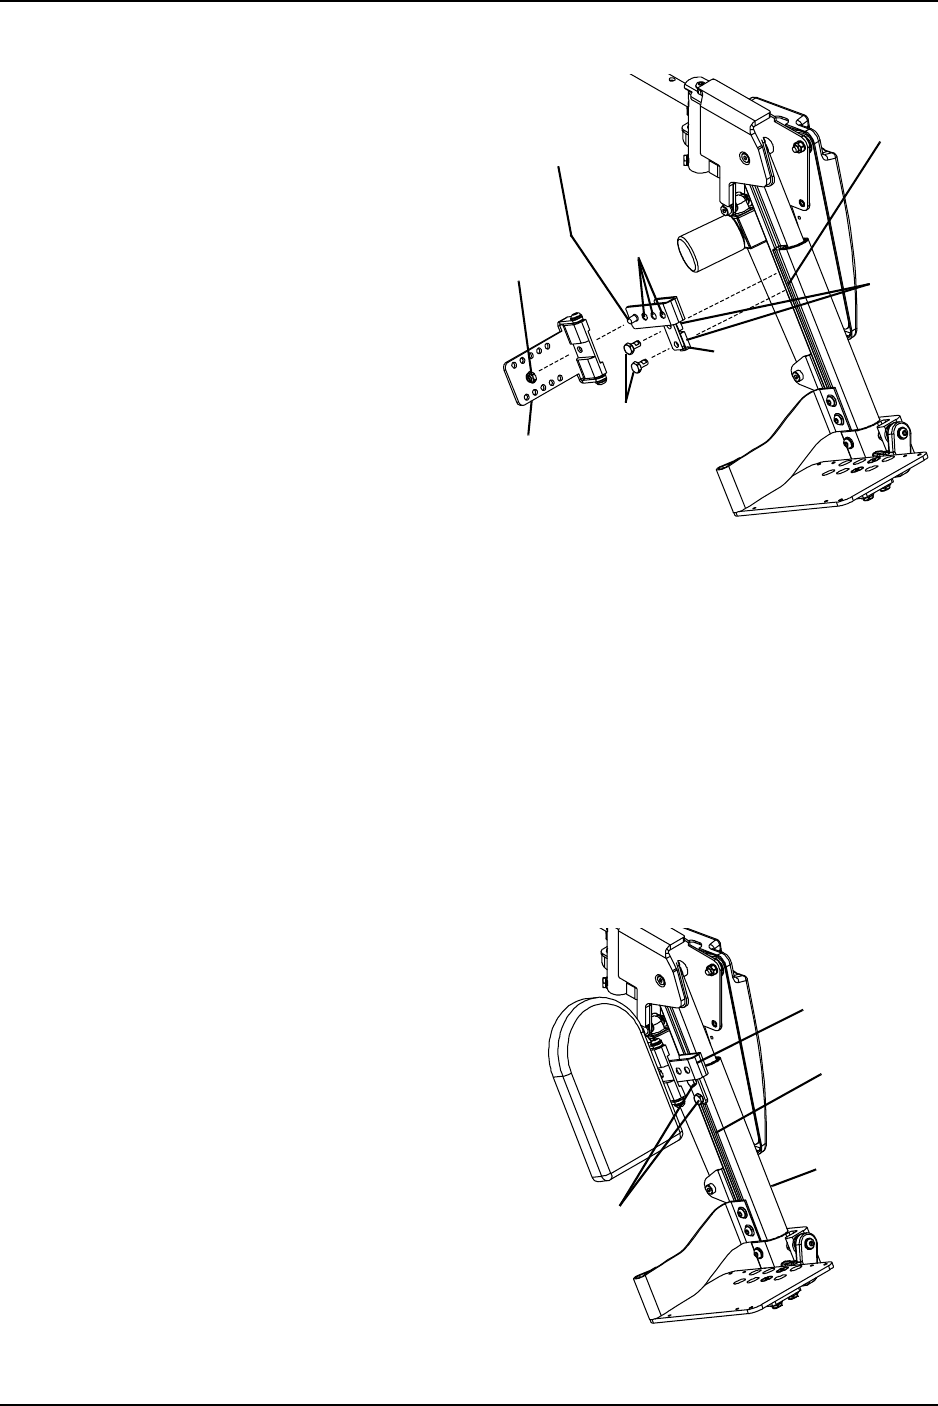
Adjusting the Calf Pad Height
NOTE: For this procedure, refer to FIGURE 9.7.
1. Loosen, but DO NOT remove, the two
hex head screws that secure depth
adjustment bracket to the T-nuts.
2. Slide the calf pad assembly with T-nuts
up or down in the channel to desired
position.
3. Holding the calf pad assembly into
position, tightly secure the hex screws
to the T-nuts.
4. Repeat STEPS 1-3 for opposite side, if
necessary.
FIGURE 9.7 Adjusting the Calf Pad Height
Mounting
Channel
Depth
Adjustment
Holes
Flat Head
Mounting
Screw
Locking
Hex
Nut
Calf
Bracket
Depth
Adjustment
Bracket
Depth
Adjustment
Bracket Hex
Head Screws
NOTE: Calf pad not shown for clarity.
T-Nuts
Hex Head
Screws
(T-Nuts
are NOT
SHOWN)
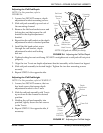
Depth
Adjustment
Bracket
Channel
Outer Rail