


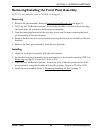
SECTION 5—INTERFACE HARDWARE
2G Tarsys®Powered Seating System 46 Part No 1114842
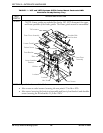
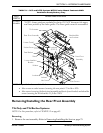
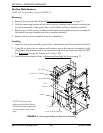
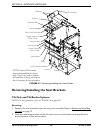
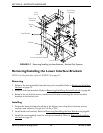
FIGURE 5.4 Removing/Installing the Front Pivot Assembly
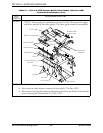
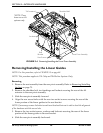
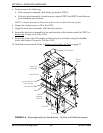
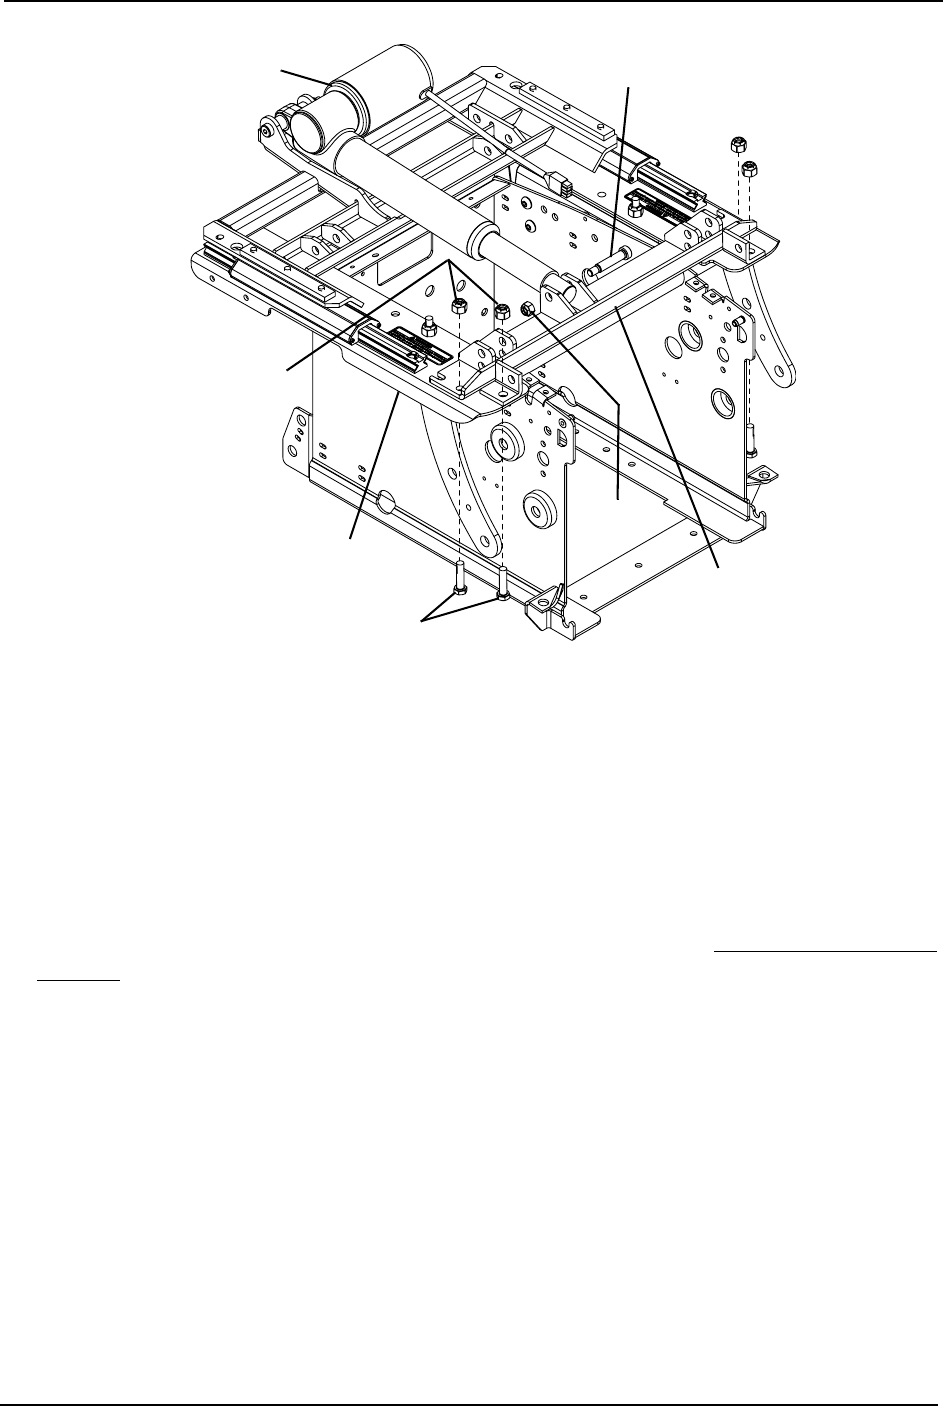
Removing/Installing the Linear Guides
NOTE: For this procedure, refer to FIGURE 5.5 on page 48.
NOTE: This procedure applies to Tilt Only and Tilt/Recline Systems Only.
Removing
1. Remove the seat assembly from the rear pivot assembly. Refer to Removing/Installing
the Seat on page 75.
2. Remove the shoulder bolt, two bushings and locknut securing the rear of the tilt
actuator to the rear pivot assembly.
3. Slide the rear pivot assembly forward.
4. Align the rear access holes with the rear two socket screws securing the rear of the
lower portion of the linear guides to the seat bracket.
NOTE: If necessary, remove the batteries and turn the wheelchair on its side to check the alignment
of the hardware with the access hole.
5. Remove the two socket screws, washers and locknuts securing the rear of the lower
portion of the linear guides to the seat bracket.
6. Slide the rear pivot assembly backward.
Locknuts
Tilt Actuator*
Shoulder Bolt*
Front Pivot Assembly
Seat
Bracket
*NOTE: These
items are on tilt
systems only.
Hex Screws
Locknut*