


SECTION 6—SEAT ADJUSTMENTS
2G Tarsys®Powered Seating System 70 Part No 1114842
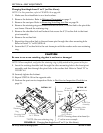
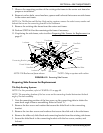
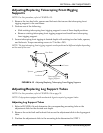
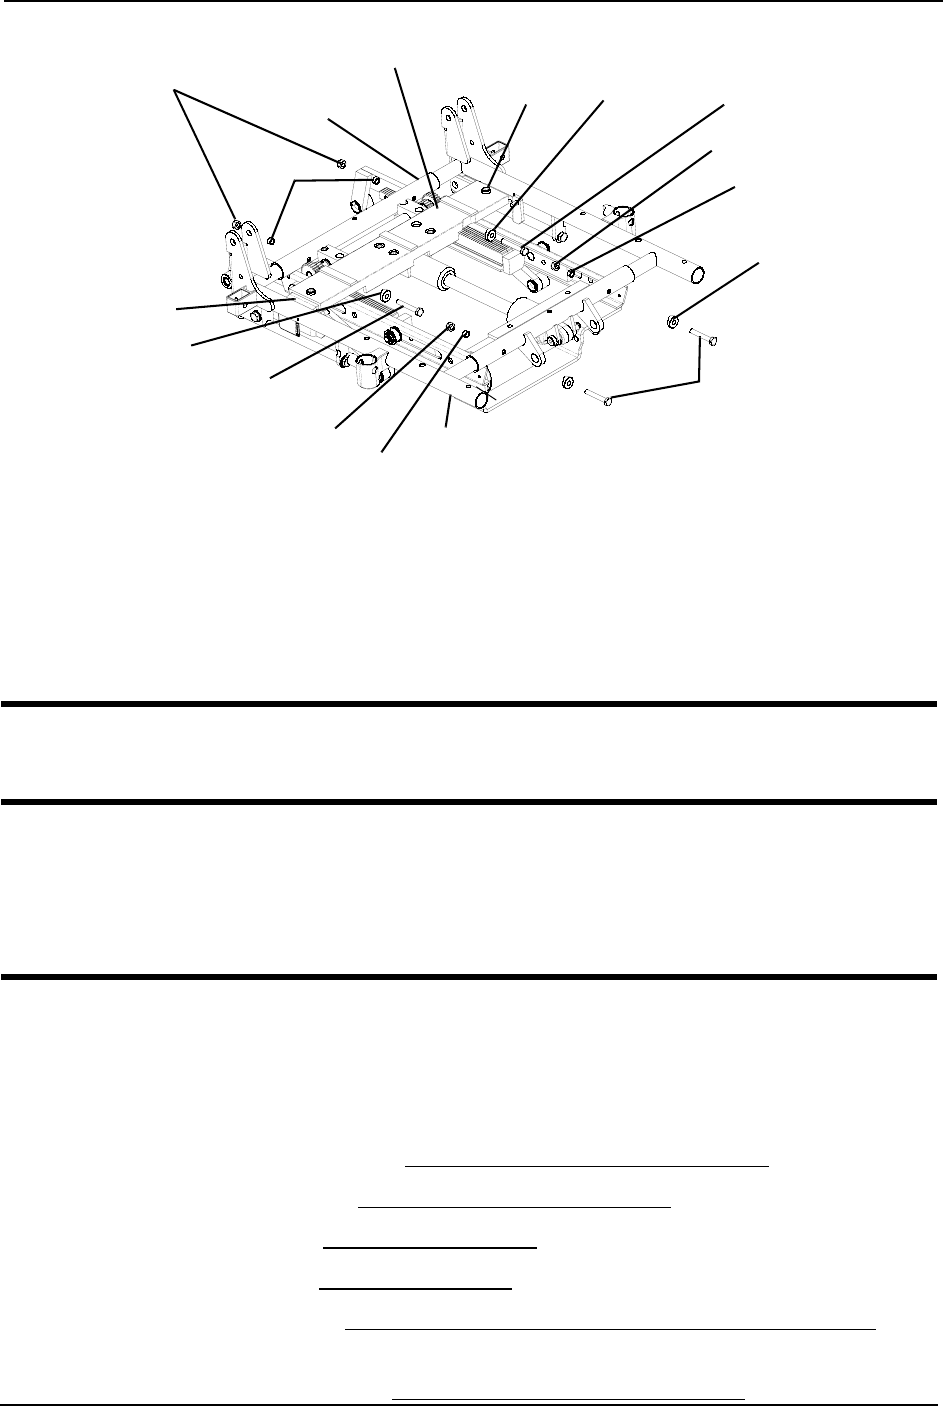
FIGURE 6.13 Installing Side Frames
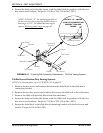
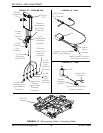
Removing/Installing Center Seat Frame
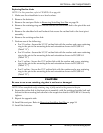
ƽ WARNING
Pinch points exist between seat and base frames. Use caution to avoid injury.
CAUTION
For Tilt/Recline and Recline-Only seating systems, the center seat frame assembly is
a non-serviceable part. Whenever a new center seat frame is required (e.g., to
achieve a desired seat width or depth), return the complete wheelchair to Invacare
for service.
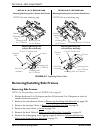
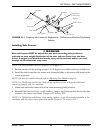
NOTE: For this procedure, refer to FIGURE 6.14 on page 72.
NOTE: The following procedure is for Tilt-Only seating systems.
Removing Center Seat Frame
1. Remove the side shrouds. Refer to Removing/Installing Side Shrouds on page 100.
2. Remove the seat pan. Refer to Removing/Installing Seat Pan
on page 54.
3. Remove the arms. Refer to Removing Armrests
on page 114.
4. Remove the back. Refer to Back Adjustments on page 80.
5. Remove the legrests.Refer to Installing/Removing the Power Elevating Legrests
on
page 104.
6. Remove the side frames. Refer to Removing/Installing Side Frames on page 66.
Hex Bolt
Coved
Washer
Locknuts
Spacers
Hex Bolts
Coved Washer
Hex Bolt
Coved Washer
Locknuts
Spacer
Spacer
Locknut
Side Frame
Center Seat
Frame
NOTE: Tilt/Recline seat frame shown.
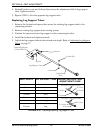
Crossbeam
Connecting
Bracket
Socket
Screw*
*NOTE: Only on systems with recline.