2 - 27
When HV has been applied, click SET button after changing HV
value.
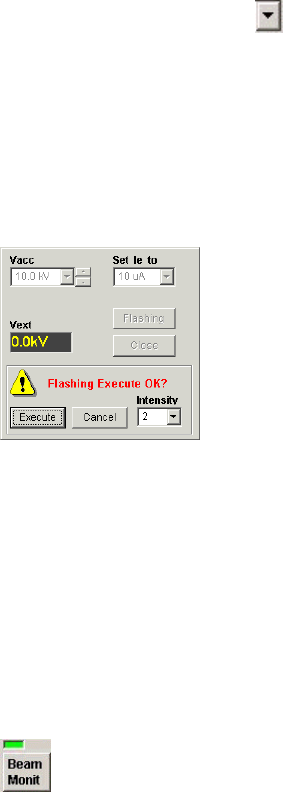
• Set Ie to button shows a pull down list of Ie (emission current) value.
Select a Ie value.
• Vext indicator Extracting voltage value is indicated.
• Flashing button The button further opens Flasing controller. This button is disabled
while HV is applied.
(3) Flashing controller
• Intensity Selects flashing intensity. Use “2” for usual operation.
• Execute button Executes flashing. Emission current caused by flashing will be
indicated on the HV indicator about 2 seconds. Just after HV OFF
or after flashing, 30 seconds wait time is necessary. If click Execute
before 30 seconds passed, flashing will be executed after waiting
rest of time.
(4) Beam Monitor button
Beam Monitor function is provided to reduce the tip noise, which is a low frequency noise
caused by fluctuations of the emission current. Dividing the image signal by a reference
signal that is proportional to probe current can stabilize it. It is recommended to keep Beam
Monitor ON for normal operations.
When the indicator above Beam Monitor button is green, the beam monitor function is working.
If the indicator is OFF or blinking in red, click the button to turn it back on.
Beam Monitor adjustment (adjustment of the reference voltage) is activated automatically at
the start of ABCC function if Adjust Beam Monitor is checked in the ABCC area of the Image
tab of the Setup dialog window. Normally, check this box. Uncheck this box in special
cases such as when the Beam Monitor reference signal needs to trace the drift of the
emission current; for example, during quantitative X-ray analysis using a probe current drift
cancellation function, etc.
To disable beam monitor function, uncheck Beam monitor Active in the SCAN MODE block of
the Operation panel.
