4-14
4.4.5 When Emission Current is not Set at Normal Value
When emission current is not set at a normal value when you applied HV, check the followings.
(1) If emission current indicator is not zero but smaller than the value selected in the Set Ie to box
in the HV control dialog window, check the value of Vext on the dialog window.
If it is near the maximum (6.4kV) , and it is just after you made flashing, the FE tip may be the
end of its life. Contact a service engineer.
If it is long after flashing, carry out flashing again.
(2) If emission current reading is zero and a time-out error occurs at HV On operation, there may
be some troubles on the FE tip or the high voltage power supply. Contact a service engineer.
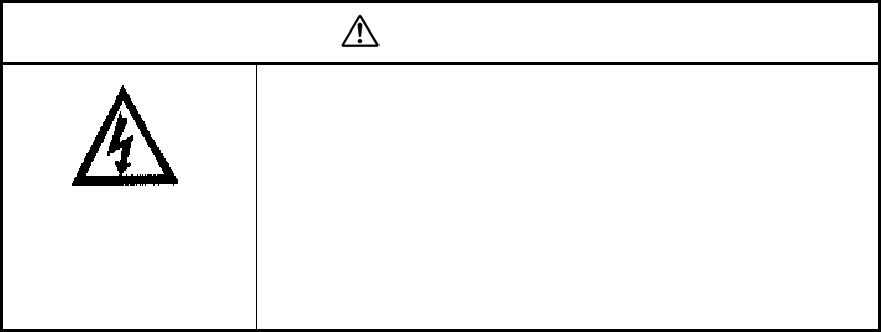
CAUTION
Beware of
electric shock
• Voltages up to 100 V AC and 30 kV DC are used in this
instrument. Touching the interior could cause an
electric shock.
• Never remove the covers of main unit, control unit or
power unit and touch internal parts or circuits while
power is connected to the instrument. There is a
danger of fatal or serious injury due to electric shock.
• Do not detach the covers of the instrument.
4.4.6 When Image is not Shown on Screen
If you do not observe image on the image screen or difficult to focus the image, check the
followings.
(1) Check if a specimen is set normally, HV is on and emission current is about normal value, the
gun valve is open, SE signal is selected, 1st condenser lens is set at 5, magnification is set at
lowest and scan is running.
(2) Set contrast at maximum.
(3) Open the Alignment dialog window and start Beam Alignment mode. If a circular image
appears at out of the center of screen, carry out column alignment.
(4) Open the Alignment dialog window and start Beam Alignment mode. Set the beam monitor
and the objective lens aperture at 0. If a circular image appears, carry out column alignment.
(5) If you can not fix the trouble by checking above, contact a service engineer.


