4535 612 34161 HD3 Service Manual Page 191
CSIP Level 2 Disassembly: Disassembly (Removal) Procedures
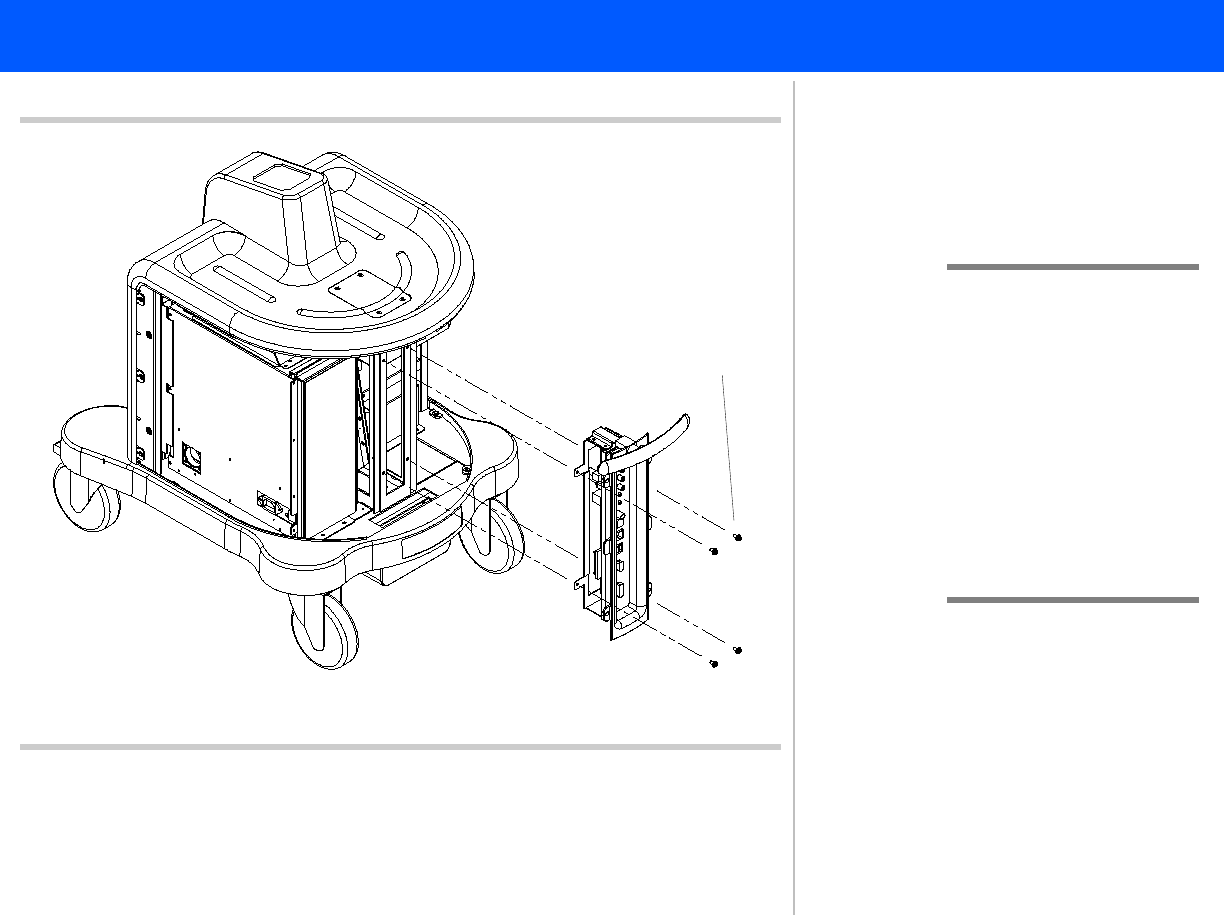
Figure 10-37 Removing the Rear I/O Panel
Panhead screws (4 plcs)
5
5. Remove the four screws securing the
Rear I/O panel to the cart frame.
CAUTION When removing any of
the four Rear I/O panel
assembly screws, ensure
that the screws don’t
drop into the Power I/O
box opening below. If this
happens you will have to
remove the Power I/O
box to retrieve them,
Figure 10-40.


