


4535 612 34161 HD3 Service Manual Page 123
CSIP: Level 2 Installation: Physical Installation Procedures
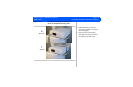
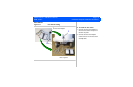
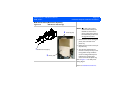
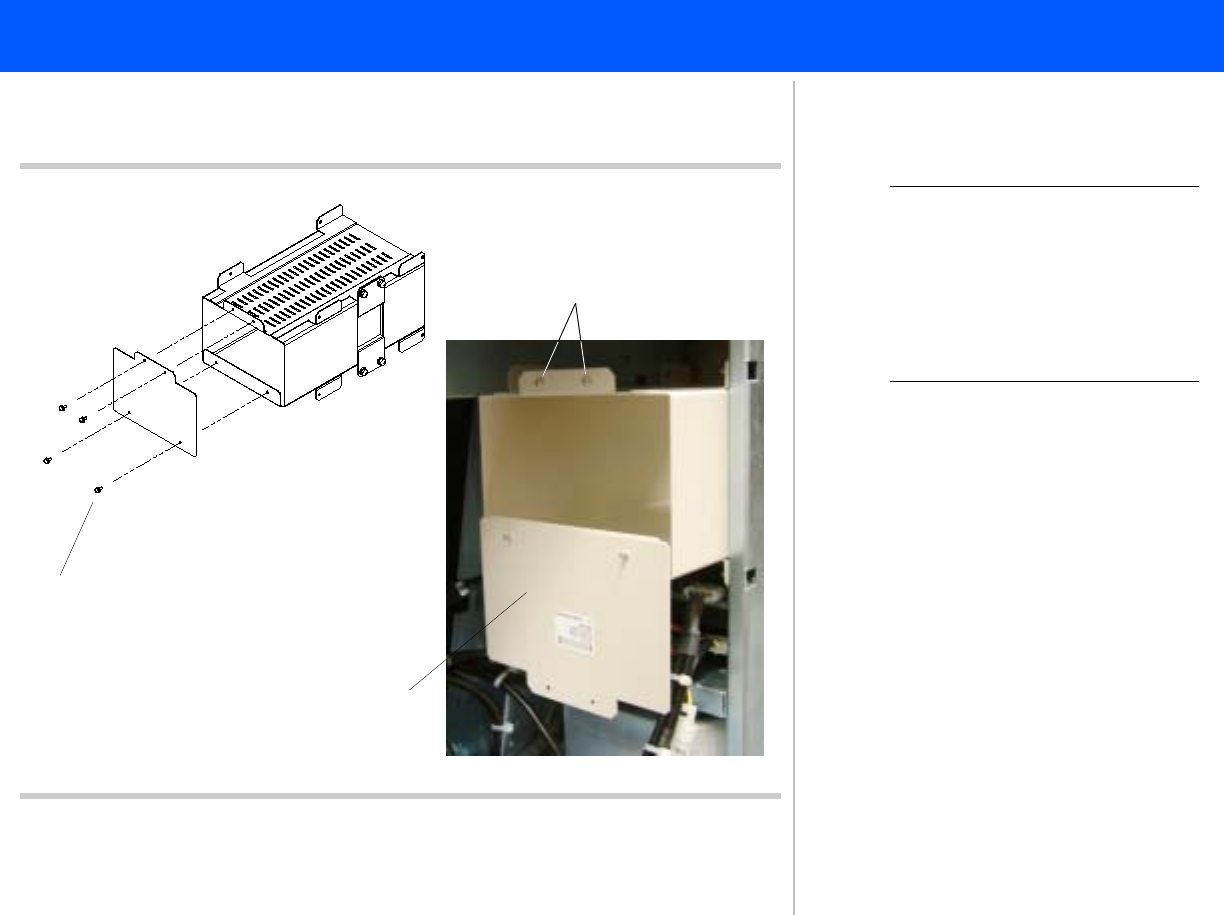
B/W Printer Plate (No-Printer Systems)
Figure 5-35 B/W Printer Plate Storage
1
Panhead screws (4 plcs)
2
Screws (2 plcs)
3
Printer plate
NOTE Most HD3 systems will be
delivered with a B/W printer
installed. Use these instruc-
tions if a B/W printer needs to
be installed and you don’t have
the upgrade instructions.
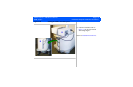
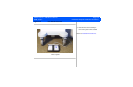
1. Remove the four screws securing the
printer plate at the back of the
printer bay.
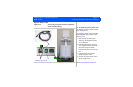
2. Replace the two screws to the top of
the printer bay.
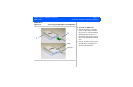
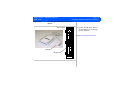
3. Turn the plate upside-down and
remount it to the printer bay so that
it hangs below the bay and allows
access for cabling the B/W printer.
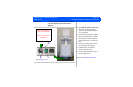
Install the two remaining plate
screws from inside the printer bay.
Refer to Figure 11-1 for B/W printer
cabling diagram.
Return to Installation Procedure List.