


4535 612 34161 HD3 Service Manual Page 162
CSIP Level 2 Disassembly: Disassembly (Removal) Procedures
Control Panel
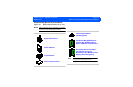
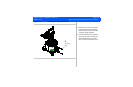
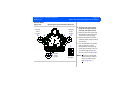
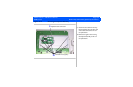
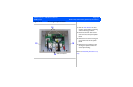
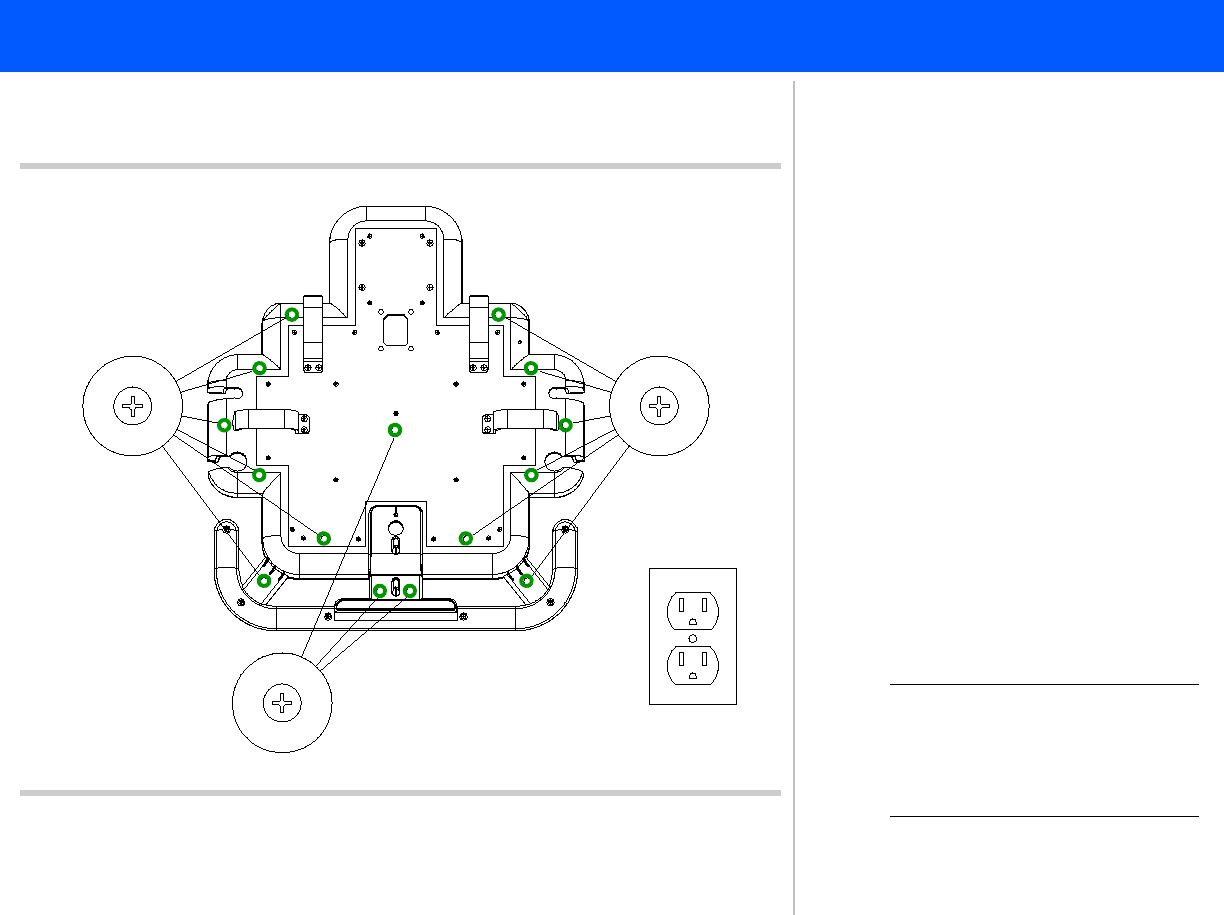
Figure 10-8 Removing the Top Control Panel Enclosure
1
AC supply
Panhead
screws
(6 plcs)
22
3
3
Panhead
screws
(6 plcs)
Panhead
screws
(3 plcs)
3
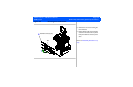
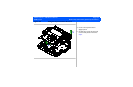
➤ To remove the control panel,
trackball assembly, keyboard
assembly, and splitter board
1. Properly power off the system and
then disconnect the system power
cord from the main AC supply.
2. Remove all transducers from the
transducer holders and place them in
a safe location.
3. From the underside of the control
panel, remove the 15 screws
(recessed holes) securing the top
control panel enclosure to the con-
trol panel housing. Remove only
these 15 screws. Proceed to step 4.
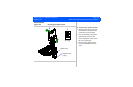
NOTE To access the control panel
splitter board you must first
remove the video monitor.
Refer to Figure 10-6.