


Fortinet 236 FortiWeb 5.0 Patch 6 Administration Guide
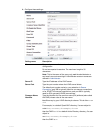
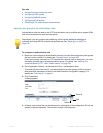
To configure an NTLM query
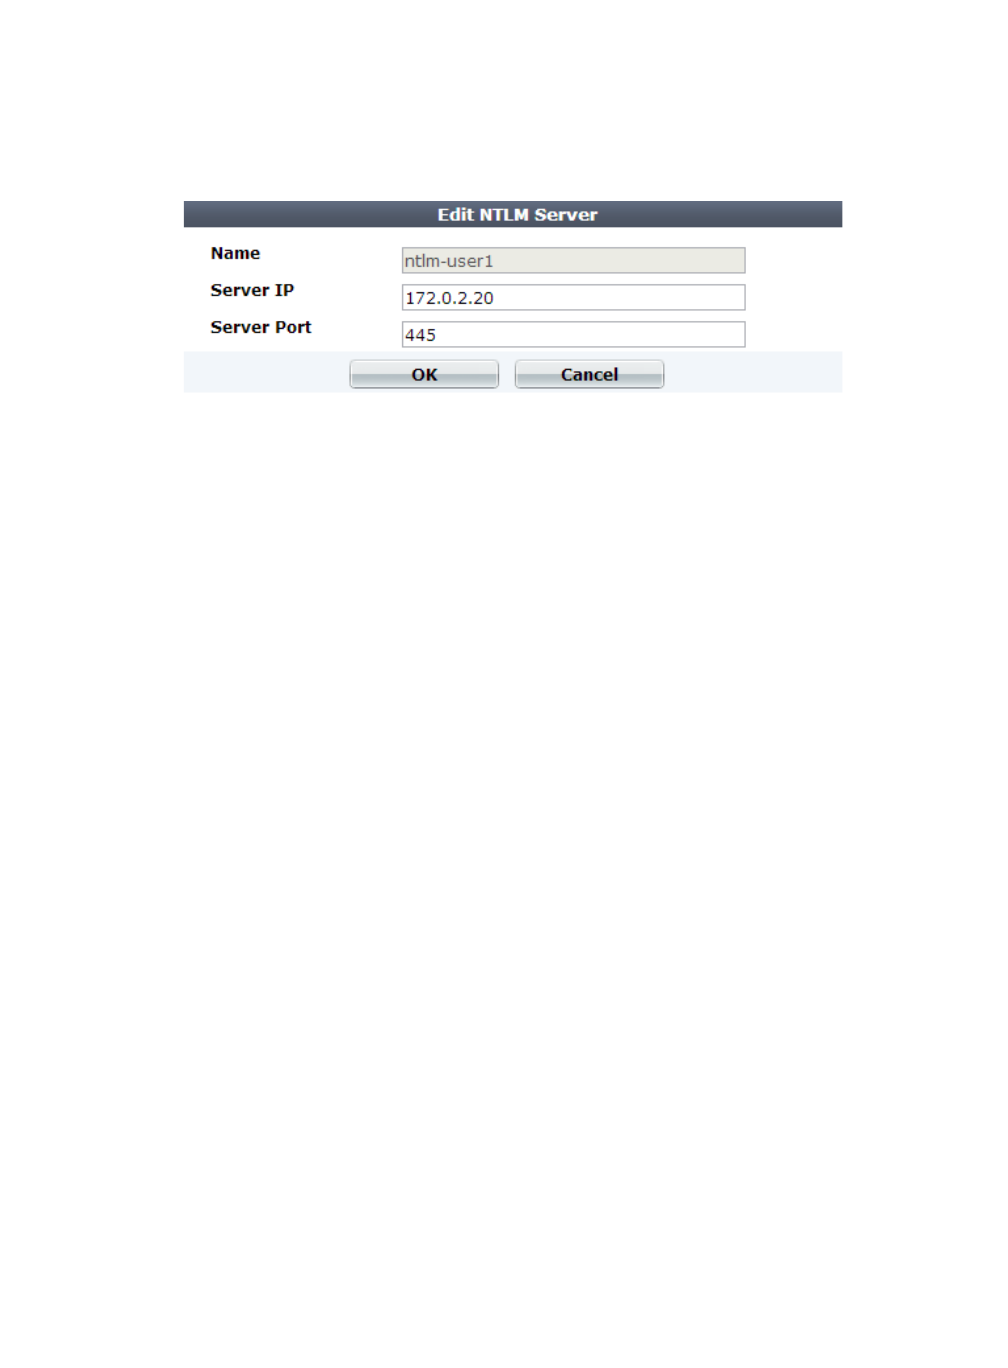
1. Go to User > Remote Server > NTLM Server.
To access this part of the web UI, your administrator's account access profile must have
Read and Write permission to items in the Auth Users category. For details, see
“Permissions” on page 47.
2. Click Create New.
A dialog appears.
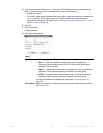
3. In Name, type a unique name that can be referenced by other parts of the configuration. This
is the name of the query only, not the end-user’s account name/login. Do not use spaces or
special characters. The maximum length is 35 characters.
4. For Server IP, type the IP address of the NTLM server that will be queried.
5. For Port, type the TCP port number where the NTLM server listens for queries.
6. Click OK.
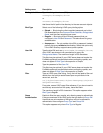
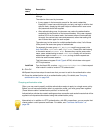
7. To activate the user account, you must indirectly include it in a server policy that governs
connections to your web servers. Continue with “Grouping users”. (For an overview, see “To
configure and activate end-user accounts” on page 225.)
Grouping users
To denote which set of people is authorized to request specific URLs when configuring HTTP
authentication offloading, you must create user groups.
A user group can include a mixture of local end-user accounts, LDAP queries, RADIUS queries,
and NTL
M queries. Therefore, on FortiWeb, a user group could be set of accounts, or it could
be a set of queries instead.
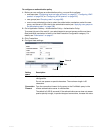
To configure a user group
1. Before you can configure a user group, you must first configure one or more local end-user
accounts or queries to remote authentication servers. See:
• “Configuring local end-user accounts” on page 227
• “Configuring LDAP queries” on page 228
• “Configuring RADIUS queries” on page 233
• “Configuring NTLM queries” on page 235
To access this part of the web UI, your administrator's account access profile must have
Read and Write permission to items in the Auth Users category. For details, see
“Permissions” on page 47.
2. Go to User > User Group > User Group.