


44
6. Assembly
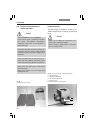
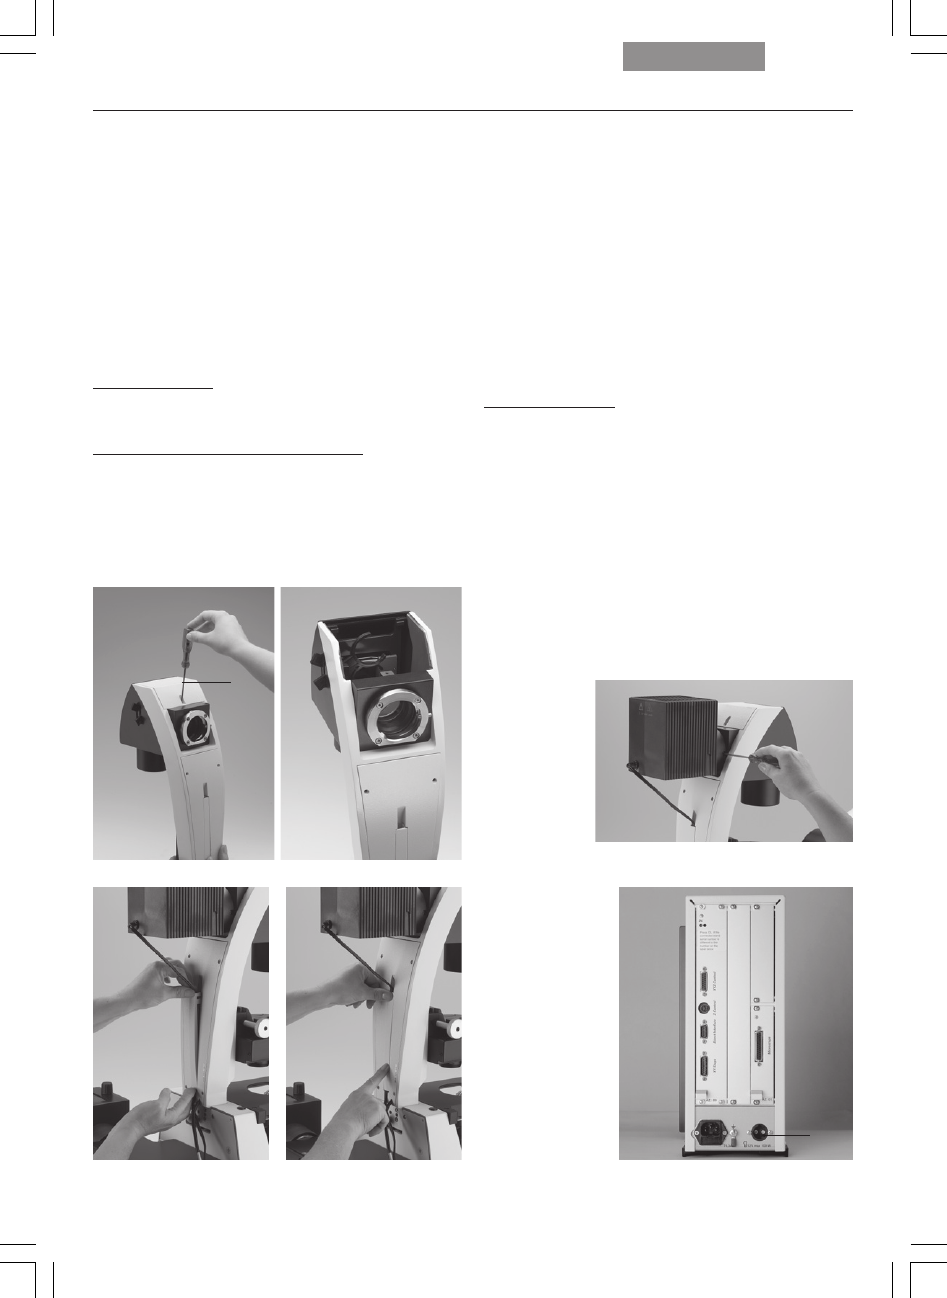
6.8 Installation of filters in the illumination arm
The Leica DMI series is equipped with a filter
magazine to accommodate two 40 mm dia. filters
as a standard feature. The filters are installed at
the factory. To change filters yourself, proceed
as follows:
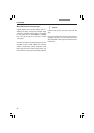
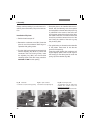
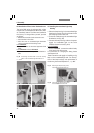
• Release the screw (46.1) and remove the cover.
• Place the filter in the holder.
• Place the cover on transmitted-light illumination
carrier and fasten with the locking screw.
Leica DMI6000B:
• Activate the filters via the Leica Application Suite
(LAS).
Leica DMI3000B and Leica DMI4000B:
• Mark the 2 levers with the provided adhesive la-
bels.
Fig. 46 Unscrewing the filter holder cover and inserting
filters in the transmitted-light illumination arm
1 Screw
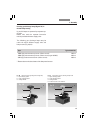
6.9 Installing the transmitted-light lamp
housing
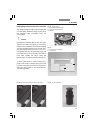
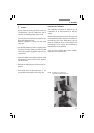
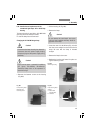
• Place the lamp housing in the transmitted light
lamp housing mount (Fig. 47) and fasten it with
the clamping screw on the side.
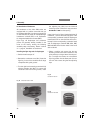
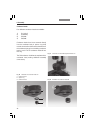
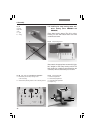
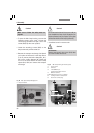
• Thread the cable through the transmitted-light
illumination arm (Fig. 48).
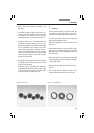
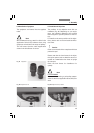
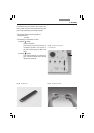
• Connect the lamp housing cable to the power
supply for transmitted light on the Leica
CTRxxxx electronics box (Fig. 49.1).
Leica DMI3000B:
• For the DMI3000B, connect the cable directly
to the back of the microscope.
For instructions on changing the lamp, please
see Chapter 6.10.
These instructions also apply to installing an Hg
lamp on the transmitted-light axis. For descrip-
tions of the lamp housings and replacement of
the burner, please see Chapter 6.12, →
p. 48ff.
1
Fig. 49 Connecting the lamp housing to the
Leica CTR6000 electronics box
Fig. 48 Lamp housing cabling (cable duct)
Fig. 47 Mounting the lamp housing on the
transmitted-light illumination arm
1