


34
6. Assembly
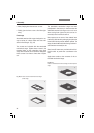
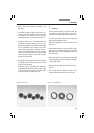
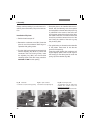
Fig. 19 a, b Inserts for attachable mechanical stage
(fixed stage)
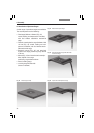
• Next, firmly tighten the two rear screws.
• Finally, give the front screw a final firm tight-
ening.
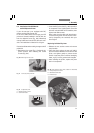
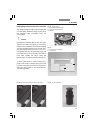
Fixed stage
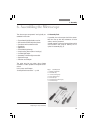
Attachable mechanical stages designed to ac-
cept a variety of culture dishes are also avail-
able for fixed stages. (Fig. 18).
Two screws are included with the attachable
mechanical stage. Tighten these screws in the
threaded holes on the underside of the fixed
stage with the 3mm hex screwdriver. Retighten
these screws from time to time after frequent
use.
The attachable mechanical stage has been
preadjusted in the factory. In the event that the
attachable mechanical stage runs out of focus
when moving from right to left, this can be cor-
rected by Leica’s technical service.
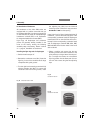
Next, remove one or more of the ordered insert
frames (Fig. 20) from their packaging and place the
insert frame into the precise retention system. The
stage, the attachable mechanical stage and the in-
sert frame are now ready for use.
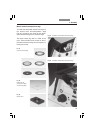
Some (not all) inserts are provided with self-ad-
hesive scales to permit the coordinates to be
read.
Apply these scales to the recesses of the at-
tachable mechanical stage.
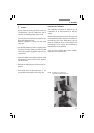
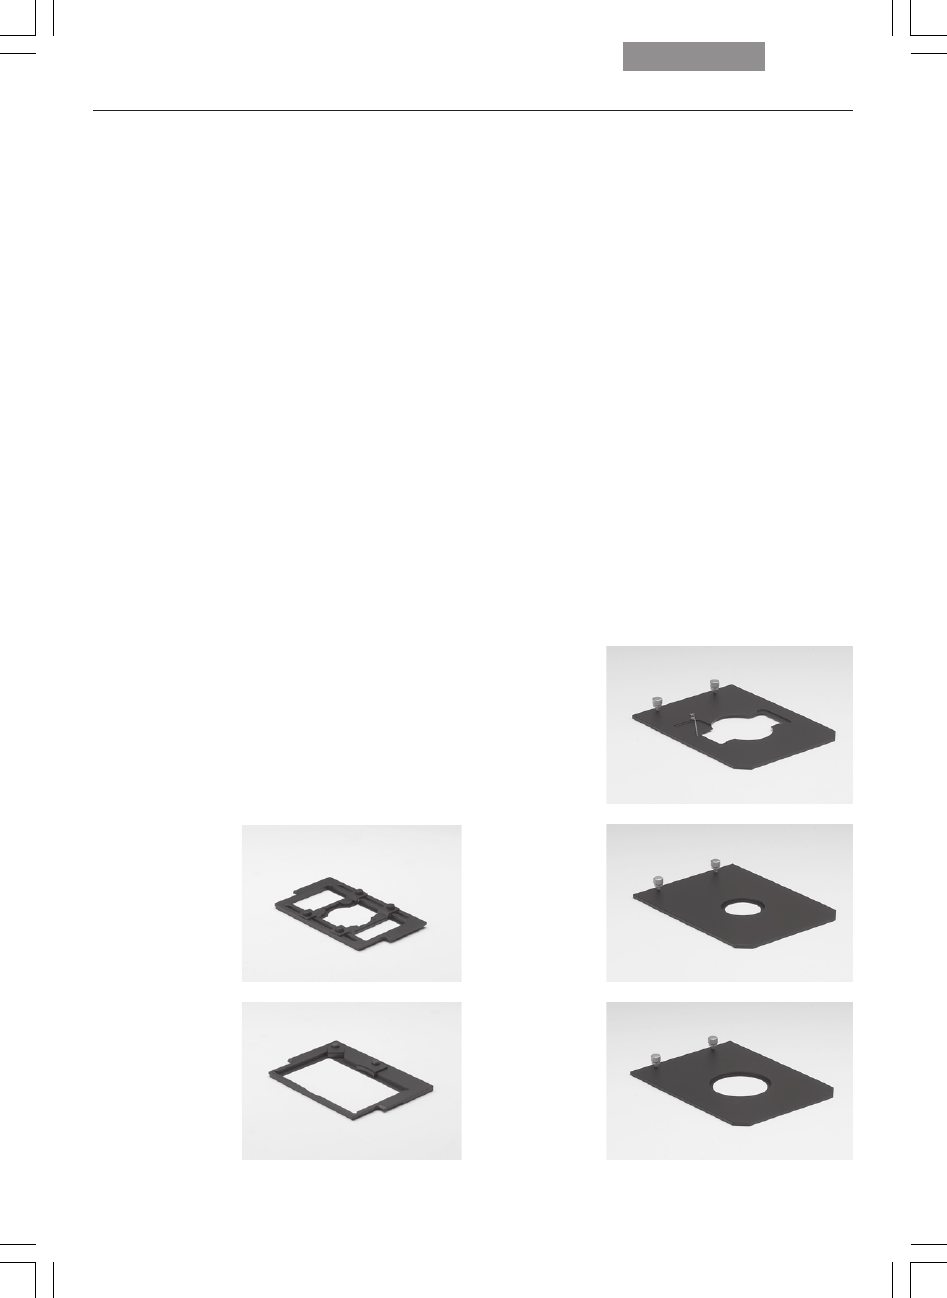
Fig. 20 a, b, c
Inserts for attachable mechanical stage (micromanipulation
stage)
a
b
a
b
c