


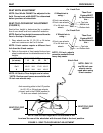
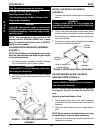
21
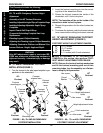
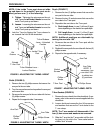
5. Line up the mounting holes in the T-arm socket
with the threaded holes in the T-arm clamp.
6. While holding the T-arm socket and the T-arm
clamp together, install the four (4) hex screws and
washers into mounting holes and tighten loosely.
7. Adjust the T-arm socket. Refer to ADJUSTING
THE T-ARMS in this procedure of the manual.
8. Repeat STEPS 2-7 for the opposite side of the
wheelchair.
9. Install the T-arm into theT-arm sockets. Refer to
INSTALLING/REMOVING THE T-ARMS in this
procedure of the manual.
4. Adjust the T-arm for desired height, width and depth,
if necessary. Refer to ADJUSTING THE T-ARMS in
this procedure of the manual.
5. Repeat STEPS 1-4 for the opposite side of the wheel-
chair.
Removing
1. Press in on the locking lever and lift the T-arm
straight up and out of the T-arm socket.
NOTE: If the T-arm does not slide up and down
in the T-arm socket as desired, adjust the T-arm
socket. Refer to ADJUSTING THE T-ARMS in this
section of the manual.
2. Repeat STEP 2 for the opposite side of the wheel-
chair.
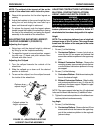
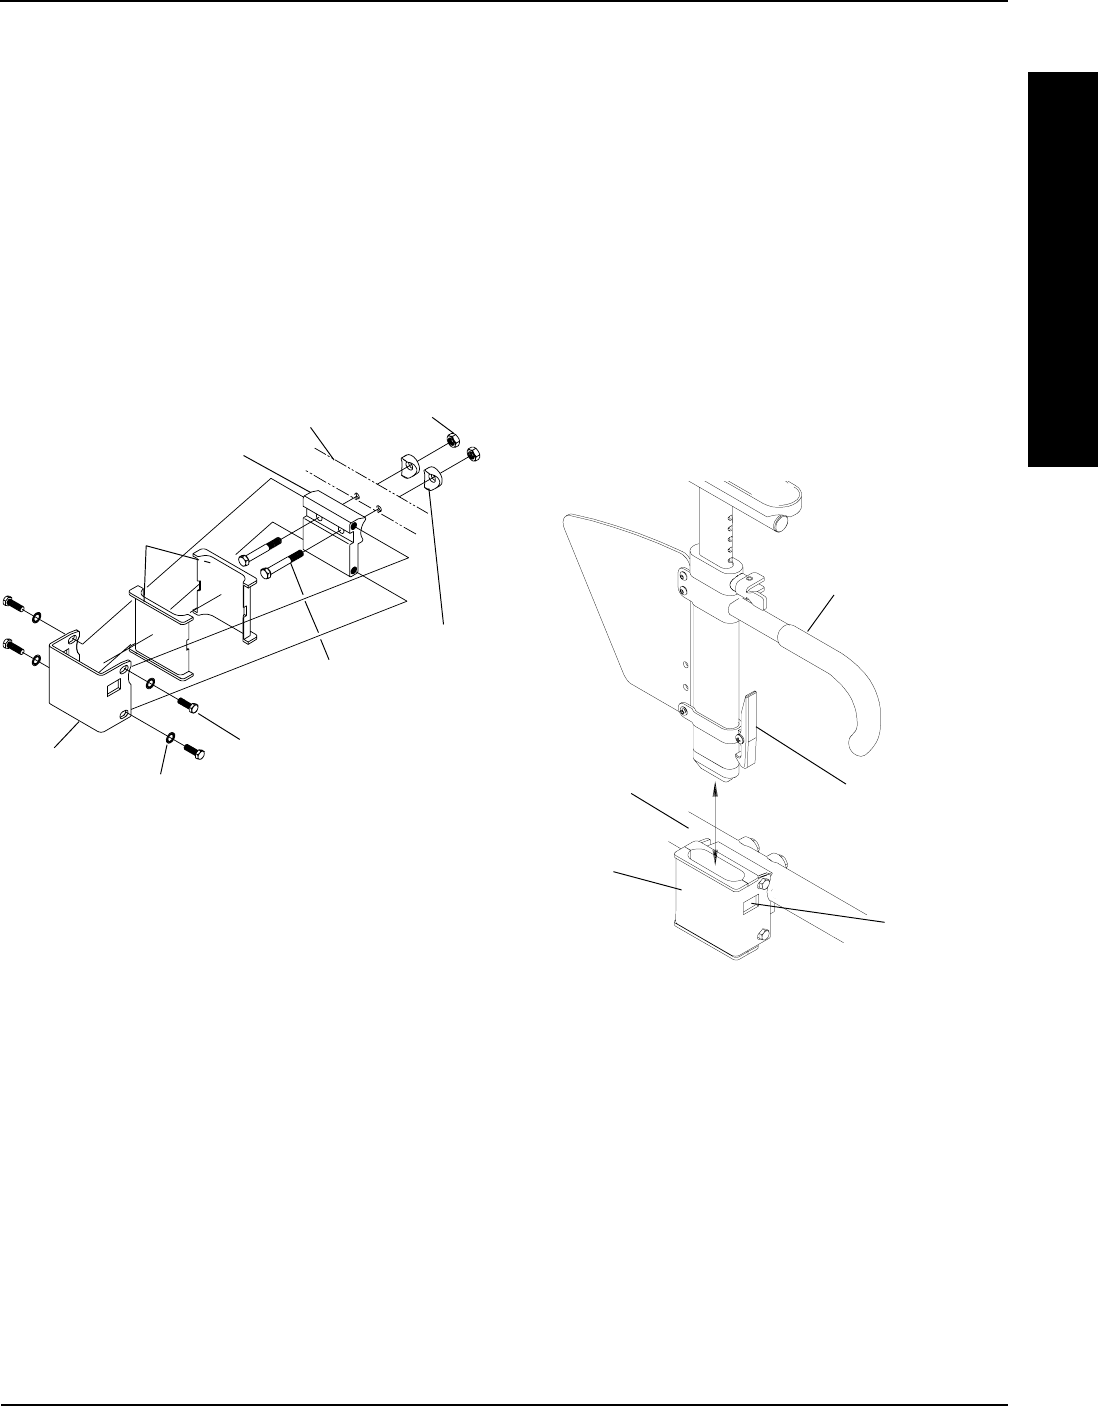
T-Arm Socket
Inserts
Coved
Washers
Locknuts
Wheelchair Frame
T-Arm Clamp
Hex Bolts
Hex Screws
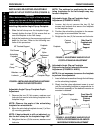
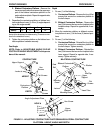
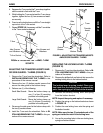
INSTALLING/REMOVING THE T-ARMS
(FIGURE 4)
Installing
1. Position the T-arm over the T-arm socket on the
wheelchair frame.
NOTE: Make sure the locking lever is towards the
front of the wheelchair.
2. Slide the T-arm into the T-arm socket until the lock-
ing lever is in the slot in the T-arm socket and an
audible "click" is heard.
3. Pull up on the T-arm to make sure the T-arm is
locked in place.
NOTE: If the T-arm does not slide in the T-arm
socket as desired, adjust the T-arm socket. Refer
to ADJUSTING THE T-ARMS in this procedure of
the manual.
Washers
T-Arm
Socket
FIGURE 3 - INSTALLING THE T-ARM SOCKETS
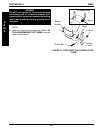
ADJUSTING THE T-ARMS
Height (FIGURE 5)
1. Unlock the T-arm by flipping the T-arm release lever
towards the inside of the wheelchair.
NOTE: If necessary, Pull out on the T-arm re-
lease lever and rotate 180
o
so it can be flipped
towards the outside of the wheelchair.
2. Slide the T-arm to one (1) of:
A. Low Height T-Arms - Nine (9) positions.
B. High Height T-Arms - Seven (7) positions.
FIGURE 4 - INSTALLING/REMOVING THE
T- ARMS
A
R
M
S
PROCEDURE 2ARMS
T-Arm
Socket
Slot
Locking Lever
(Towards the
front of the
wheelchair.)
T-Arm
Wheelchair
Frame