


40
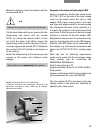
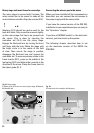
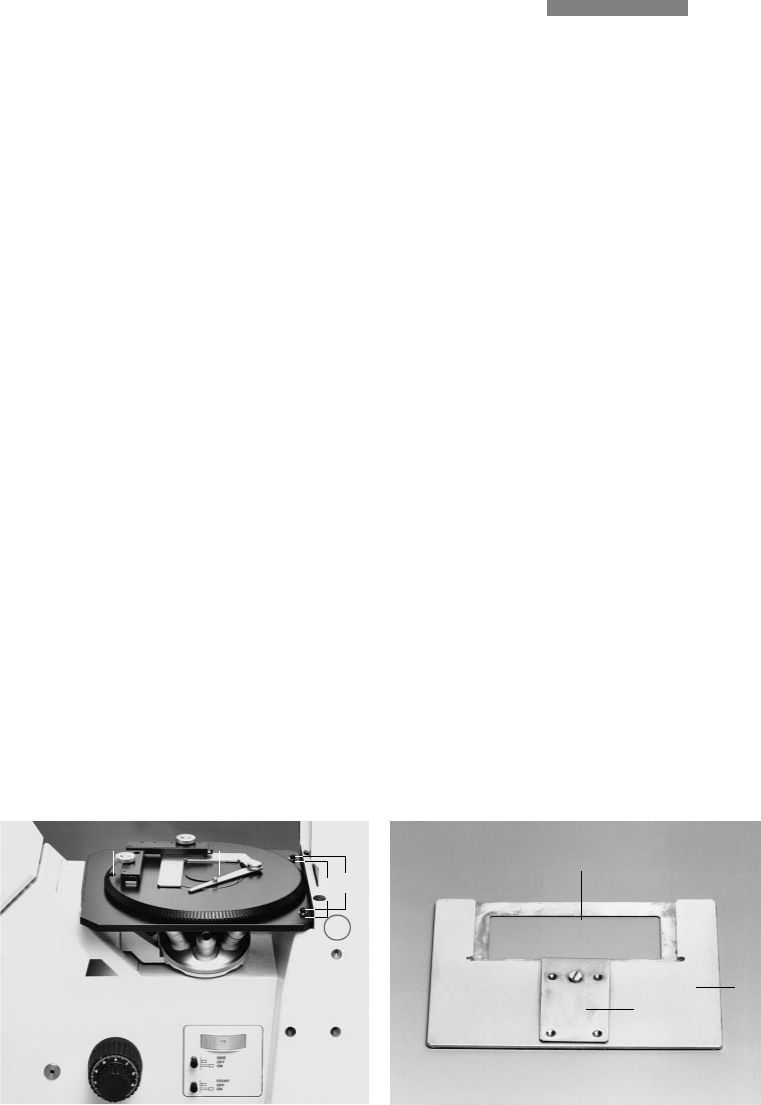
Rotary stage and insert frame for coverslips
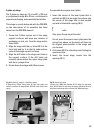
The rotary stage is secured with 3 screws. The
rotary mount has to be moved to make all the
screw holes accessible. Align the screws (51.2).
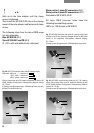
n. b.:
Washers (51.3) should be used as well for the
back drill holes. Only screw the screws in lightly,
as the rotary stage first has to be pressed into
the centre. This is done by inserting the
centration aid (51.4) into the rotary stage.
Engage the Bertrand lens by turning the knurl
and focus with the lever. Move the stage until
the bright circle is in the centre of the field
of view. Then secure the stage in position,
disengage the Bertrand lens and remove the
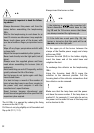
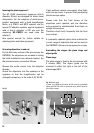
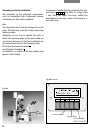
centration aid. To secure specimen slides in the
frame inserts (52.1), press on the middle of the
leaf spring (52.2) and slide in the coverslip in the
direction of the arrow. Clamp the frame insert in
the object guide (51.1).
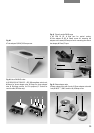
Connecting the microscope to the mains
When you have installed all the components as
described, you can connect the microscope to
the power supply with the mains cable.
If you have the manual version of the DM IRB,
installation is now complete and you can jump to
the “Operation” chapter.
If you have a DM IRB/E model (i. e. the electronic
version), you have to set up the system.
The following chapter describes how to set
up the electronic version of the DM IR: the
DM IRB/E.
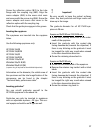
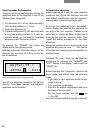
Fig. 51 Rotary stage
1 Object guide, 2 Screws for securing the stage, 3 Washers,
4 Centration aid
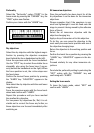
Fig. 52
1 Frame insert for coverslips, 2 Leaf spring
!
2
1
ᮢ
2
1
4
2
3