


17
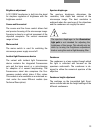
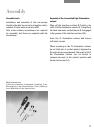
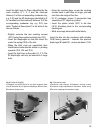
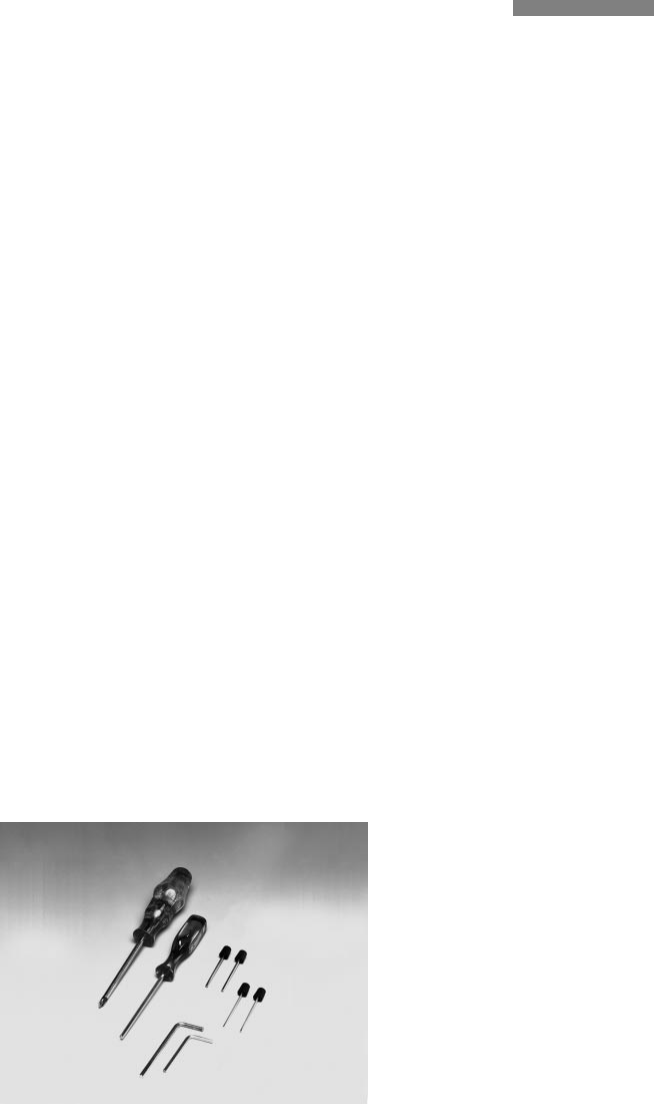
Fig. 3 Assembly tools
1 Cross-tip screwdriver*, 2 Hexagonal screwdriver, 3 mm,
3 Centring keys, 2 mm*, 4 Centring keys, 1.5 mm*, 5 Allen key,
3 mm*, 6 Allen key, 2.5 mm* (short version)
Assembly
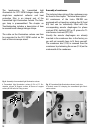
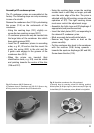
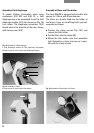
Assembly of the transmitted light illumination
column
Wipe off the interface surface (4.3) with a dry
cloth. Tilt the illumination column (4.1) slightly to
the back and insert so that the pin (4.2) engages
in the groove of the interface surface (4.4).
Erect the TL illumination column and secure
with the 4 screws.
When screwing on the TL illumination column,
do not hold onto it so that optimal alignment to
the optical axis is guaranteed. The angle of tilt of
the illumination column can be varied or
clamped securely in the vertical position with
the knurled screw (5.1).
Assembly tools
Installation and assembly of the microscope
should preferably be carried out together with a
member of Leica sales or service staff.
Only a few ordinary screwdrivers are required
for assembly, and these are supplied with the
microscope.
1
2
3
4
5
6