


33
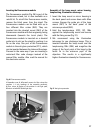
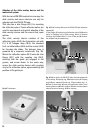
Move the collector to the front position with the
focusing knob (36.1).
n. b.:
Remove the protective cover from the burner.
Put the lamp holder with burner inserted into the
lamphousing and secure with the screws
(10.10). Try moving the collector (36.1): it must
not touch the power lead. When closing the
lamphousing, make sure that the pins of the cut-
out plug engage in the sockets (35.11). Retighten
the screws of the lid. Push the cut-out plug in as
far as it will go.
Attach the lamphousing to the microscope and
connect to the power unit (compare mains
voltage!).
Adjust the burner immediately after ignition.
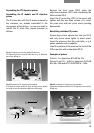
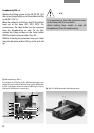
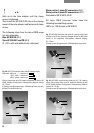
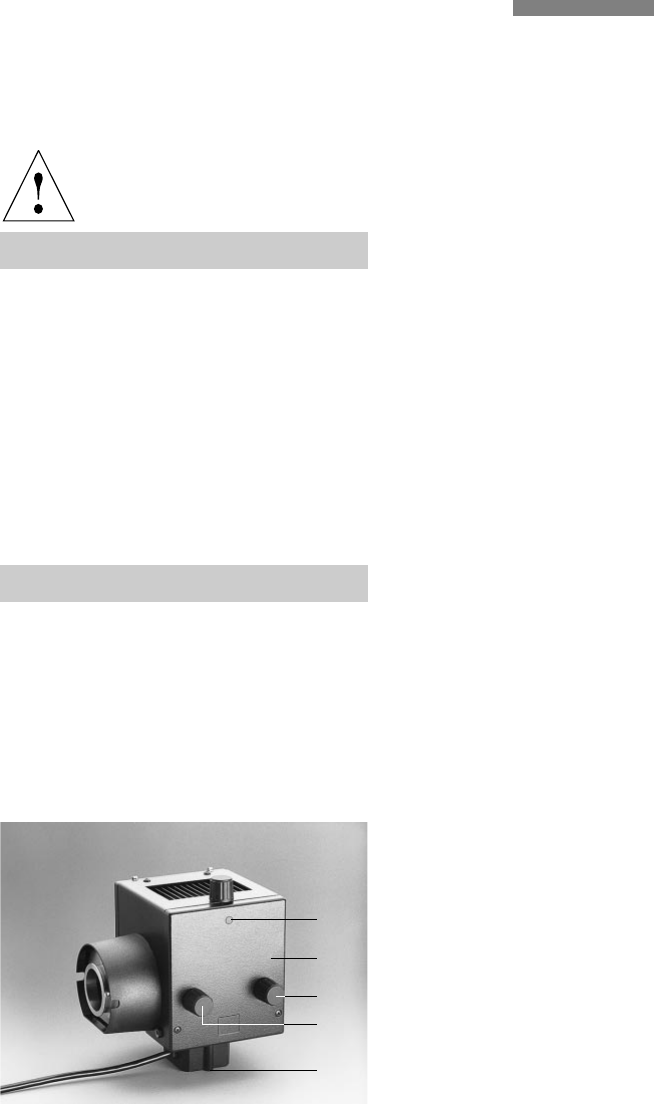
Fig. 36 Lamphousing 106 z L with Hg 100W lamp
1 Collector focusing, 2 Lamp adjustment, vertical, 3 Lamp
adjustment, horizontal, 4 Lamp holder Hg, 5 Reflector
adjustment (not visible)
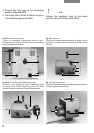
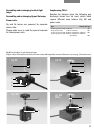
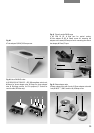
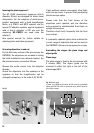
Assembly of the tubes and tube adapter IR/R
Using a screwdriver, slacken the clamp screw
(37.1; 38.1; 39.1) on the side of the tube change
mount on the stand, mount the tube or tube
adapter IR/R (clamp screw points to the right)
and align with edges parallel to the microscope
(the Siedentopf binocular points upwards in a
V shape). The guide pin in the tube mount of the
stand must fit into the groove of the tube change
interface or interface of the tube adapter IR/R.
Retighten the clamp screw. The procedure is the
same for mounting the tube on the IR/R adapter.
Similarly, the DM R tubes can be connected via
this adapter, e. g. the binocular observation and
photo tube HC FSA 25 PE (41.1), viewing angle
30°.
With side port for reflecting measurement
scales and µ marks into the microscope image
(slide overlay) and for connecting the
MACRODUAL ZOOM device.
Field of view index up to 22.
Eyepiece diameter 30 mm for HL PLAN 10x/20 or
22 eyepieces.
Eyepieces with larger field of view numbers are
not recommended for use on the DM IRB.
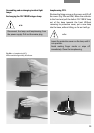
The tube adapter IR HC is mounted on the tube
change mount of the stand and stabilised by
tightening the clamp screw.
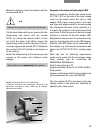
2
5
3
1
4