Managing Bookmarks
129
SonicWALL SSL VPN 5.5 User Guide
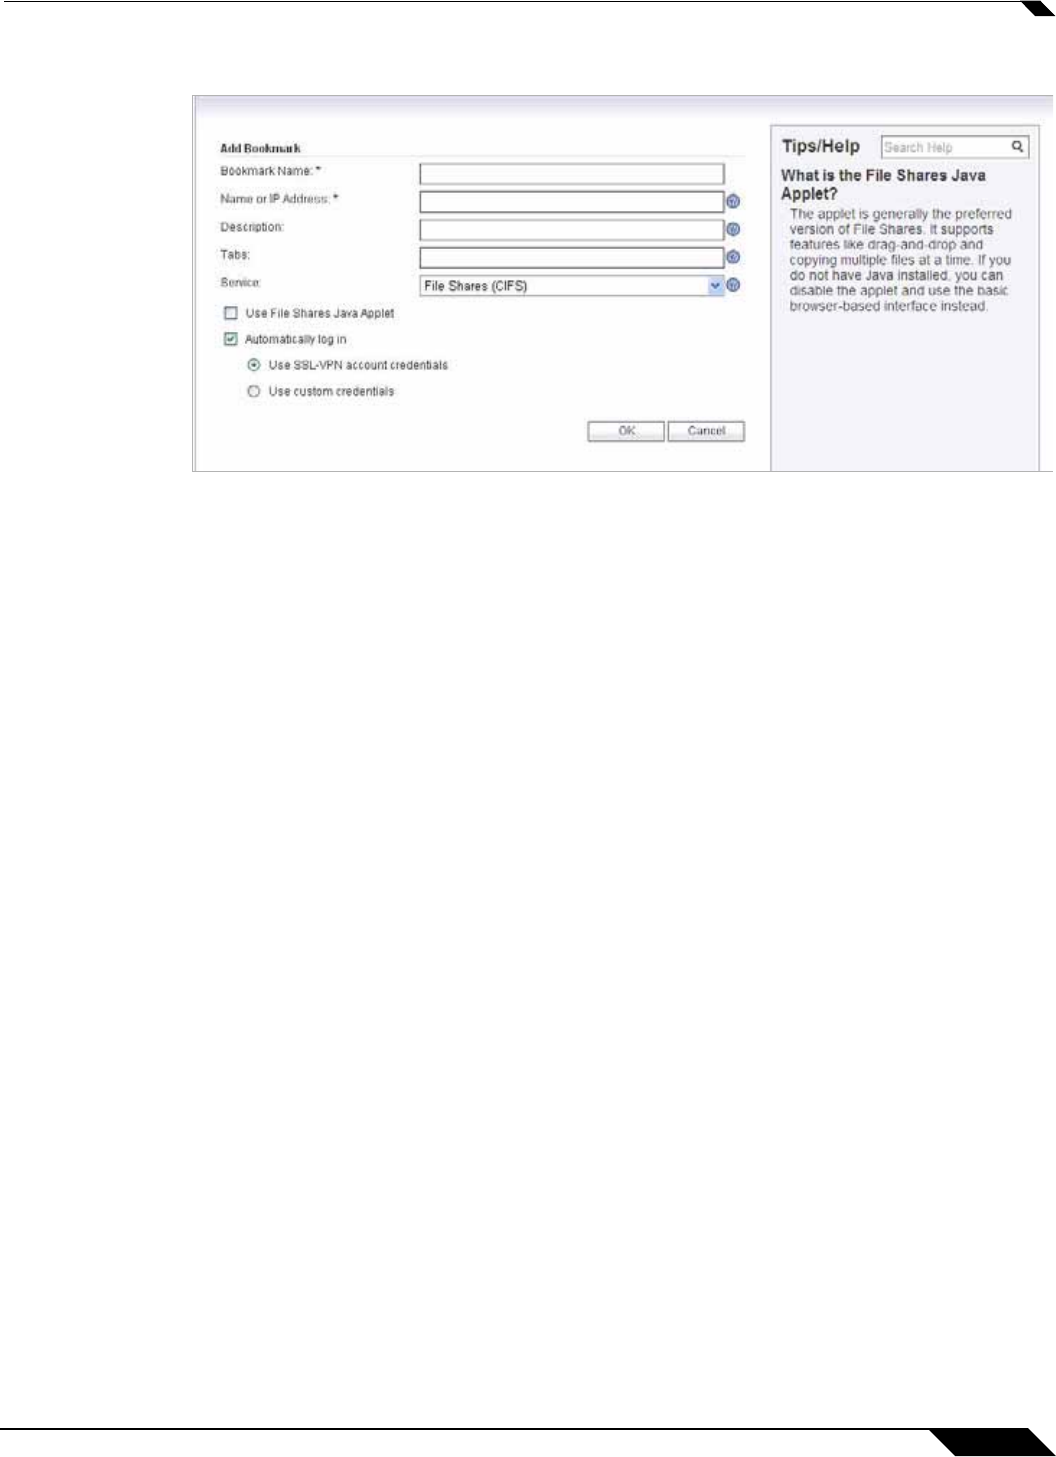
Step 2 In the Add Bookmark screen, enter a descriptive name in the Bookmark Name field.
Step 3 Enter the domain name, IP address, or IPv6 address of a host machine on the LAN in the Name
or IP Address field. IPv6 addresses should be enclosed in brackets (i.e. the [ and ] symbols).
You may also enter the wildcard variable %USERNAME% to display the current user name.
Variables are case-sensitive.
Step 4 In the Description field, optionally enter a friendly description to be displayed in the bookmark
table.
Step 5 Select the user permissions level from the Allow user to edit/delete drop-down list. You can
select Use user policy, Allow, or Deny.
Step 6 Select the service type in the Service drop-down list. You can select from the following
services:
• Terminal Services (RDP - ActiveX)
• Terminal Services (RDP - Java)
• Virtual Network Computing (VNC)
• Citrix Portal (Citrix)
• Web (HTTP)
• Secure Web (HTTPS)
• External Web Site
• File Shares (CIFS)
• File Transfer Protocol (FTP)
• Telnet
• Secure Shell version 1 (SSHv1)
• Secure Shell version 2 (SSHv2)
The following sections provide additional details about adding the different types of bookmarks:
• “Citrix Bookmarks” on page 130
• “RDP ActiveX and Java Bookmarks” on page 130
• “Web Bookmarks” on page 133
• “FTP Bookmarks” on page 133
• “SSHv2 Bookmarks” on page 134
