Milestone XProtect Smart Client 3.0; User’s Manual
www.milestonesys.com Page 29 Views
4. Repeat for each camera required in the view.
Tip: If you want to use all of the cameras under a server, you may simply drag the
required server link to the view; this will automatically place all of the server’s cameras in
the view from the selected position onwards. Make sure a sufficient number of positions are
available in the view.
Tip: You can easily change which cameras are included in your view: Either clear an
individual camera position by clicking the clear button , then drag another camera to the
cleared position, or simply overwrite a position by dragging a different camera to the
position.
Adding Carousels
A carousel is used for displaying images from several cameras, one after the other, in a single view
position. You are able to specify which cameras to include in the carousel as well as the interval
between camera changes.
To add a carousel to a view, do the following on the Setup tab:
1. Drag the System Overview section’s Carousel link to the required position in the view.
2. Release the mouse button over the required position.
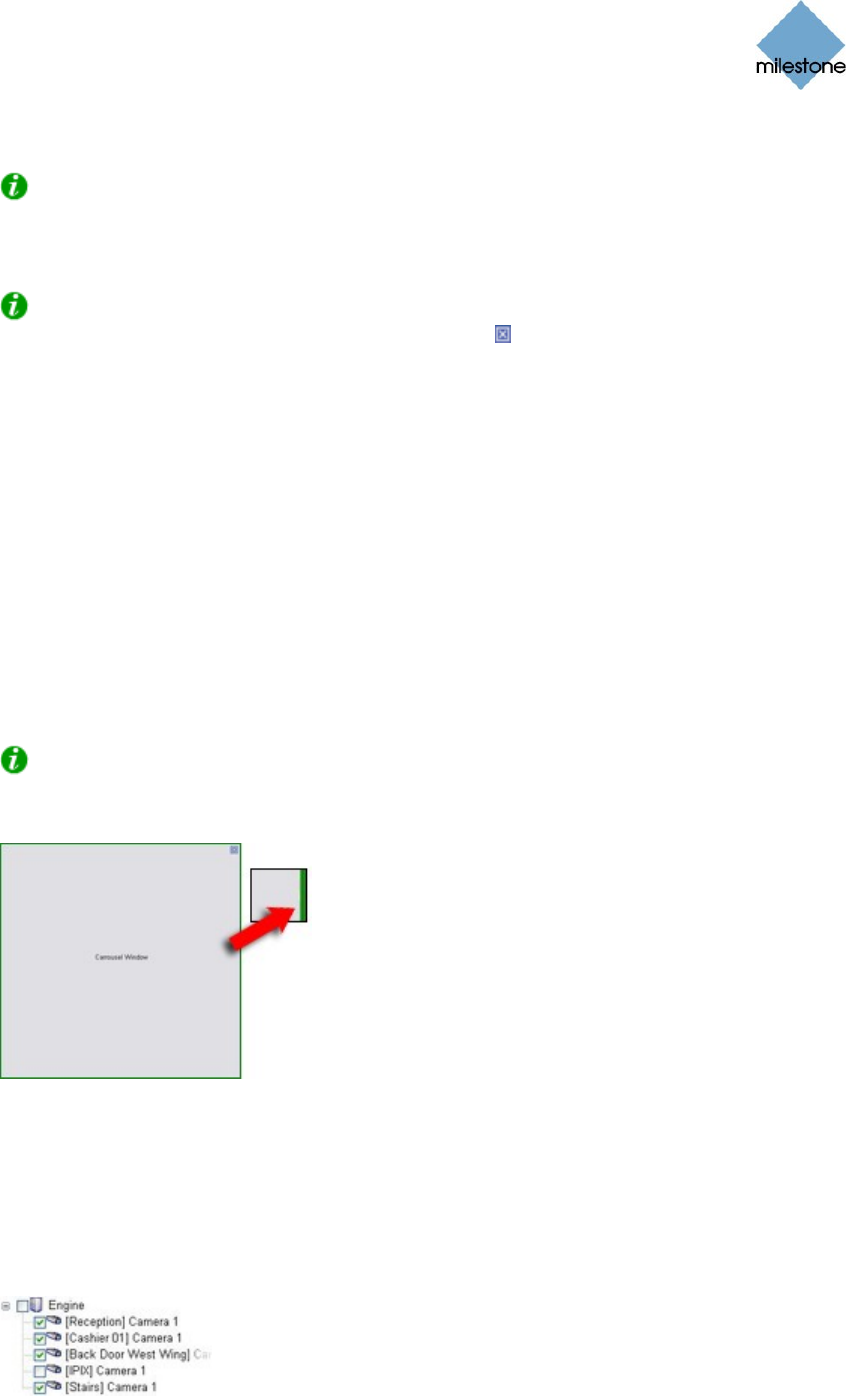
Tip: Note that the position gets a thin green border. The green border indicates that
the position is used for a carousel; the green border will also be evident when using the
view on the Browse and Live tabs.
Thin green border indicates carousel
3. When the carousel position is selected, you are able to specify its properties in the Setup
tab’s Properties section.
Begin by selecting which cameras to include in the carousel. In the following example, we
have selected four cameras. Note that you are also able to select all cameras on a server in
one go by selecting the check box next to the server icon.
The sequence in which cameras will appear in the carousel is automatically determined by


