Instruction Manual
IB-106-340 Rev. 3.0
December 2003
6-2 Startup and Operation with LOI Rosemount Analytical Inc. A Division of Emerson Process Management
Oxymitter 4000
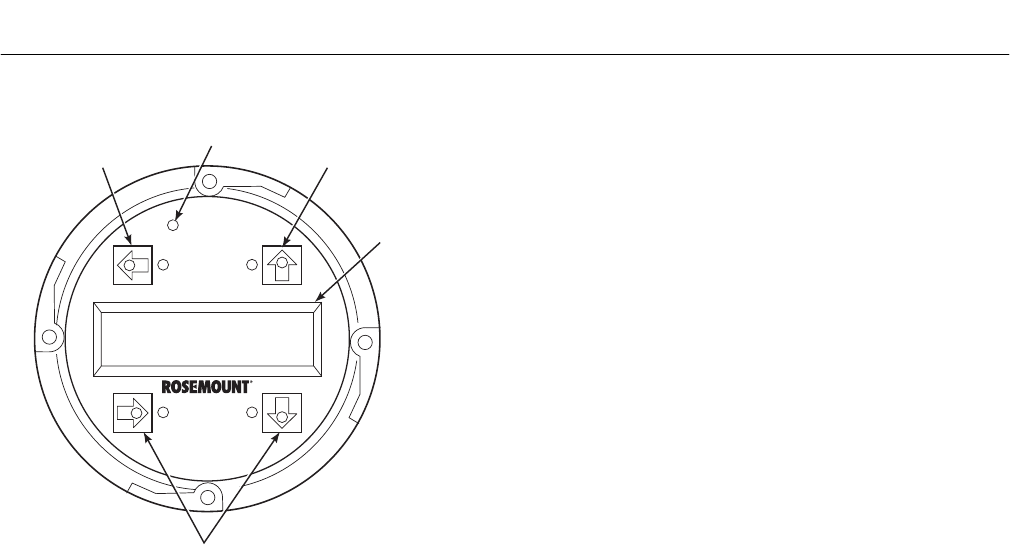
LCD
DISPLAY
WINDOW
SELECTION
ARROWS
SELECTION
ARROW
37260054
SELECTION
ARROW
TOUCH
CONFIRMATION
LED
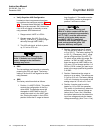
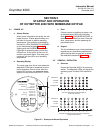
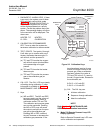
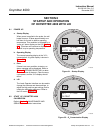
Figure 6-3. LOI Features
6-3 NAVIGATING THE LOCAL OPERATOR
INTERFACE
a. Overview
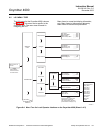
The Local Operator Interface (LOI), shown
in Figure 6-3, utilizes a bright blue gas-
florescent display. Intensity is adjustable.
There is an Infra-red LED source and de-
tectors for each key that can detect a finger
placed above the button through the glass
window. There is no need to open the in-
strument in bad weather in order to access
the electronics.
It should be noted that the Oxymitter also
utilizes HART communications, permitting
access to all instrument functionality any-
where the 4-20 mA signal terminates via a
275/375 handheld communicator.
b. Lockout
The Local Operator Interface (LOI) has a
lockout feature that prevents nuisance ac-
tuation by someone brushing against the
glass window, raindrops, dirt, insects, etc.
This lockout mode is automatically estab-
lished when no buttons are pushed for 30
seconds (default). This countdown to lock-
out is configurable.
In order to unlock the display, input a "Z"
pattern. First, push the top left (gray) arrow,
then the top right, followed by the bottom
left and finally the bottom right. The "LK"
notation in the upper right corner of the dis-
play will now disappear. Push the gray ar-
row at the top left hand corner once more to
enter into the menu structure. Once one
moves deeper into the menu structure, ad-
ditional time is provided to the user so that
the lockout initiation does not become a
nuisance. This additional “revert” time is
defaulted at one hour and is also user con-
figurable.
6-4 LOI KEY DESIGNATIONS
The gray (top left) key will move one level higher
in the menu structure. When entering numbers,
this key will move the cursor to the left. This key
also doubles as an “Enter” key, once numbers
are entered, and the cursor is moved to it’s left-
most position. The new data value will appear in
the top line of the display once it’s accepted.
The blue key on the bottom left acts as a se-
lector when choosing from among a number of
menu items. This key also will move the cursor
to the right when entering numbers.
Up/Down keys (to the left side of the keypad)
are used to increment up and down when se-
lecting from a number of menu picks, and also
are used for incrementing numbers up and
down for data input.


