Chapter 6 Page 117
■ Avoid scheduling a floating event that repeats daily. These events can accumulate quickly
unless you complete them each day.
■ When viewing a floating event in a desktop application, the Note field will contain a series of
characters: ##f@@@@@@ for an incomplete event and ##c@@@@@@ for a complete
event. Do not remove or edit these characters.
Working with To Do items
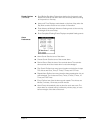
Date Book Plus can create and display To Do items. To Do items appear in priority order at the
top of the Day View screen.
To create To Do items in Date Book Plus:
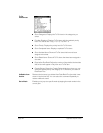
1. From the Day View, press Menu .
2. Under Record, select New To Do (/T).
3. Enter a description of the To Do item.
4. Tap a blank area on the screen to deselect the item.
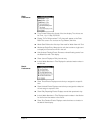
To mark a To Do item complete:
■ Tap the check box next to the item.
Tips for using To Do items:
■ When you create a To Do item in Date Book Plus, the priority and category are based on the
settings in the Create Options dialog box. See the section that begins on page 122 for details.
■ If a To Do item does not appear in Date Book Plus, confirm that the category assigned to the
item is selected. See the section that begins on page 122 for details.
■ If you do not complete a To Do item on or before the due date, then an ! (exclamation mark)
appears next to the item as a reminder that it is overdue.
Using the Daily Journal
You can use the Daily Journal feature to record events as they occur. Events are recorded with
automatic time-stamping as Date Book Plus Notes so they do not clutter your schedule. The Daily
Journal is especially useful for tracking activities such as sales calls, start and end times for
consulting or other work, or keeping a record of how you spend your time at the office.
To create a Daily Journal entry:
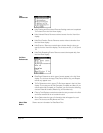
1. From the Day View, press Menu .
2. Under Record, select New Journal Entry (/J).
Date Book Plus creates an untimed event, opens a Note for this event, and inserts the current
time. If you’ve already started a journal for the current day, Date Book Plus opens the existing
journal and inserts a new entry.
3. Enter a description for the journal entry.
4. Hold Option and press Return to finish.


