


14. PROGRAMMING MODE EO1-31009
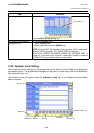
14.17 Schedule Setting
14-54
Procedure
Item Procedure
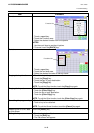
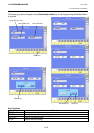
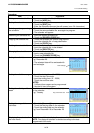
Adding a new schedule No. 1. Input a new schedule No. (1- 99)
2. Touch the [ADD] key.
Setting the schedule name 1. Touch the schedule No. area.
2. Touch the [EDIT] key.
3. Enter the schedule name on the edit screen (max. 24 characters).
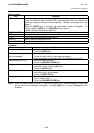
Selecting and programming
the schedule
1. Touch the desired schedule No. area to select.
2. Touch the same schedule No. area again to program.
3. The calendar will appear.
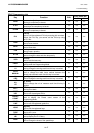
Searching the schedule No. 1. Input the desired schedule No.
2. Touch the [SEARCH CODE] key.
Copying the schedule No. 1. Touch the schedule No. area of copy source.
2. Input the schedule No. of copy destination.
3. Touch the [COPY] key.
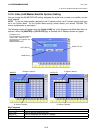
Deleting the schedule No. 1. Touch the schedule No. area to be deleted.
2. Input the schedule No. to be deleted.
3. Touch the [DELETE] key.
Changing the schedule no. 1. Touch the desired schedule No. area.
2. Input a new schedule No.
3. Touch the [CHANGE CODE] key.
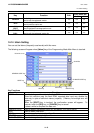
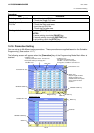
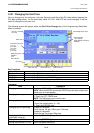
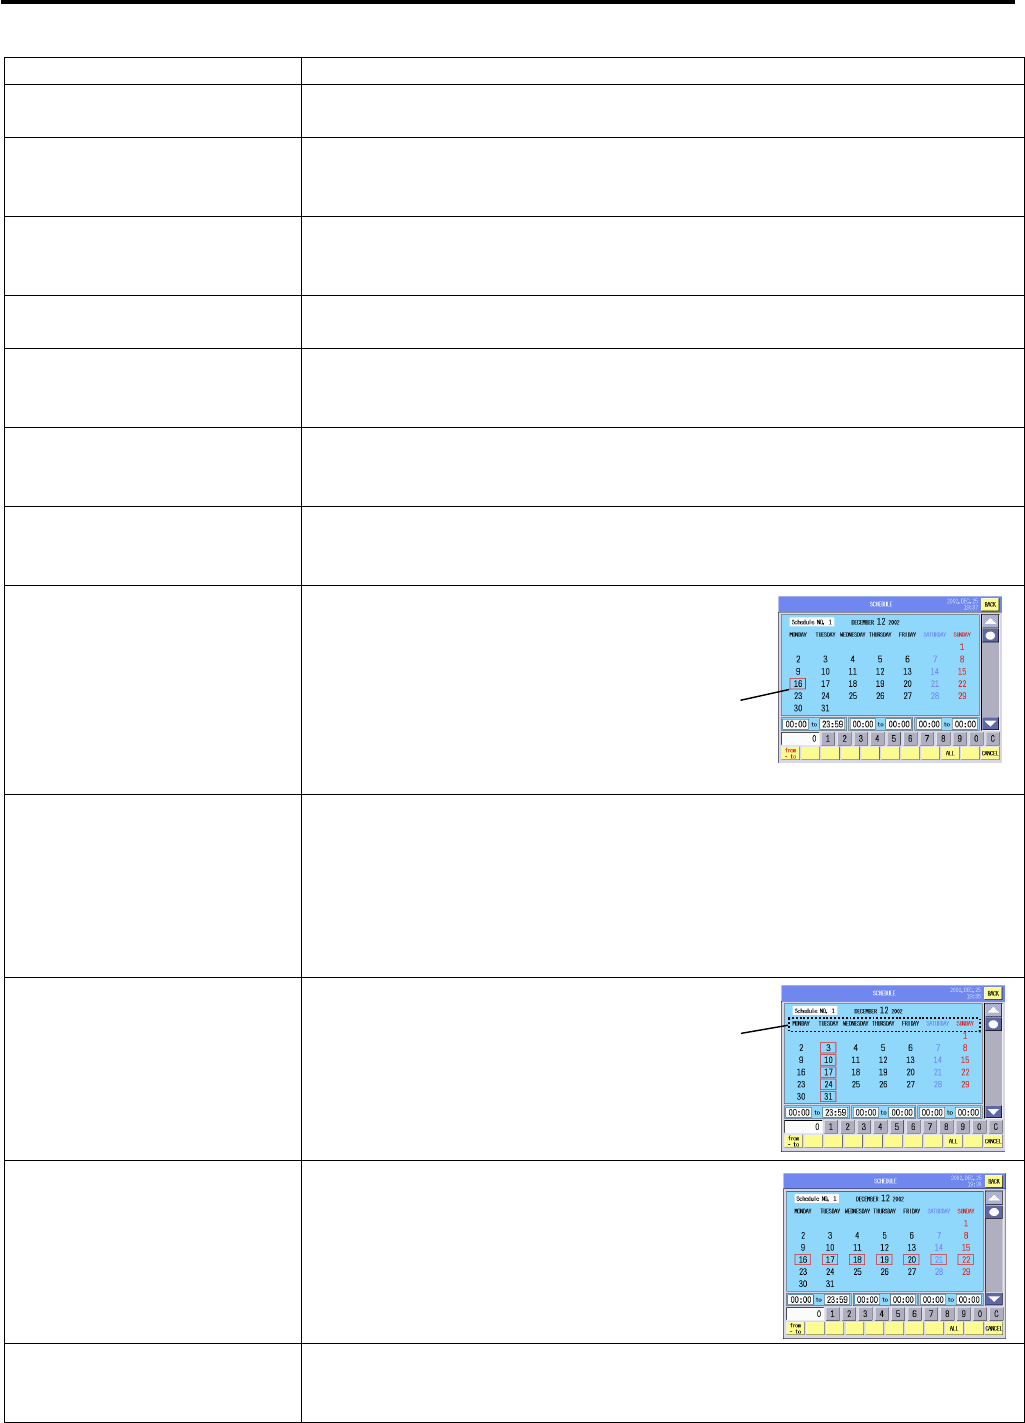
Setting the valid date 1. Touch the desired date on the calendar.
E.g.) December 20.
2. The selected date will be enclosed with
a red rectangle.
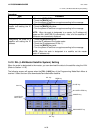
Setting the valid time range 1. Input the starting time. (0 – 2359)
2. Touch the start time area.
3. Input the ending time. (0 – 2359)
4. Touch the end time area.
NOTES:
1. 3 different time ranges can be programmed.
2. Use the 24-hour time system.
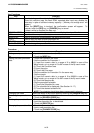
Setting the valid day of the
week
Touch the desired day of the week
on the calendar.
E.g.) Tuesday
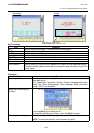
Setting the range of the
valid date
1. Touch the [from – to] key.
2. Touch the starting date on the calendar.
3. Touch the ending date on the calendar.
E.g.) from December 16 to December 20
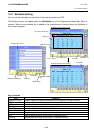
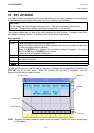
Displaying the calendar of
the next month
Touch the scroll key to display the next month’s calendar.
NOTE: The displayed calendar is decided according to the date
programmed to the scale.
Day of the week area
Red rectangle