


Introduction
1-9
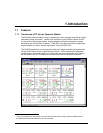
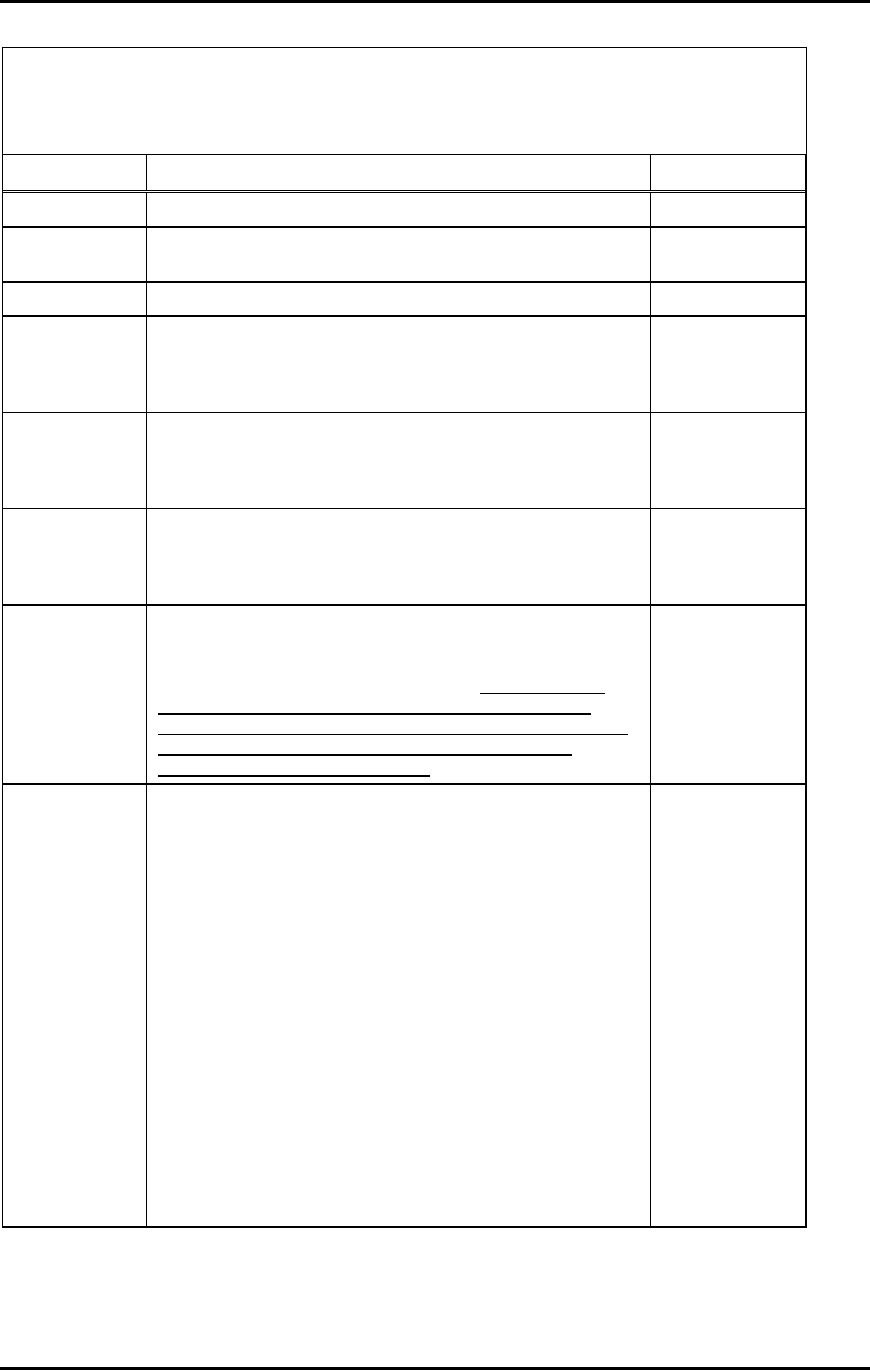
C o n t r o l l e r M e n u
B e f o r e y o u c a n u s e a f u n c t i o n m a r k e d w i t h a n a s t e r i s k ( * ) b e l o w , y o u m u s t s e l e c t a
c o n t r o l l e r o n t h e m a i n g r a p h i c d i s p l a y ( o r t e x t v i e w ) b y u s i n g t h e l e f t b u t t o n t o c l i c k
o n t h e c o n t r o l l e r Õ s i m a g e ( o r n a m e i n t e x t v i e w ) .
F u n c t i o n P u r p o s e S e c t i o n
Alarms* Configure the local alarms. 5.5
Graph* Display a graph showing the controllerÕs SP and PV in real-
time.
6.3
Setpoint* Access the window used to change the controllerÕs setpoint. 6.4
Parameters*
Access the window used to view and change the controllerÕs
configuration parameters. A shortcut for accessing the
parameter display is double-clicking (left button) on the
controller on main graphic display.
8.2
Standby* Place the controller in Standby mode. The PV for the
controller in Standby will alternate with the display of ÒStbYÓ.
This item will be checked on the menu when accessed after
selecting a controller in Standby mode.
7.7
Manual
Control*
Place the controller in Manual mode. The PV for the
controller in Manual will alternate with the display of ÒFOPÓ.
This item will be checked on the menu when accessed after
selecting a controller in Manual mode.
7.2
Tune*
Place the controller in Autotune mode. The PV for the
controller in Autotune will alternate with the display of ÒAtunÓ.
This item will be checked on the menu when accessed after
selecting a controller in Autotune mode. Before putting a
controller in Standby mode, be sure to read the manual
supplied with the controller. Autotune will not work correctly
unless you prepare the process and the controller as
described in the controller manual.
7.2
Start Recipe*
The functionality of this item depends on the features the
controller supports and how the controller is configured (for
multi-step ramp, single-step ramp, or ramping disabled).
If the controller supports a multi-step ramp and soak recipe
based on parameter values stored in the controller and the
feature is enabled, Start Recipe is used to start running that
multi-step ramp and soak recipe.
If the controller supports use of the single-step ramp to
setpoint function at times other than at startup and the
feature is enabled, Start Recipe item is used to ramp the
current process variable to the current setpoint over the time
period specified using the appropriate parameter.
If the controller supports use of the single-step ramp to
setpoint function at times other than at startup and the
feature is disabled, Start Recipe can also be used to ramp
the current process variable to the current setpoint.
However, if ramping is set to ÒdisabledÓ, then a confirmation
message is displayed before the PV is ramped using the
default ramp time, one minute.
6.5