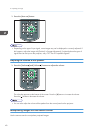
4. Double-click the "Network Utility" icon on the computer.
Network Utility starts.
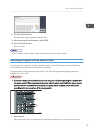
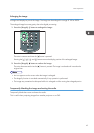
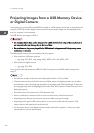
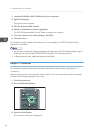
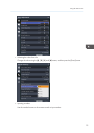
5. Click the [Simple 1:1 Connection] tab.
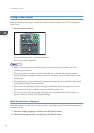
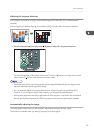
6. Select the projection method.
7. If you select [Transmit Still Image File], specify the file to be projected.
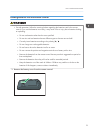
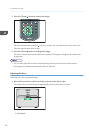
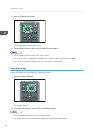
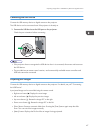
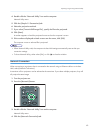
8. Click [Start].
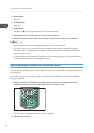
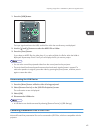
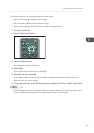
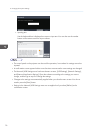
A number appears on both the projected screen and on the computer's screen.
9. If the numbers displayed on both screens are the same, click [OK].
The computer screen or selected file is projected.
• When Network Utility ends, the computer wireless LAN settings automatically reset to their pre-
connection settings.
• To close Network Utility, either select [Exit], or click [ ] to close the window.
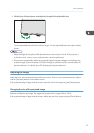
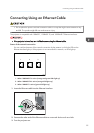
Network Connection
When connecting to a projector that is connected to the network using an Ethernet cable or a wireless
LAN, select [Network Connection].
A maximum of four projectors can be selected at the same time. If you select multiple projectors, they will
all project the same image.
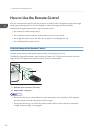
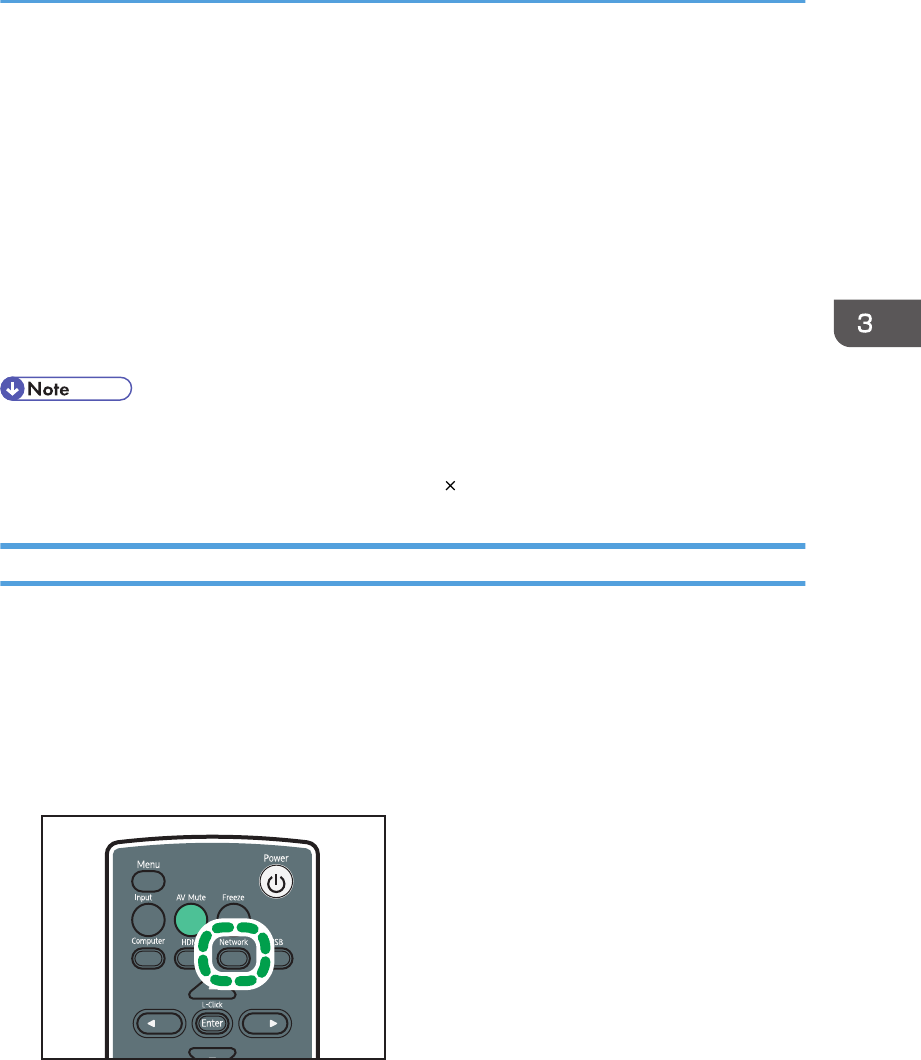
1. Turn the projector on.
2. Press the [Network] button.
3. Double-click the "Network Utility" icon on the computer.
Network Utility starts.
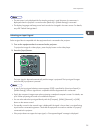
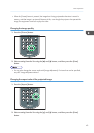
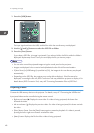
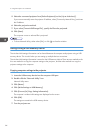
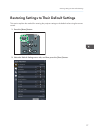
4. Click the [Network Connection] tab.
Projecting Images Using Network Utility
63