You can do presentations without a computer if you save converted JPEG files to a USB memory device
and then display the slides using the projector.
The converted files can also be transferred to a server.
Operating Environment
• Supported operating system
Windows XP (32-bit version) Professional Edition and Home Edition, SP3 or later
Windows XP (64-bit version) Professional Edition SP2 or later
Windows Vista (32-bit and 64-bit versions) Ultimate, Business, Home Premium, and Home
Basic, SP2 or later
Windows 7 (32-bit and 64-bit versions) Home Premium, Professional, Ultimate, Enterprise
• Memory size
Recommended memory size for the operating system of the computer you are using
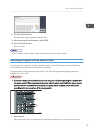
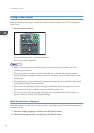
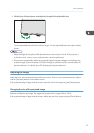
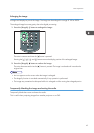
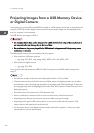
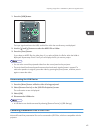
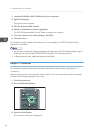
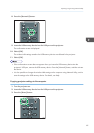
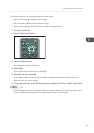
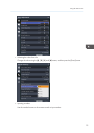
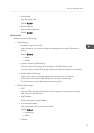
1. Double-click the "JPEG Conversion Tool" icon.
JPEG Conversion Tool starts.
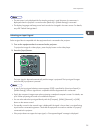
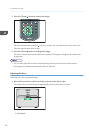
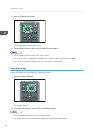
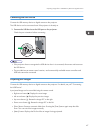
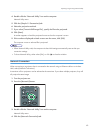
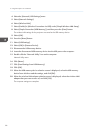
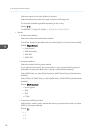
2. Drag and drop the PowerPoint file to be converted into the "JPEG Conversion Tool" dialog
box.
To manually specify the file, enter the file name in [File Location:].
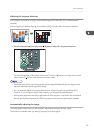
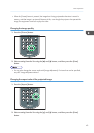
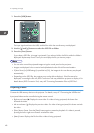
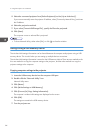
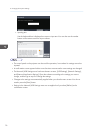
3. Specify the destination to which you want to save the converted file.
To save to a computer, select [Local PC].
To save to a server, select [Server], and then select the server to which you want to save the file.
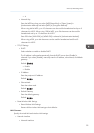
4. Click [Convert&Save].
5. Click [OK].
• To convert PowerPoint files, Microsoft PowerPoint 2003, 2007, or 2010 must be installed on the
computer to you are using.
• JPEG Conversion Tool is compatible with still images that have a ".ppt" or ".pptx" extension.
Animations and audio are not compatible.
• To convert PowerPoint files with the ".pptx" extension, Microsoft PowerPoint 2007 or later must be
installed on the computer you are using.
• The number of JPEG files created is equivalent to the number of slides. The file name after
conversion is "slide + File Number + .jpg".
• For the settings method when saving converted files to the server, refer to the JPEG Conversion Tool
Help.
2. Projecting an Image
50