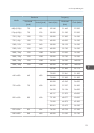
Settings Using Simple Wireless LAN Setup
Action Method Refer to
Wireless LAN settings Simple Wireless LAN Setup
p.59 "Simple
Wireless LAN Setup"
Image projection Network Connection (Network Utility)
p.63 "Network
Connection"
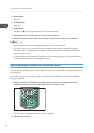
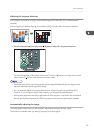
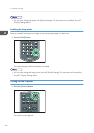
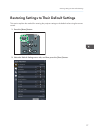
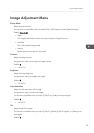
Simple Wireless LAN Setup
To use the projector via a wireless LAN, the network settings must be configured. If you use the wireless
LAN simple setup function, the infrastructure settings can be easily configured.
The simple wireless LAN setup function acquires the wireless LAN settings registered in the access point,
and configures those settings for the projector automatically. The access point must also be compliant
with the simple wireless LAN setup function.
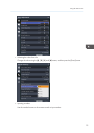
Select [Wireless LAN] in [Network Interface] under [Network Settings] beforehand. Further, specify the
IP address and DHCP server using [TCP/IP Settings] in [Wireless LAN].
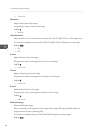
Setup Method
• Using push buttons
Press the projector and access point keys or buttons to get them to connect to each other and
register the settings.
• Enter the access point's PIN code in the projector
Enter the PIN code that was generated by the access point in the projector to get them to
connect to each other and register the settings. The access point's PIN code must be registered
in the PIN code field of the projector.
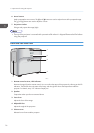
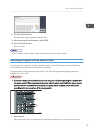
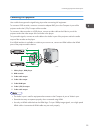
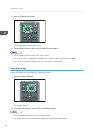
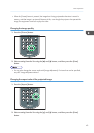
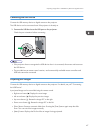
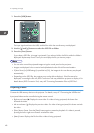
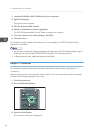
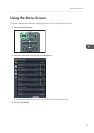
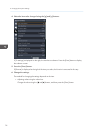
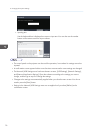
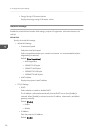
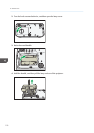
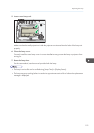
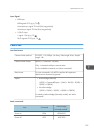
1. Press the [Menu] button.
2. Select the [Network/USB Settings] menu.
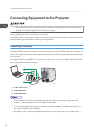
Connecting Using a Wireless LAN
59