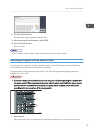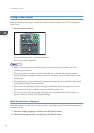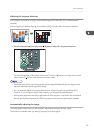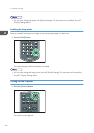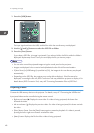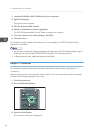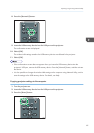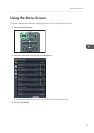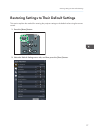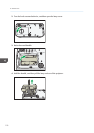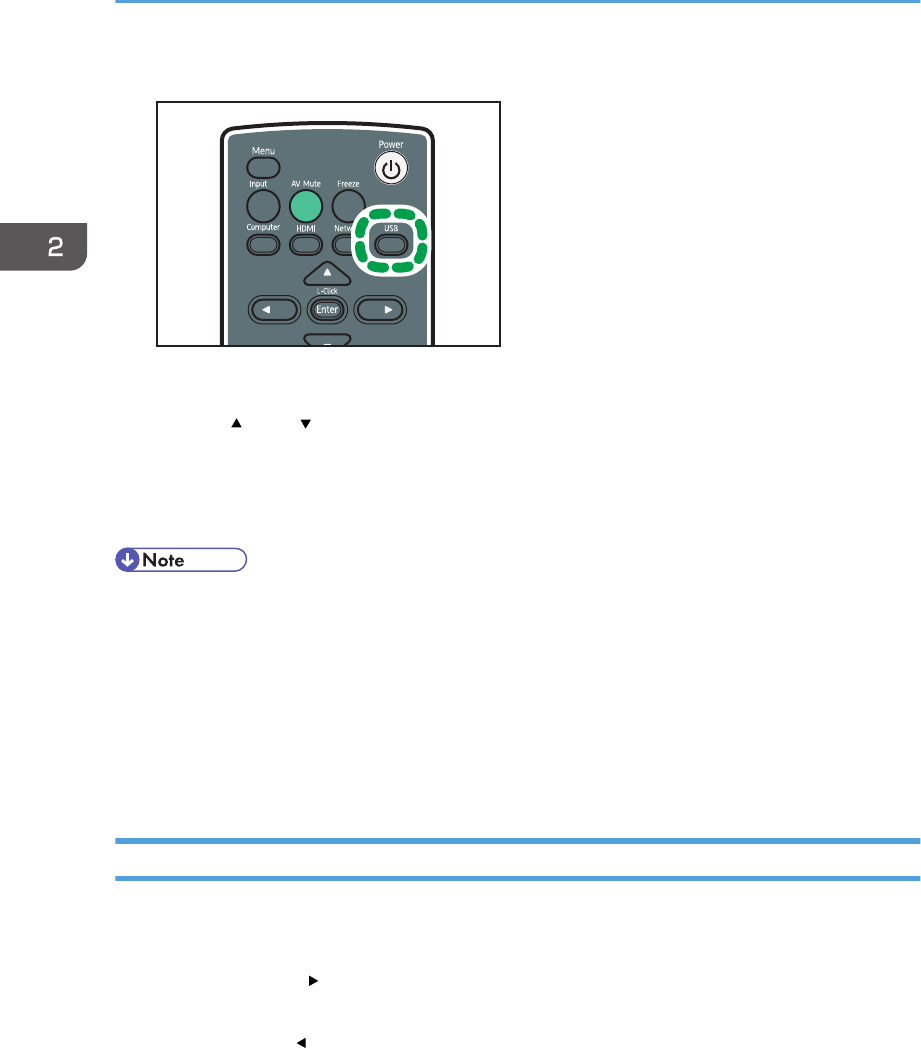
1. Press the [USB] button.
The input signal switches to the USB, and the files within the root directory are displayed.
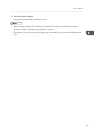
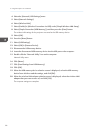
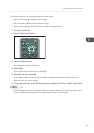
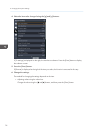
2. Use the [ ] and [ ] buttons to select the JPEG file or folder.
3. Press the [Enter] button.
If you select a JPEG file, its image is projected. If you select a folder, the file list within the folder is
displayed. Repeat steps 2 and 3 until you can display the file you want to project.
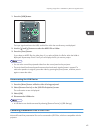
• You can also control the projected images using the control panel on the projector.
• Images are displayed in the numerical and alphabetical order of their file name headers.
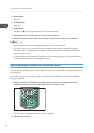
• If [Auto Demo] in [USB Settings] is specified as [On], the images in the root directory are played
automatically.
• Depending on the JPEG file, the projector may not be able to display it. If the file cannot be
displayed, converting the file with JPEG Conversion Tool may enable the projector to display it. For
details about JPEG Conversion Tool, see p.49 "Converting Presentation Files to JPEG Files".
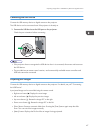
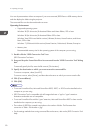
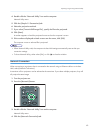
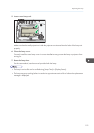
Projecting Videos
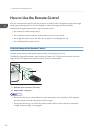
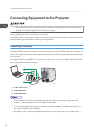
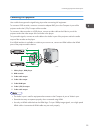
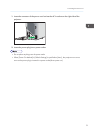
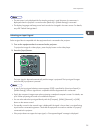
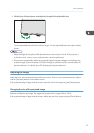
Connect the USB memory device to the projector. For details, see p.47 "Connecting the USB Device".
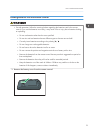
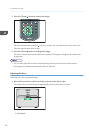
A projected video can be controlled using the remote control.
• Right arrow button ( ): Displays the next video. If a video is being projected, this button fast
forwards the video.
• Left arrow button ( ): Displays the previous video. If a video is being projected, this button rewinds
the video.
• [Enter] button: Pause. Press the [Enter] button again to restart the playback. If a video is paused,
pressing the left or right arrow buttons switches the video.
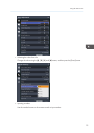
• [Menu] button: Displays the file list while a video is being projected.
2. Projecting an Image
48