


32
Description and Use of Battery Chargers
The charger automatically reduces the charge from an
initially high rate to a zero reading at a fully charged
condition. If left unattended, the charger should
automatically shut-off when full charge is obtained.
There are some basic concepts which will help you
understand this automatic process:
The amount of electrical current drawn within a given
time to charge a battery is called “charge rate”. If, due to
usage, the charge stored in the battery is low, the charge
rate is high, as indicated by the green light on the charger.
Initially, the green light will stay illuminated for a short
period of time followed by a longer period of off time. As
a charge builds up, the charge rate is reduced, and the
green light will stay illuminated for a longer period of time
followed by a shorter off time.
NOTE: If performing the charging procedures indepen-
dently, READ and CAREFULLY follow the individual
instructions for each charger (supplied or purchased).
NOTE: If charging instructions are not supplied, consult
a qualified service technician for proper procedures.
Required Items:
TOOL QUANTITY COMMENTS
Battery Charger 1 Supplied
✪✪
✪✪
✪ Extension Cord 1 Not Supplied
✪ 3-prong plug, 15 ampere current rating; industrial type
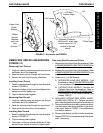
WHEN TO CHARGE BATTERIES
(FIGURE 17)
It is advantageous to recharge frequently rather than only
when necessary. In fact, a battery’s life is extended if the
charge level is maintained well above a low condition.
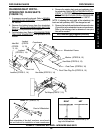
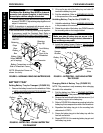
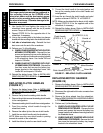
BATTERY DISCHARGE INDICATOR (BDI) is located at
the rear of the joystick housing and provides information
on the remaining charge in the batteries. At FULL charge
the BDI will be GREEN. As the battery becomes
discharged, the BDI indicator will turn AMBER
(YELLOW), then RED and finally FLASHING RED. If
the BDI is FLASHING RED, the user should charge the
batteries as soon as possible.
NOTE: Accurate readings are displayed when in neutral.
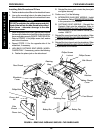
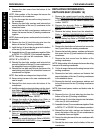
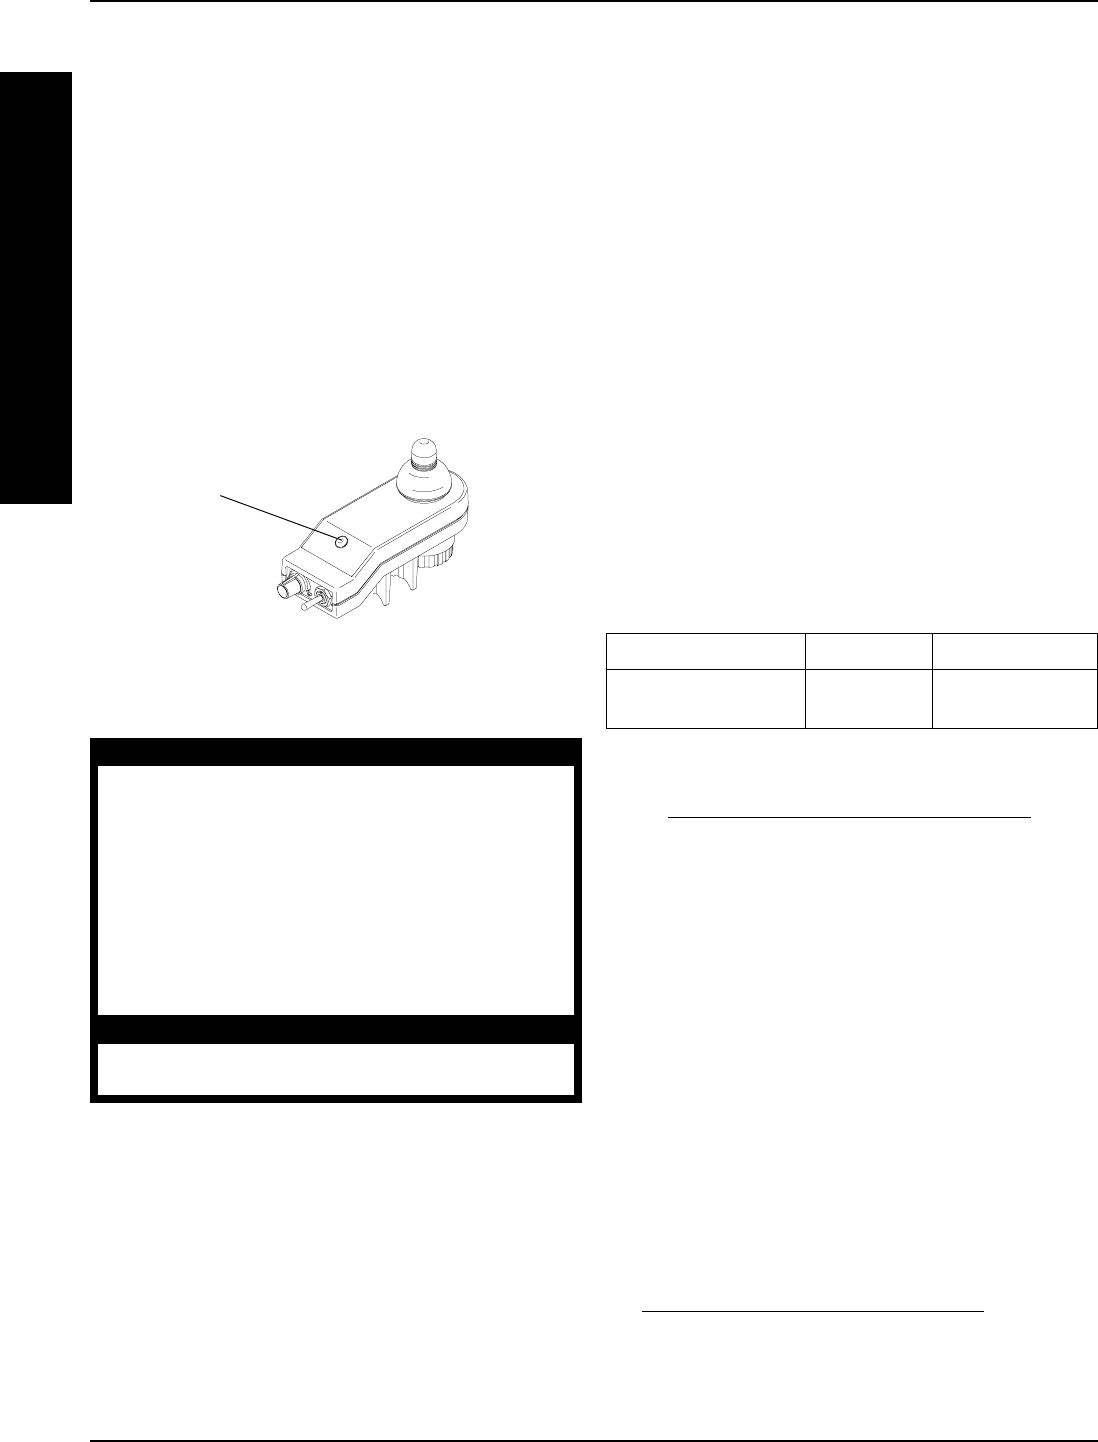
CHARGING BATTERIES (FIGURE 18)
WARNING
Never attempt to recharge the batteries by
attaching cables directly to the battery termi-
nals or clamps. Always use the recharging plug
located on the side of the wheelchair frame.
DO NOT attempt to recharge the batteries and
operate the power wheelchair at the same time.
During use and charging, unsealed batteries will
vent hydrogen gas which is explosive in the right
concentration with air.
CAUTION
Always charge new batteries fully BEFORE initial
use or battery life will be reduced.
NOTE: As a general rule, batteries should be recharged
daily to assure the longest possible life and minimize the
required charging time. Plan to recharge the batteries
when it is anticipated the wheelchair will not be used for
a long period of time.
The range per battery charge using recommended
batteries should be approximately 5 to 9 hours of typical
operation. Extensive use on inclines may substantially
reduce per charge mileage.
1. If necessary, remove the rear shroud. Refer
to
REMOVING/INSTALLING SHROUDS in this
procedure of the manual.
2. Attach the battery charger connector to the charger
cable/battery harness.
3. Plug the charger’s AC power cord, or extension, into
the grounded 120 VAC wall outlet.
4. Wait until charging is complete.
NOTE: Allow eight (8) hours for normal charging. Larger
batteries (greater than 55 ampere-hours) or severely
discharged batteries may require up to sixteen (16) hours
to be properly charged and equalized. If the charger
operates for sixteen (16) hours and is unable to fully
charge the batteries, an internal timer turns the charger
off and begins to fast blink the green light.
NOTE: If the batteries need to be charged more often or
take longer to charge than normal, they may need to be
replaced. Contact an authorized dealer for service.
5. If necessary, install the rear shroud. Refer to
REMOVING/INSTALLING SHROUDS in this proce-
dure of the manual.
PROCEDURE 8
FWD WHEELCHAIRS
F
W
D
W
H
E
E
L
C
H
A
I
R
S
Battery Discharge
Indicator
FIGURE 17 - WHEN TO CHARGE BATTERIES