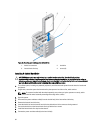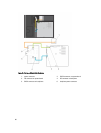
6. If applicable, place the system upright on a flat, stable surface and rotate the system feet outward.
7. Reconnect the system to its electrical outlet and turn the system on, including any attached peripherals.
8. If applicable, install the front bezel.
Four-Slot Hard-Drive Blank
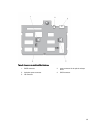
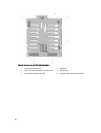
Systems with x8 hard-drive backplanes configured for software RAID support only four hard drives. The remaining hard-
drive slots are pre-installed with the four-slot hard-drive blank, and are not available for software RAID.
Removing A Four-Slot Hard-Drive Blank
CAUTION: To maintain proper system cooling, all empty hard-drive slots must have hard-drive blanks installed.
NOTE: This is a service only procedure.
1. If installed, remove the front bezel.
2. Turn off the system, including any attached peripherals, and disconnect the system from the electrical outlet and
peripherals.
CAUTION: To prevent damage to the hard drives and backplane, you must remove the hard drives from the
system before removing the backplane.
CAUTION: You must note the slot number of each hard drive and temporarily label them before removal so
that you can replace them in the same location(s).
3. Remove all hard drives.
4. If applicable, rotate the system feet inward and lay the system on its side on a flat, stable surface.
NOTE: For systems installed with the wheel assembly, ensure that you lay the system on a sturdy surface
with the wheel assembly extending off the edge of the surface.
5. Open the system.
6. Remove the cooling shroud.
7. Remove the x8 hard-drive backplane.
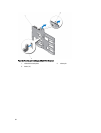
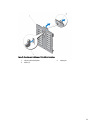
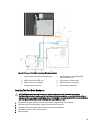
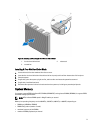
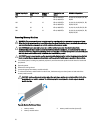
8. Using a screwdriver, push the release tabs on the four corners of the blank from inside the system, to unlock the
four-slot hard-drive blank from the chassis.
9. From the front of the system, pull the four-slot hard-drive blank at the corners until it is free of the hard-drive slot.
70


