


48 C2907M-D (4/05)
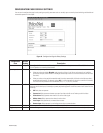
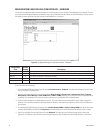
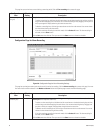
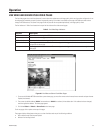
This page lets you set the times to record during a seven day period. Click the Time recording tab to access this page.
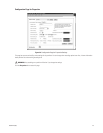
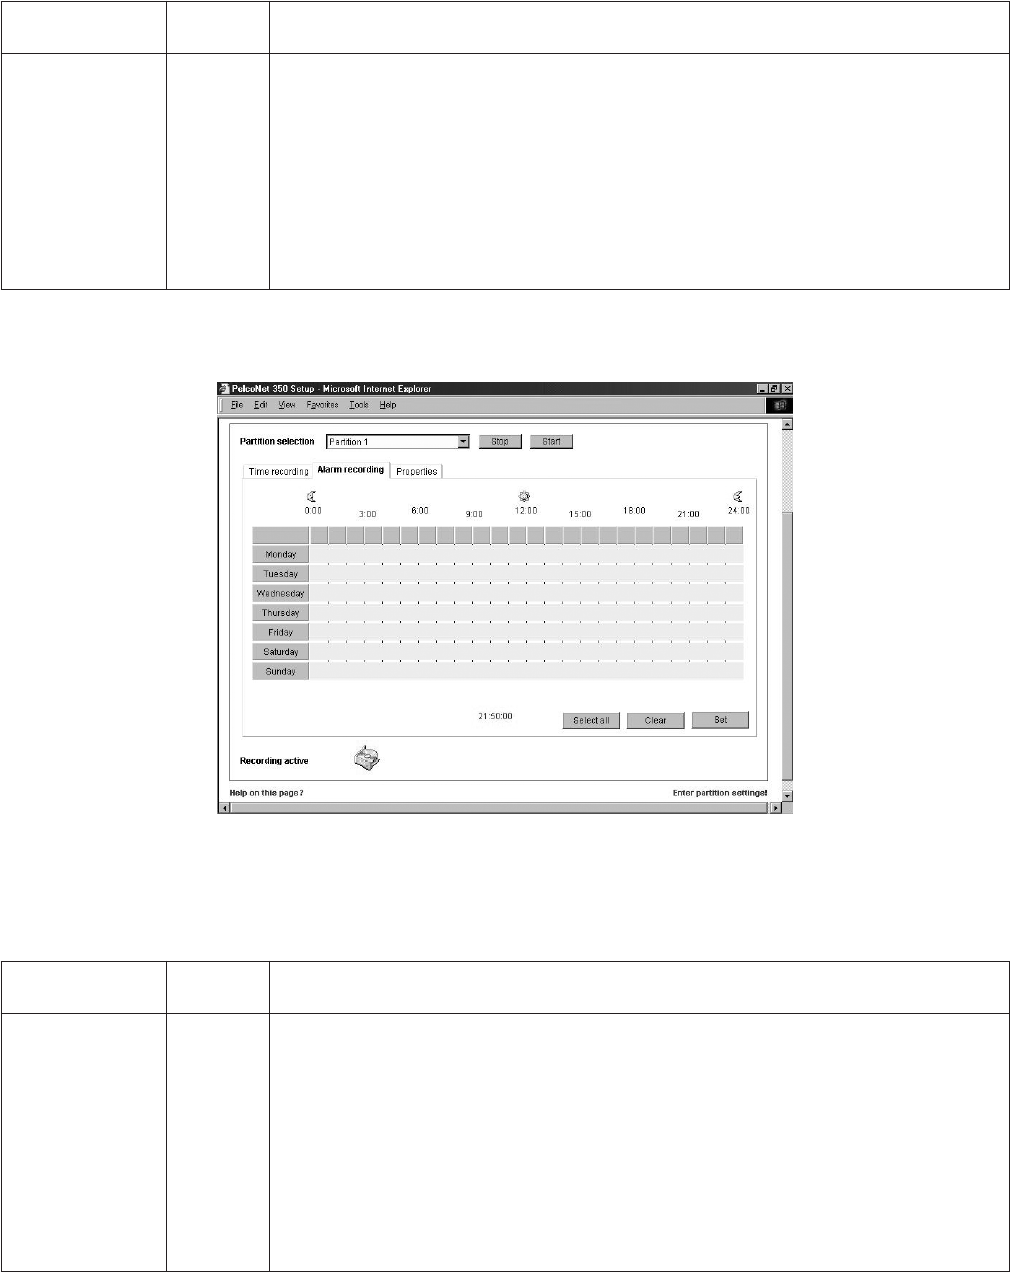
Configuration Page for Alarm Recording
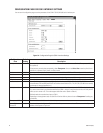
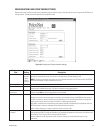
Figure 38. Configuration Page for Alarm Recording Settings
This page lets you designate when particular alarms will be active for recording. Click the Alarm recording tab to access this page. (You must
first have at least one alarm selected in the Number of alarms field on the Properties page to access the Alarm Recording page.)
Configuration
Item
Default
Setting Description
(time recording sched-
uler grid)
N/A This grid allows up to 16 different recording times per day in a seven-day period.
•To select a recording time, hold down the left mouse button on the desired starting day and time, and then
drag to the desired stopping time and release. You can extend recording time by dragging from the point at
which you stopped. A display below the grid shows the exact time.
•To deselect a recording time, click the right mouse button on the time to be removed. You cannot shorten
the time without clearing the time entirely.
• If you wish continuous recording for the entire week, click the Select all button. To clear everything for
the week, click the Clear button.
Click the Set button when finished. Then you must click the Start button to activate the scheduler.
Configuration
Item
Default
Setting Description
(alarm recording
scheduler grid)
N/A This screen lets you set times when an alarm will trigger recording. (You must choose either motion alarm or
alarm input on the Properties screen first.)
•To select an alarm recording time, hold down the left mouse button on the desired starting day and time,
and then drag to the desired stopping time and release. You can extend recording time by dragging from
the point at which you stopped. A display below the grid shows the exact time.
•To deselect an alarm recording time, click the right mouse button on the time to be removed. You cannot
shorten the time without clearing the time entirely.
• If you wish continuous recording for the entire week, click the Select all button. To clear everything for
the week, click the Clear button.
Click the Set button when finished. Then you must click the Start button to activate the scheduler.