


28
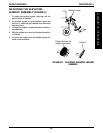
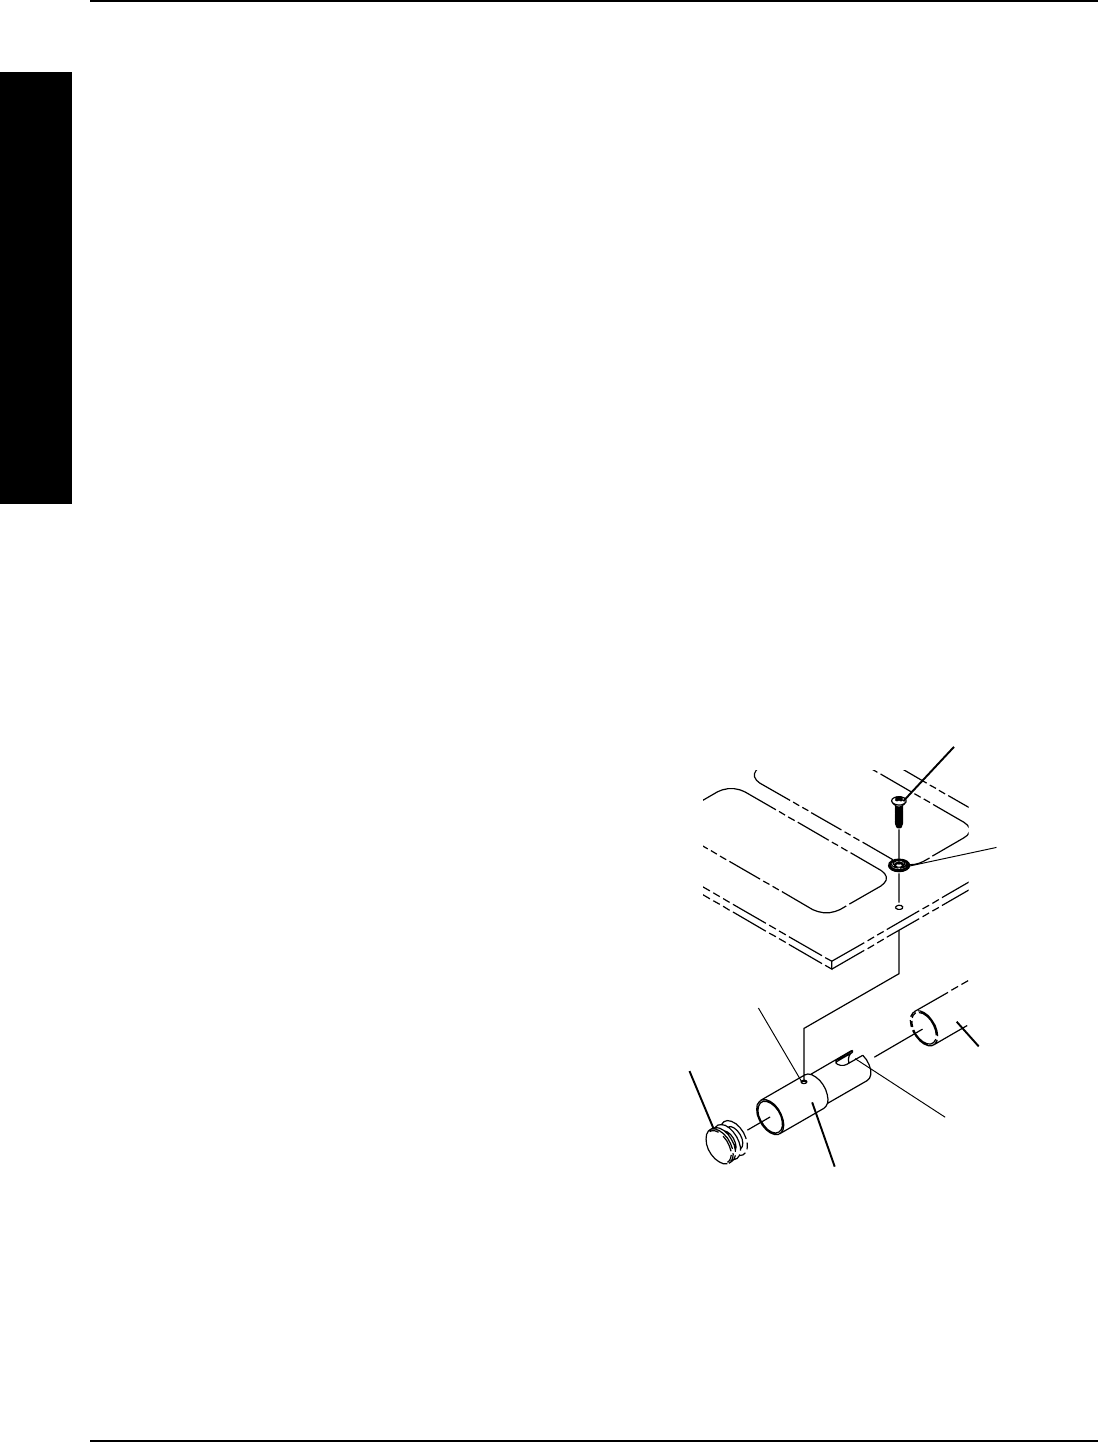
ADJUSTING SEAT DEPTH (FIGURE 2)
1. Remove the existing seat upholstery from the wheelchair.
Refer to REPLACING THE SEAT UPHOLSTERY in
PROCEDURE 4 of this manual.
NOTE: If adjusting the seat depth of the wheelchair, the
seat upholstery MUST be changed as well.
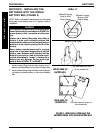
2. Remove the two (2) plug buttons from the ends of the
crossbraces that are towards the front of the wheelchair.
NOTE: The two (2) plug buttons will be used in the ends
of the seat extensions.
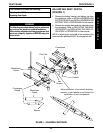
3. Install the two (2) seat extension tubes into the ends
on the crossbraces. Make sure the notches and
mounting holes are pointing up.
4. Install the new seat upholstery onto the wheelchair.
Make sure to line up the notches and mounting holes
in the seat extension tubes with the new seat upholstery.
Refer to REPLACING THE SEAT UPHOLSTERY
in PROCEDURE 4 of this manual.
5. Install plug buttons into the ends of the seat exten-
sion tubes.
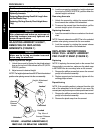
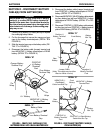
3. Remove the hex screws and locknuts that secure the
two (2) pivot links to the wheelchair frame and crossbraces.
4. Remove the hex screws, locknuts and crossbrace
saddles that secure the bottom of the two (2)
crossbraces to the wheelchair frame.
5. Remove the hex screw, coved spacers, washers and
locknut that secure the two (2) existing crossbraces
together.
NOTE: Note coved spacer, washer and locknut order for
reinstallation.
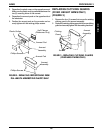
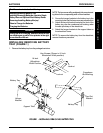
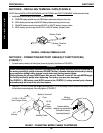
6. Assemble the two (2) new crossbraces together. Refer
to FIGURE 1 for hardware orientation.
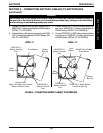
7. Reinstall the hex screws, locknuts and crossbrace
saddles that secure the bottom of the two (2) new
crossbraces to the wheelchair frame.
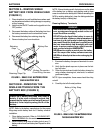
NOTE: Position crossbrace saddle on wheelchair frame
using the washer on the underside of wheelchair frame
as a reference. Refer to FIGURE 7.
8. Reinstall the hex screws and locknuts that secure
the pivot links to the wheelchair frame and
crossbraces.
9. Install the new back and seat upholstery onto the
wheelchair. Refer to REPLACING THE BACK UPHOL-
STERY and REPLACING THE SEAT UPHOLSTERY
in PROCEDURE 4 of this manual.
10. Reinstall the battery tray and battery box(es)/batteries
onto the wheelchair. Refer to INSTALLING/REMOVING
BATTERY TRAY and INSTALLING/REMOVING
BATTERY BOX(ES) in PROCEDURE 6 of this manual.
S
E
A
T
F
R
A
M
E
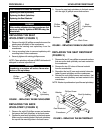
PROCEDURE 5
SEAT FRAME
Phillips Screws
Washer
Plug Button
FIGURE 2 - ADJUSTING SEAT DEPTH
Seat Extension Tube
Crossbrace
Notch
Mounting Hole