68
4.
Tap the Video key ( ) to begin shooting video. The red
light will blink while recording.
5. Tap the Video key ( ) again to stop the recording and save
the video file to your Camera folder.
6. Once the file has been saved, tap the image viewer, then
tap to play your video for review.
7. Press to return to the viewer.
Camcorder Options
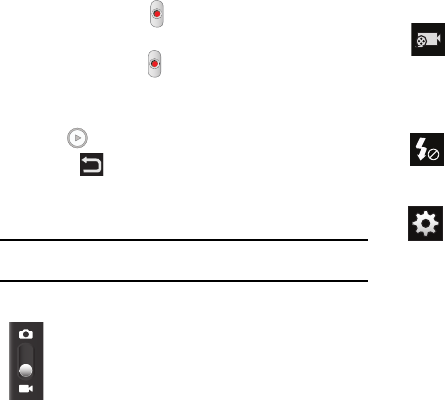
Options are represented by icons at the side of the screen.
Note:
The options disappear after a few seconds. Tap the screen to make
them reappear.
Camera / Camcorder Mode
: allows you to take a photo in
various modes. Once you change the mode, the
corresponding indicator appears at the top left of the display.
Slide the button up for Camera, or down for Camcorder.
Recording mode
: allows you to set the recording mode to:
Normal, which is limited only by available space on the
destination location, Limit for MMS, which is limited by MMS
size restrictions, and Self recording which activates the
front-facing camera so you can video yourself.
Flash
: allows you to set the flash options to Off or On. When
you set the flash to On, it stays on continually while you are
taking a video.
Settings:
Edit shortcuts
: allows you to set shortcut icons for the
settings that you use the most. Drag icons between the list
and the four shortcut locations at the edge of the screen (the
default Recording Mode and Flash icons can be replaced
and two empty slots are available)
Flash
: allows you to set the flash options to Off or On. When
you set the flash to On, it stays on continually while you are
taking a video.
