


SECTION 6—WHEELCHAIR OPERATION
Part No 1134839 41 Power Tiger™
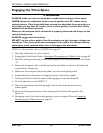
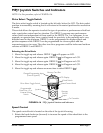
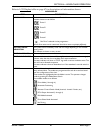
Disengaging/Engaging Clutch Levers
ƽ WARNING
DO NOT engage or disengage clutches until the power is in the Off position.
NOTE: For this procedure, refer to FIGURE 6.13.
NOTE: Clutch disengagement allows free wheeling and clutch engagement allows joystick
controlled operation. Free wheeling allows an assistant to maneuver the wheelchair without power.
1. Perform one of the following:
• Disengage (Push Wheelchair) - Push clutch levers outward.
• Engage (Drive Wheelchair) - Pull clutch levers inward.
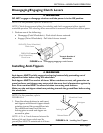
FIGURE 6.13 Disengaging/Engaging Clutch Levers
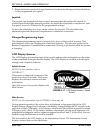
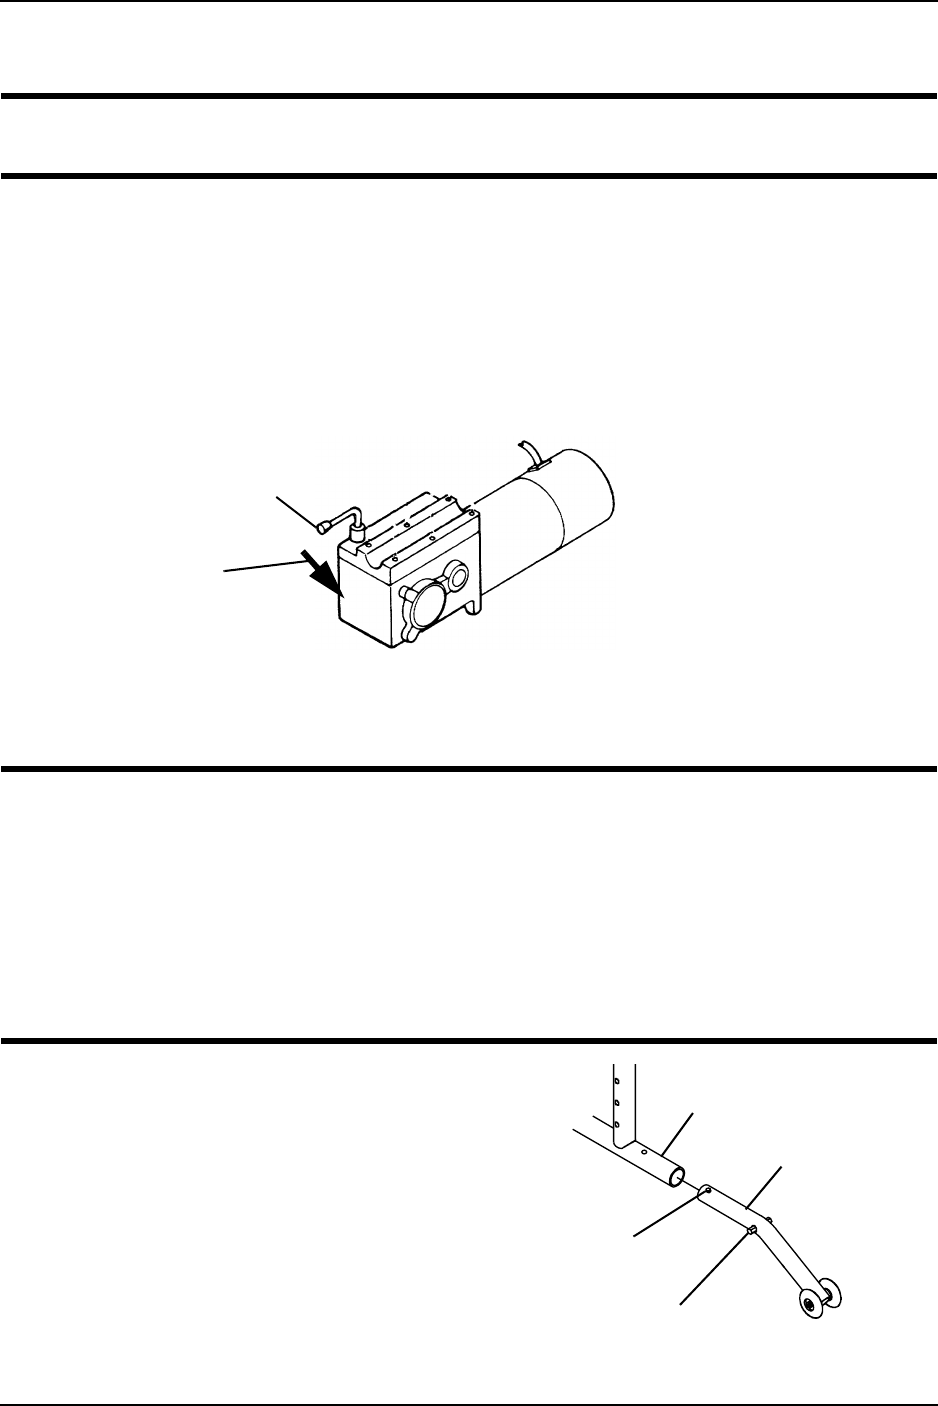
Installing Anti-Tippers
ƽ WARNING
Anti-tippers MUST be fully engaged and spring buttons fully protruding out of
adjustment holes before using the wheelchair.
Anti-tippers MUST be used at all times. When outdoors on wet, soft ground or on
gravel surfaces, anti-tippers may not provide the same level of protection against tip
over. Extra caution MUST be observed when traversing such surfaces.
Make sure the anti-tipper wheels are pointing towards the ground/floor before using
the wheelchair.
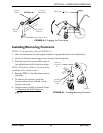
NOTE: For this procedure, refer to
FIGURE 6.14.
1. Press the release buttons in and insert
anti-tippers with the anti-tipper wheels
pointing toward the ground/floor into
the wheelchair frame until the two
locking pins on each anti-tipper are
secured in place.
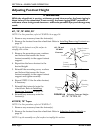
NOTE: A 1½ to 2-inch clearance between the
bottom of the anti-tipper wheels and the
ground/floor MUST be maintained at all times.
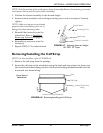
FIGURE 6.14 Installing Anti-Tippers
Towards Outside of
Wheelchair
ENGAGE (Drive Wheelchair)
Clutch Lever
DISENGAGE
(Push Wheelchair)
Clutch Lever
Wheelchair Frame
Locking Pin
Release Button
Anti-tipper