


106
© Copyright 1970-2008 Kirby Morgan Dive Systems, Inc. All rights reserved. Document # 080508001
Kirby Morgan 37 & 57
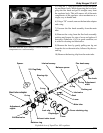
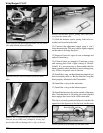
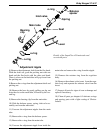
When you pull the flex knob assembly out, the main
tube and related parts will follow.
Separate the flex knob assembly from the main
tube.
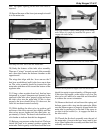
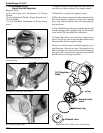
11) Slide the balance spacer, spring, inlet valve as-
sembly out from the main tube.
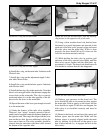
12) Unscrew the adjustment nipple (turn it “out”)
from the main tube. This may require lightly tapping
on the tube to dislodge the parts.
13) Inspect all parts for signs of wear or damage and
replace if necessary.
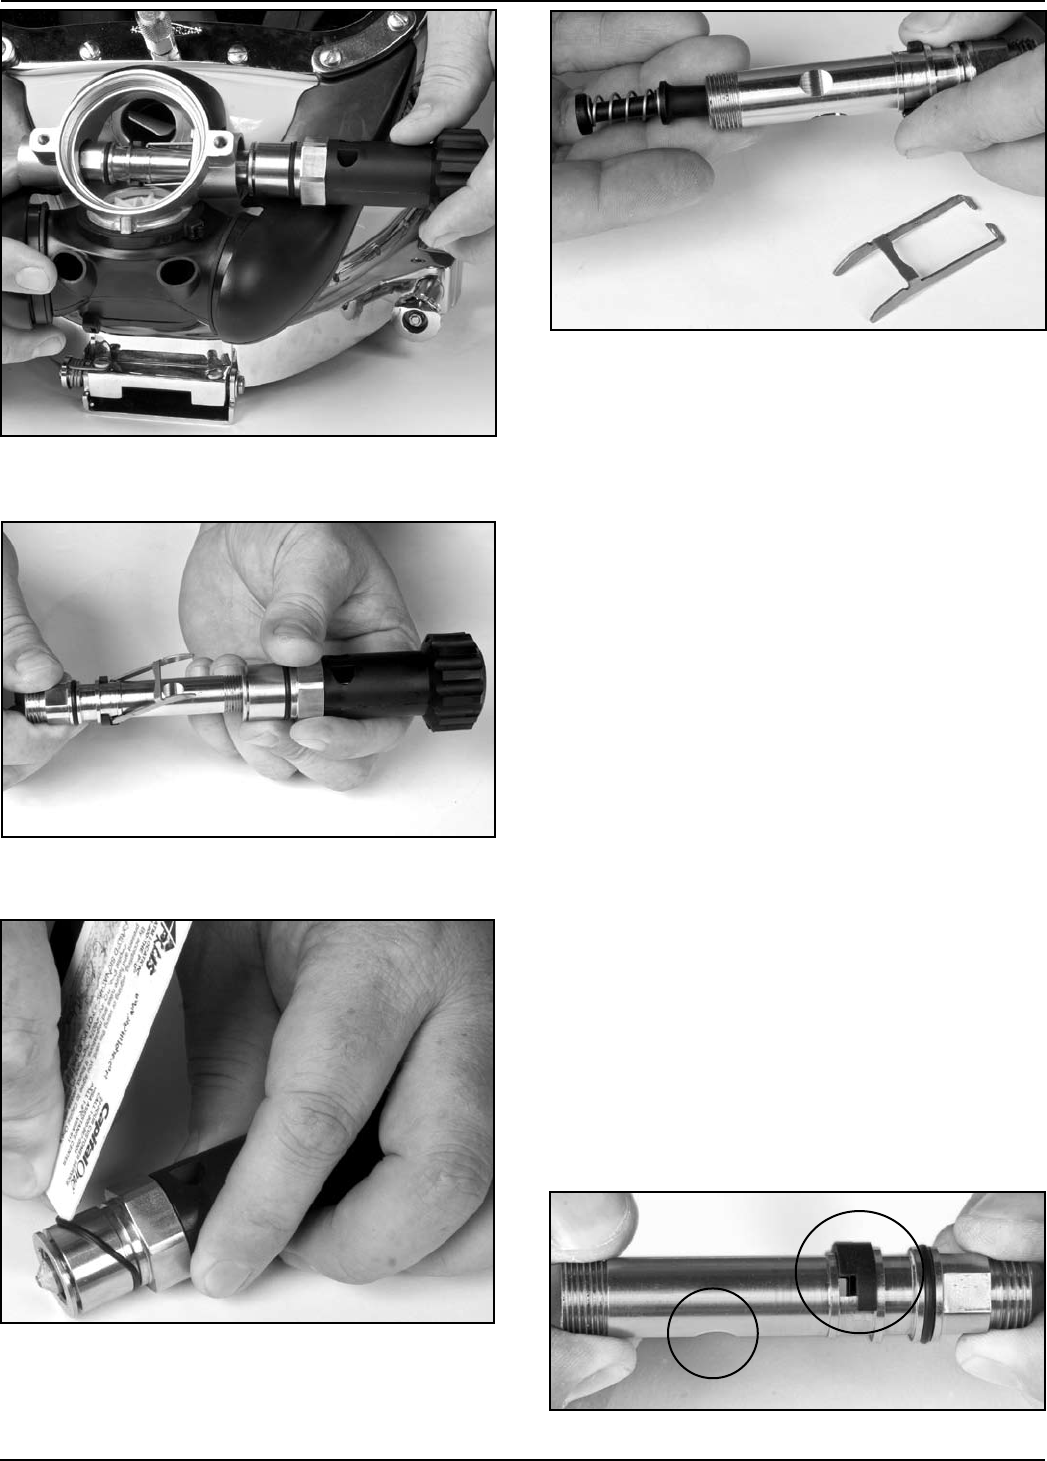
14) Clean all parts per chapter 6. Lubricate o-rings
and moving parts with a light coating of Christo-
Lube®. It is not necessary to disassemble the flex
knob assembly unless the knob is not working prop-
erly. If this is required, refer to Section
15) Install the o-ring on the adjustment nipple if you
have not already done so. Be sure that the o-ring has
been properly lubricated with Christolube.
16) Install the o-ring on the main tube.
17) Install the o-ring on the balance spacer.
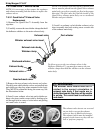
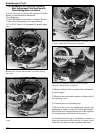
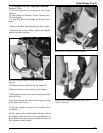
18) Install the bearing clip on the outside of the main
tube. Note that there is a locating pin on the clip that
must engage the correct hole on the main tube.
The clip is correctly positioned when it is on the side
opposite of the depression for the lever on the main
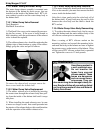
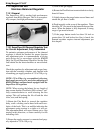
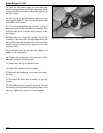
Remove the o-ring from the flex knob packing nut.
You can use a credit card, toothpick, or any soft
device that will not damage the o-ring or the nut.
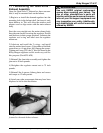
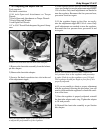
Remove the balance spacer, spring, inlet valve and
seat from the main tube.
Correct position of bearing clip on main tube.
Bearing clip
Lever depression