


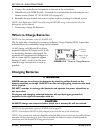
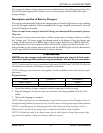
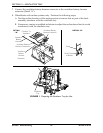
SECTION 10—ELEVATE BATTERIES
Part No 1122170 69 Formula™ Powered Seating
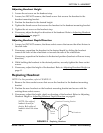
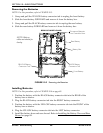
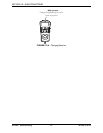
FIGURE 10.4 Installing Batteries
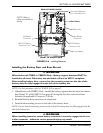
Installing the Battery Door and Rear Shroud
ƽ WARNING
Wheelchairs with TRRO or TRBKTS Only - Battery support brackets MUST be
installed at all times. Otherwise, the wheelchair will not be WC/19 compliant.
After installing battery door, ensure that the mounting screws on the side of the
battery door are fully engaged into the side of the battery box.
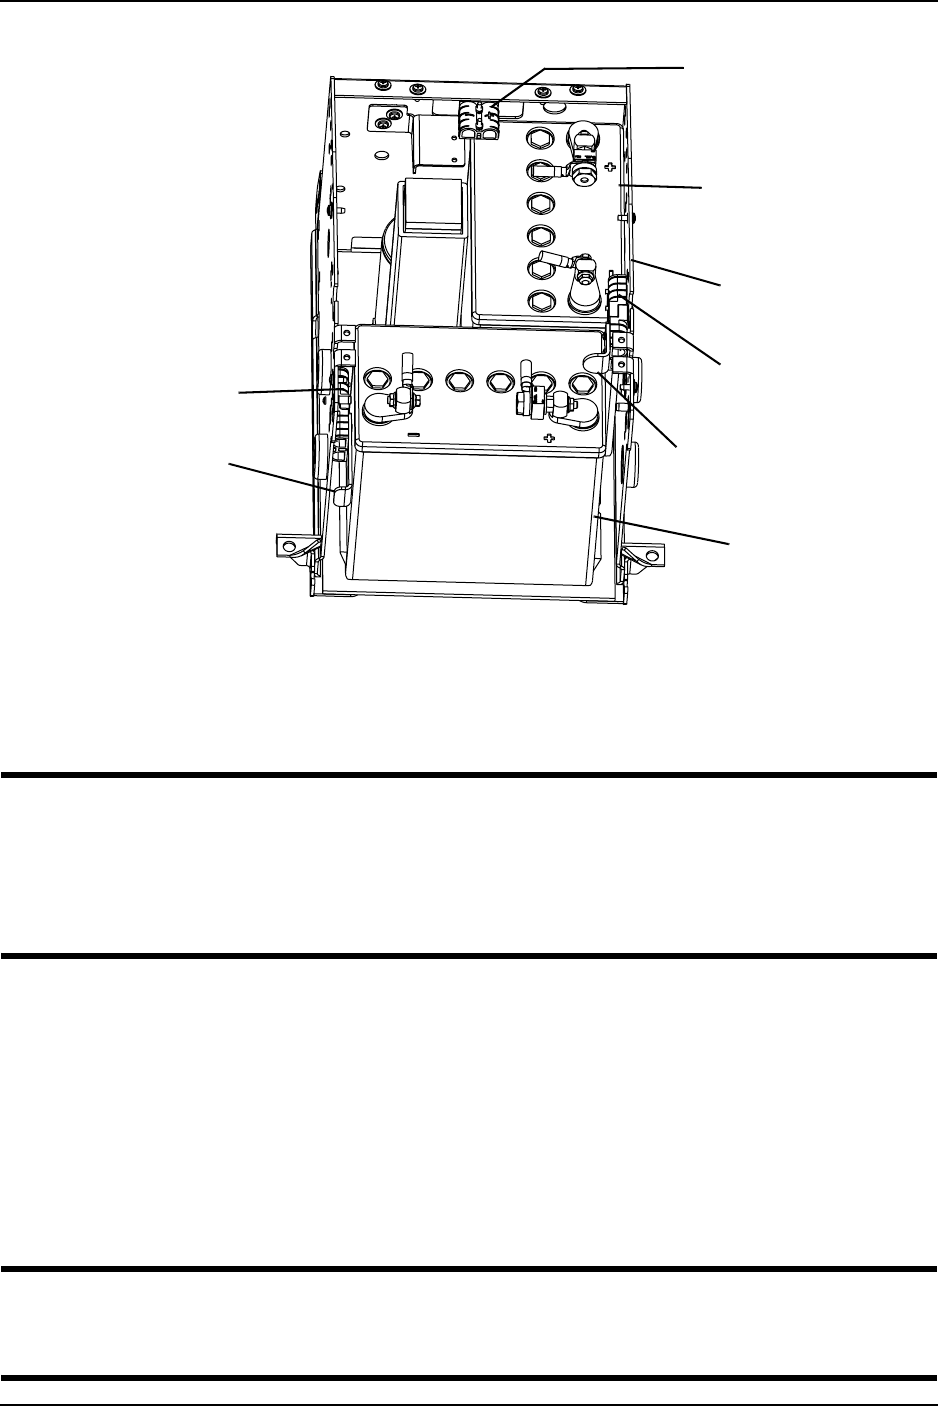
NOTE: For this procedure, refer to FIGURE 10.2 on page 67.
1. Wheelchairs with TRBKTS Only - Install the battery support bracket onto the battery
box (Detail “B” of FIGURE 10.2 on page 67) using the four hex screws and four
locknuts (if applicable). Torque to 75 in-lbs.
2. Reinstall battery door onto front of wheelchair.
3. Install both mounting screws on the side of the battery door.
NOTE: Ensure that the mounting screws on the side of the battery door are fully engaged into the
side of the battery box.
ƽ WARNING
When installing batteries, ensure battery connector is securely engaged to the con-
troller connector - otherwise serious personal injury may result.
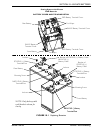
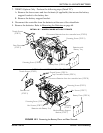
REAR OF WHEELCHAIR
FRONT OF WHEELCHAIR
Disconnect Batteries
from Controller Here
BLACK Battery
Connector Tab
YELLOW Battery
Connector Tab
Rear Battery
Front Battery
NOTE: Battery
cables not shown for
clarity.
Battery Box
Rear Battery
Right Battery
Connector
Left Battery
Connector