


SECTION 6—FRONT RIGGINGS
Formula™ Powered Seating 36 Part No 1122170
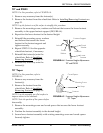
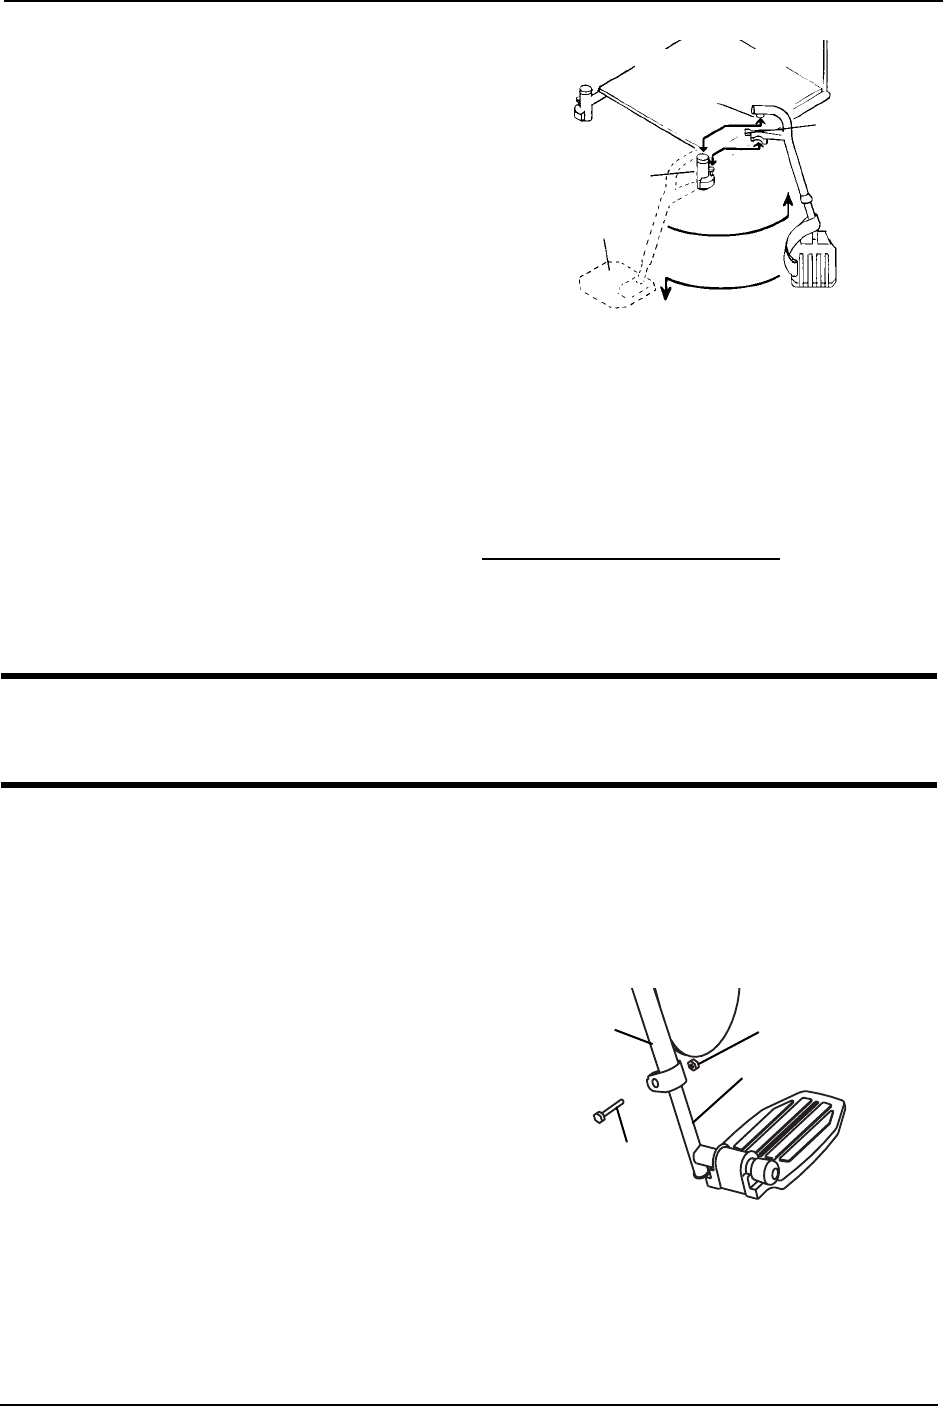
70° Taper
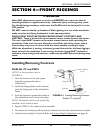
NOTE: For this procedure, refer to
FIGURE 6.2
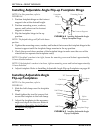
1. Turn the footrest to the side (open
footplate is perpendicular to
wheelchair).
2. Insert footrest mounting pin into
mounting tube.
3. Push the footrest towards the inside of
the wheelchair until it locks into place.
NOTE: The footplate will be on the inside of the
wheelchair when locked in place.
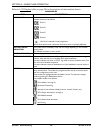
FIGURE 6.2 Installing/Removing Footrests -
70° Taper
4. Repeat STEPS 1- 3 for the other footrest assembly.
5. To remove the footrest, push the footrest release lever inward, rotate footrest outward.
6. Adjust footrest height, if desired. Refer to Footrest Height Adjustment on page 36.
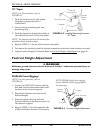
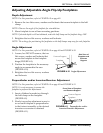
Footrest Height Adjustment
ƽ WARNING
Minimum ground clearance for the footrest is 3 inches - otherwise personal injury or
damage may result.
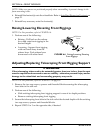
PHAL4A Front Riggings
NOTE: For this procedure, refer to
FIGURE 6.3.
1. Loosen, but DO NOT remove, the lug
bolt and locknut that secure the lower
footrest to the footrest support.
2. Reposition the lower footrest to the
desired height.
3. Securely tighten the lug bolt and
locknut that secure the lower footrest to
the footrest support.
4. Repeat STEPS 1-3 for the opposite side
of the wheelchair footrest, if necessary.
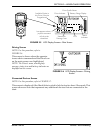
FIGURE 6.3 Footrest Height Adjustment
Footrest
Mounting Pin
Footrest
Release
Lever
Footplate
Mounting Tube
Footrest
Support
Lug Bolt
Locknut
Lower Footrest
NOTE: PH904A style front rigging
shown. PHAL4A front rigging adjust
the same way.