SECTION 7—COMPRESSOR
Perfecto
2
™
36 Part No 1148070
Fan
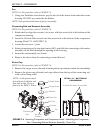
NOTE:Forthisprocedure,refertoFIGURE 7.4.
1. Usingtwoflatbladescrewdrivers,prythefanoffofthemotorshaftunderthecenter
housing.DONOTpryunderthefanblades.
NOTE:Noteposition/orientationoffanforreassembly.
Connecting Rod and Eccentric Assembly
NOTE:Forthisprocedure,refertoFIGURE 7.4.
1. Rotateshafttoaligntheeccentricʹssetscrewwiththeaccessholeinthebottomofthe
compressorhousing.
2. Insertthe1/8‐inchAllenwrenchintotheaccessholeinthebottomofthecompressor
housing(Detail“A ”ofFIGURE 7.4).
3. Loosenthesetscrew¼turn.
4. Rotateconnectingrodtotopdeadcenter(180°)andslidetheconnectingrod/eccentric
assemblyofftheshaftthroughtheopeninginthehousing.
5. Securetherodassemblyinafixture.
6. Removethesleevefromtheconnectingrodanddiscard.
Piston Cup
NOTE:Forthisprocedure,refertoFIGURE 7.4.
1. Removethetorquescrew(discard)fromthepistoncupretainer(retainforreassembly).
2. Removethepistoncup(discard)andwipedebrisfromthetopoftheconnectingrod
withacleandampcloth.
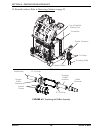
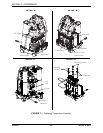
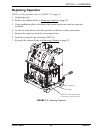
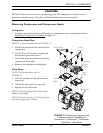
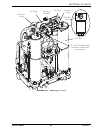
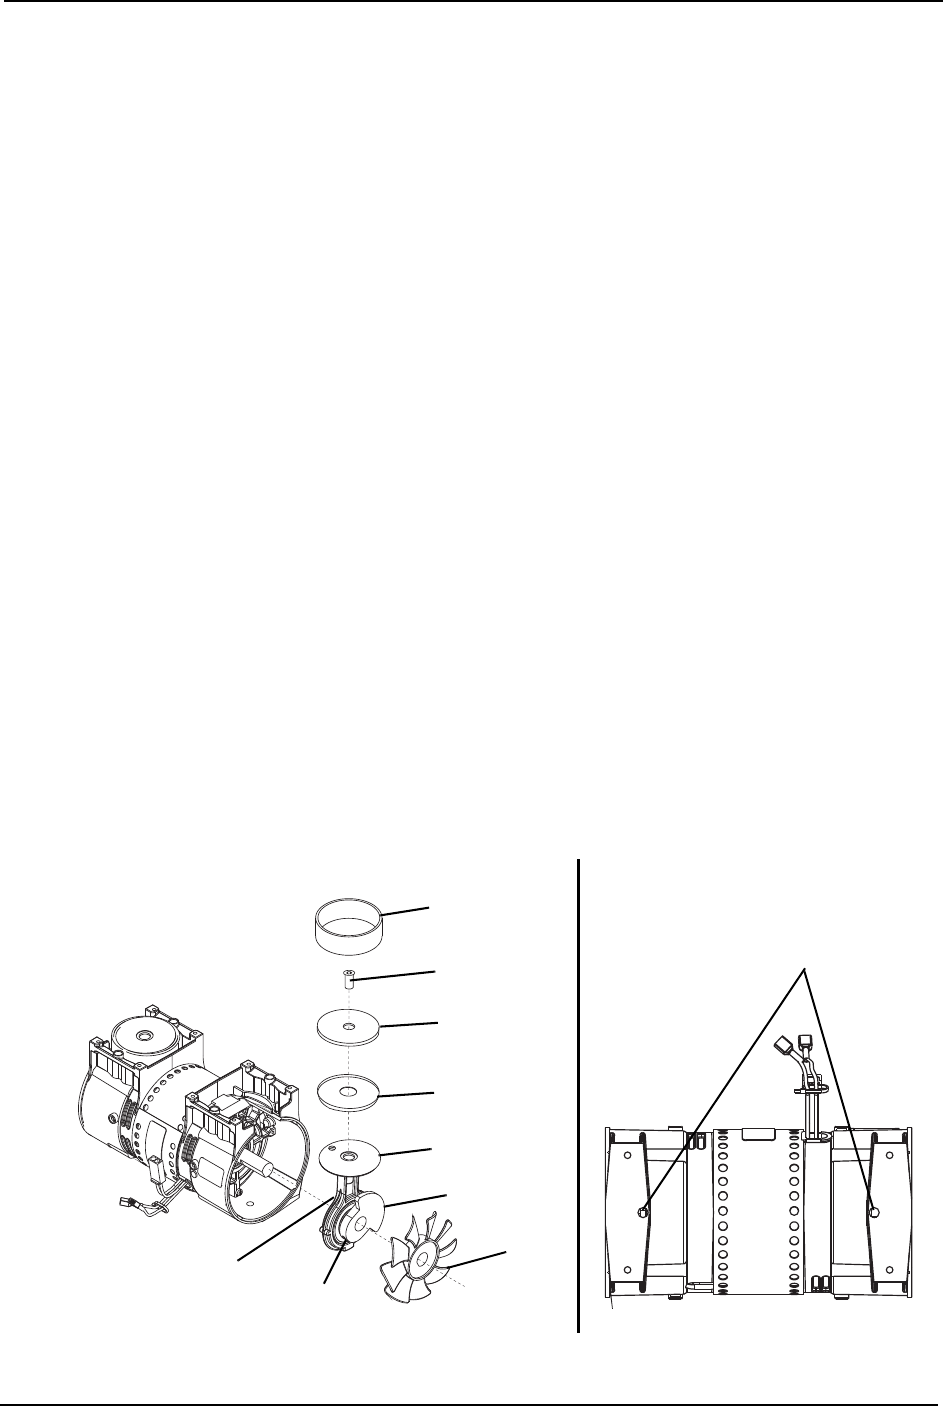
FIGURE 7.4 Removing Compressor and Compressor Heads - Rebuilding the Compressor -
Fan - Connecting Rod and Eccentric Assembly - Piston Cup
Cylinder Sleeve
Retainer
Piston Cup
Rod Top
Torque Screw
Fan
Connecting
Rod
Eccentric
Set Screw
(hidden)
NOTE:Asthepistontravels
upanddownitwillalsorock
fromside‐to‐side.Thisisa
featureoftheWOB‐LPiston.
DETAIL “A” - BOTTOM OF
COMPRESSOR
Eccentric Set Screw Access Hole


