


Installation
11
RE-DM4 and RE-DM6 RADIA Eclipse Dimmer Modules
Installation
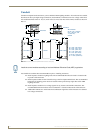
Space Requirements
AMX Lighting control installations require very little space. Space for enclosures is the main concern. All
enclosures are mounted flush on a vertical surface, and must have a minimum clearance of 12" (304.8 mm)
above and below to allow for air circulation.
Physical dimensions for each enclosure are described in the RDA Enclosure Dimensions section on page 13.
Wiring Considerations
The following information relates to wiring considerations for a AMX Lighting system.
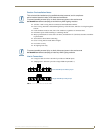
Preparing/connecting captive wires
1.
Strip 0.25 inch of wire insulation off all wires.
2. Insert each wire into the appropriate opening on the connector according to the wiring diagrams and
connector types described in this section.
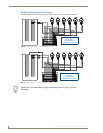
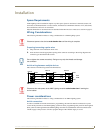
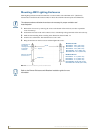
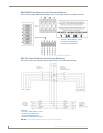
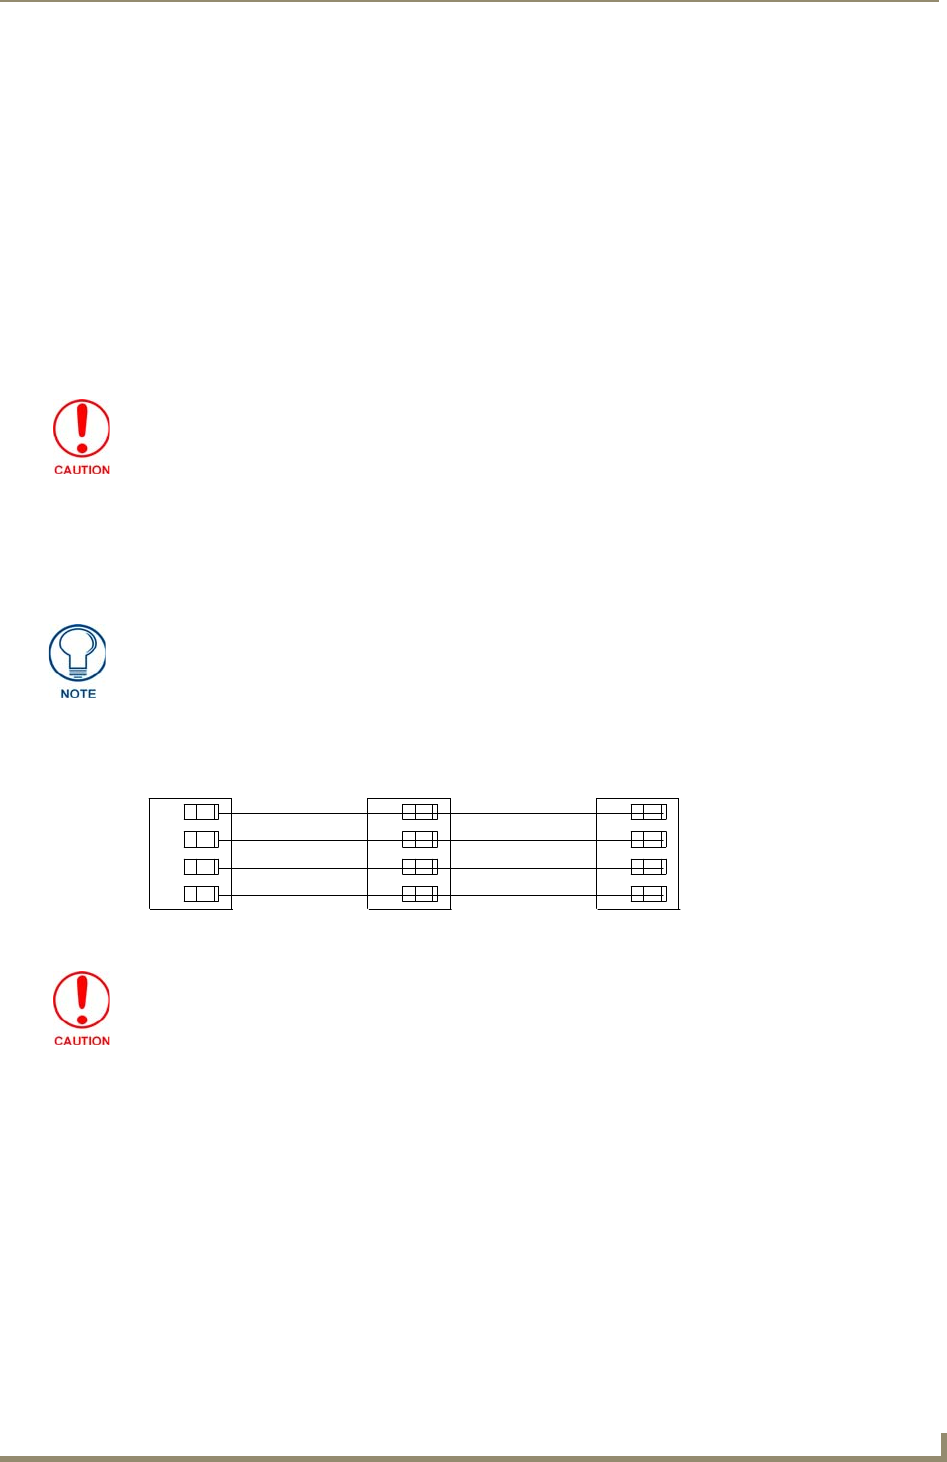
AxLink wiring between multiple devices
FIG. 10 shows AxLink wiring between AxLink devices.
Power considerations
The following information relates to wiring considerations for an AMX Lighting system.
AxLink connections
In order to establish an AxLink connection for programming, the controller must be connected to a power
source and be powered on. The AMX Lighting system will allow programming after power has been applied.
Once power has been applied and the AMX Lighting controller has established an AxLink connection, the
12VDC supply to the processor will allow program changes if the 120VAC supply is cut off.
Disconnect power to the device at the breaker box until the wiring is complete.
Do not tighten the screws excessively. Doing so may strip the threads and damage
the connector.
FIG. 10 Multiple AxLink wiring connections
GND
M-
P+
PWR
DEV.#1
DEV.#2
DEV.#3
GND
M-
P+
PWR
GND
M-
P+
PWR
AXP
AXP
AXM
AXM
AXP
AXM
Disconnect the main power to the AMX Lighting controller at the breaker box if rewiring the
AxLink cables.