


54
Instruction manual V 1.4 – 02/2007
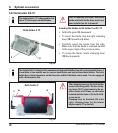
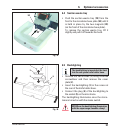
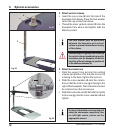
2. Attach vertical column
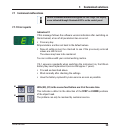
• Insert the cap screw (b) into the hole of the
baseplate from below. Place the lock washer
(c) on the cap screw from above.
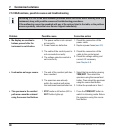
• Thread the silver vertical column (2) onto the
baseplate from above and tighten with the
Allen key size 8.
A
Extreme danger of tipping! After installing
the vertical column, immediately place the
microtome onto the baseplate so that the
front feet of the microtome are positioned
in the shallow recesses (A).
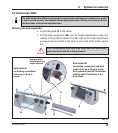
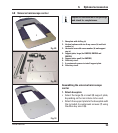
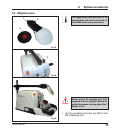
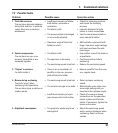
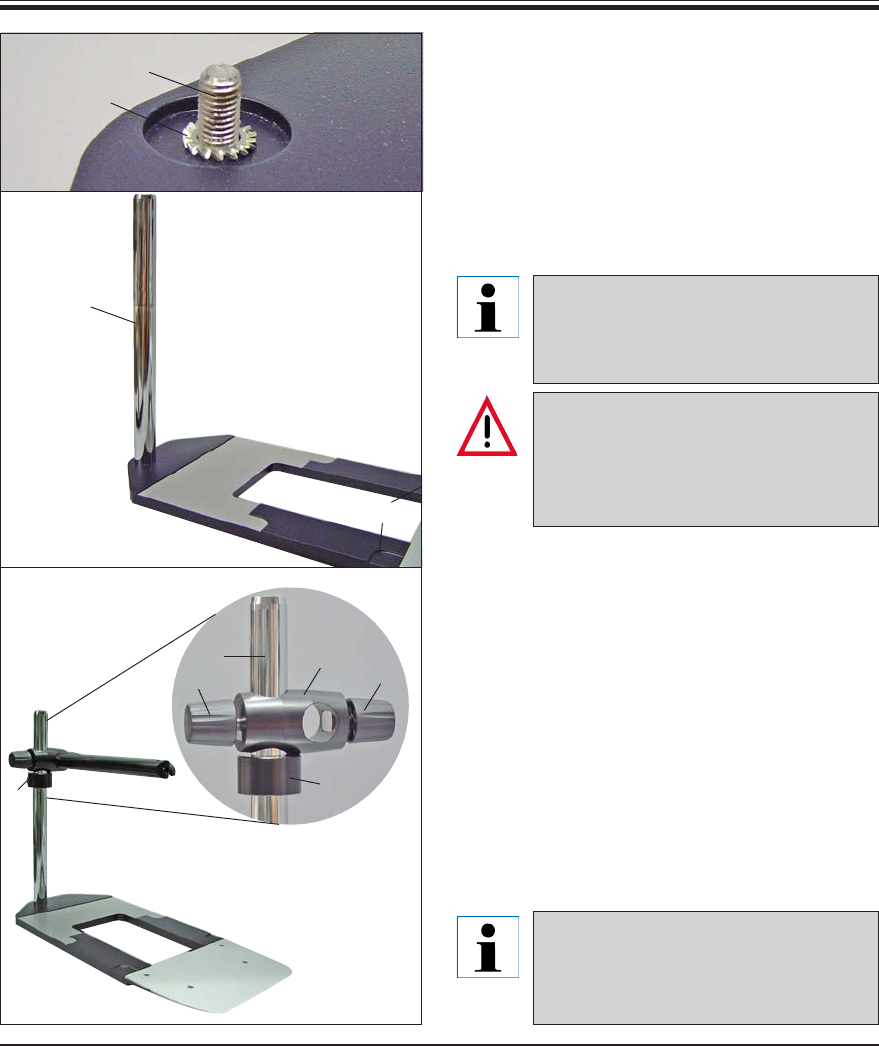
3. Attach horizontal arm
• Slide the support ring (e) onto the vertical
column and position it so that the lock nut (f)
is facing to the back. Tighten the lock nut.
• Slide the cross-member (d) onto the column.
Ensure that the lock screw (g) is facing to the
right of the baseplate. The horizontal arm must
be centered over the microscope.
• Slide the horizontal arm (3), flat side facing the
lock screw (g), into the cross-member (d) and
tighten.
6. Optional accessories
Fig. 54
Fig. 53
Fig. 52
b
c
2
e
d
2
g
f
h
The lock washer must be positioned
between the baseplate and vertical
column to prevent unintentional turning
of the column.
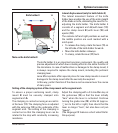
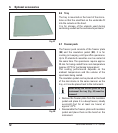
For more information on connecting and
using the microscope, magnifying lens
or cold-light source, please see the
appropriate manual.