Perform Control Test
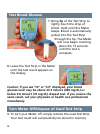
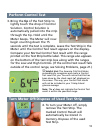
3. Bring the tip of the Test Strip to
lightly touch the drop of Control
Solution. Control Solution is
automatically pulled into the strip
through the tip. Hold until the
Meter beeps. The Meter will now
begin counting down the 15
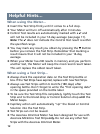
seconds until the test is complete. Leave the Test Strip in the
Meter until the Control Test result appears on the display.
Compare your Normal Control Test result with the range
printed on the Test Strip bottle label. This range also appears
on the bottom of the test strip box along with the ranges
for the Low and High Controls. (If the control test result falls
outside of the control range, see Solving Problems, page 21.)
J
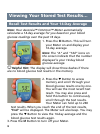
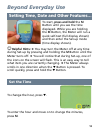
Helpful Hint: The Ascensia CONTOUR Meter
automatically recognizes and marks a Control
Test result for you. You will notice that this has
been done by the check mark (✔) displayed on
the screen. This way, your Control Test results
will not be included in your 14-day blood
glucose average.
Note: The ✔ does not indicate the Control Test
result is within the specified range.
Turn Meter Off/Dispose of Used Test Strip
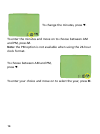
4. To turn your Meter off, simply
remove the Test Strip. The
marked Control Result will
automatically be stored in
memory. Dispose of the used
Test Strip.
11


